Messoa PTZ900 Скачать руководство пользователя страница 13

12

English

3.3


Connecting Process

3.3.1


Default IP address

Since this is a network-based unit, an IP address must be assigned at the very first. The unit’s default IP address is 

192.168.1.30

. However, if you have a DHCP server in your network, the unit would obtain an IP address automatically from 

the DHCP server so that you don’t need to change the camera’s IP address. Please be sure to enable DHCP in "Network/Basic 
settings" in advance.

3.3.2


Connecting from a computer & Viewing Preparation

Connecting from a computer

1.      Make sure the unit and your computer are in the same subnet.
2.      Check whether if the networking available between the unit and the computer by executing ping the default 
         IP address. To do this, simply start a command prompt (Windows: from the Start Menu, select Program. 
         Then select Accessories and choose Command Prompt.), and type “

Ping 192.168.1.30

”. If the message 

          “

Reply from…

” appears, it means the connection is available.

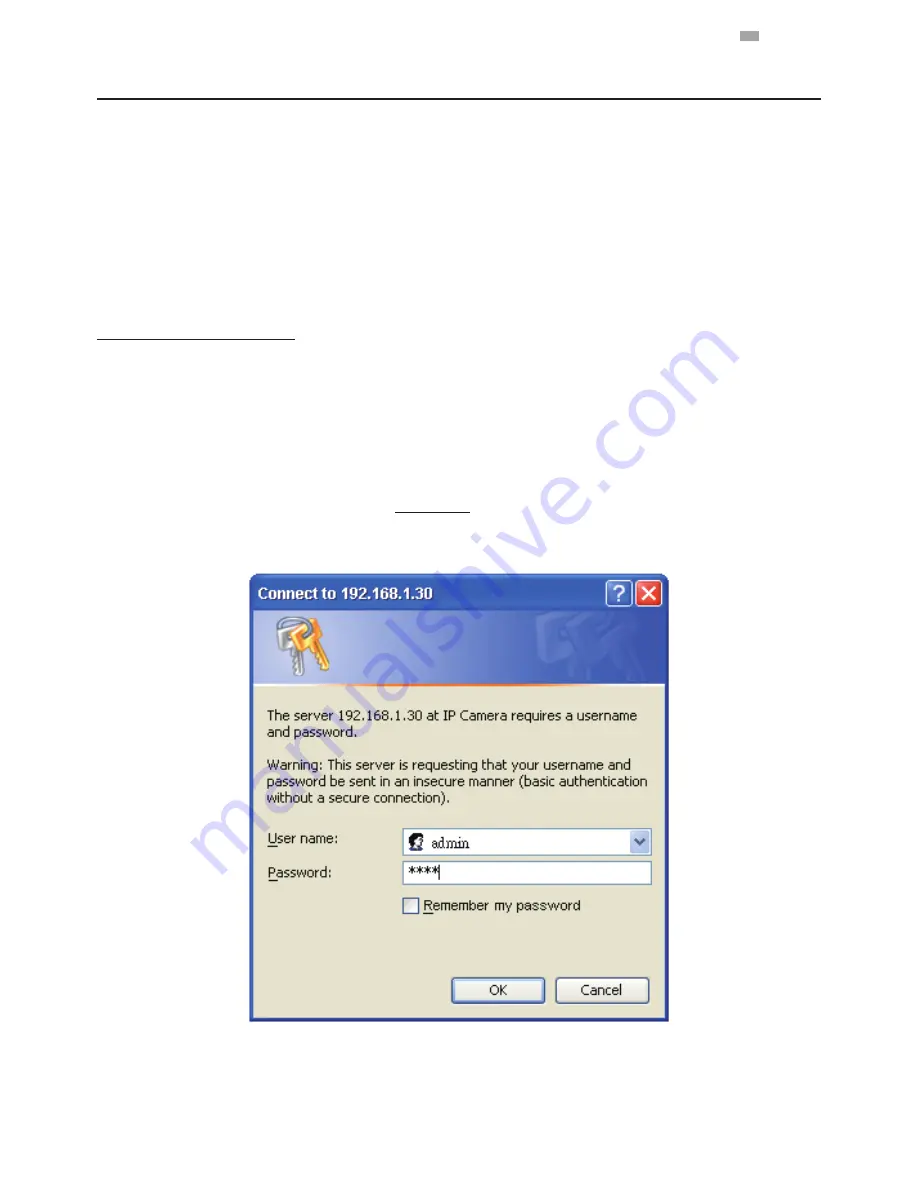
3.      Start Internet Explorer and enter IP address: 

192.168.1.30

. A login window should pop up. In the window, 

         enter the default user name: 

admin

 and password: 

1234

 to log in.

Further administration on the unit can be found in “

User Manual

” available on MESSOA website.

Figure 2 - 10: Login Window 

Содержание PTZ900

Страница 1: ...Network Camera Quick Start Guide 201407 900 A1 PTZ900...

Страница 2: ...1 English 1 Product Overview 1 1 Physical Characteristics Figure 1 1 Physical Dimensions without Ceiling Bracket Figure 1 2 Physical Dimensions with Ceiling Bracket...

Страница 3: ...2 English Figure 1 3 Pictorial Index...

Страница 4: ...ndicates data is being transmitted received by the unit Ethernet Link LED Solid green light stands for a live connection is established 9 Video Out To connect monitor out cable for video output signal...

Страница 5: ...might help you complete the installation a drill screwdrivers wire cutters 2 2 1 Checking Appearance When first unboxing please check whether if there is any visible damage to appearance of the unit...

Страница 6: ...ponding to the 3 indicated positions for plastic anchors supplied 2 Please then insert the 3 plastic anchors supplied into the 3 drilled holes on the mounting surface 3 The Cable Channel indicated is...

Страница 7: ...rectly use 3 screws to attach the bracket to the ceiling until the bracket is tightened safely Caution Be sure to tighten the screw nuts firmly as the following figure shown Figure 2 2 Attach Bracket...

Страница 8: ...of the camera to ensure the camera won t fall down 3 Push the hooks x4 of the ceiling bracket into the hook holes x4 of the camera bottom Figure 2 4 Attach Safety Wire with Camera and Bracket Figure...

Страница 9: ...and then push the camera body forward Finally the camera is assembled to the ceiling bracket firmly 5 Finally connect to the power supply and the network cable to the connectors on the back of camera...

Страница 10: ...the camera body backward by the other hand to fully dismantle the camera from the ceiling bracket Figure 2 8 Push Hook to detach Camera from Bracket Warning Depending on the mounting surface you may...

Страница 11: ...t connection capability through the Ethernet cable Caution Never connect more than one type of power supplies at the same time to avoid damage to the unit If using DC supply make sure the polarity is...

Страница 12: ...GHz or equivalent RAM 1 GB Display NVIDIA GeForce 6 Series or ATI Mobility Radeon 9500 System Software Operating System Microsoft Windows Vista or Windows 7 Browser Microsoft Internet Explorer 9 or ab...

Страница 13: ...computer 1 Make sure the unit and your computer are in the same subnet 2 Check whether if the networking available between the unit and the computer by executing ping the default IP address To do thi...

Страница 14: ...ookies Click OK 2 When a proxy server is used click Internet Options on the Tools menus of Internet Explorer select Connect tab click LAN button and set proxy server 3 Change Security in Internet opti...

Страница 15: ...follows Download signed ActiveX controls Prompt recommended Download unsigned ActiveX controls Prompt Initialize and script ActiveX not marked as safe for scripting Prompt Figure 2 12 Security Setting...

Страница 16: ...ipting Enable Figure 2 14 Security Setting 4 4 Press OK to save the settings Close all Microsoft Internet Explorer Windows and restart a new window This will allow the new settings taking effect Type...

Страница 17: ...settings If you have multiple cameras connected to your local network locate the MAC address on the camera to distinguish the target camera from others 5 Configure the following settings as needed NAM...

Отзывы: