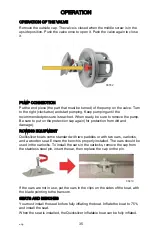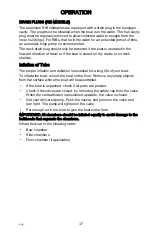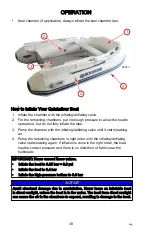
Floorboard Installation (Models with Aluminum Floors)
Quicksilver inflatable boats that are equipped with an inflatable or a
non‑inflatable floorboard must be operated only with these floorboards properly
installed. Using the boat without provided floorboard is unsafe, uncomfortable,
and might result in damage to the boat.
IMPORTANT: The floorboards must be installed into the boat before the boat is
inflated.
Install the removable seat before the boat is fully inflated.
•
Inflate the boat including the keel section (see the section on inflation).
•
Ensure that no parts of the tubes stick together.
•
Deflate the keel, and deflate the boat for about 2/3.
•
Place the front section (bow board 1) of the floorboard as far in the front of
the boat as possible. Make sure the hole in the bottom is straight above
the valve of the keel section. Place the side with the sticker face down.
•
Place part two into the boat. Put the two parts of the floorboard in line.
•
Take part three and eventually part four of the floorboard.
•
Push down the two parts to the bottom of the boat.
•
Inflate the keel approximately 5–10 strokes. The floorboards will be in a
level position.
•
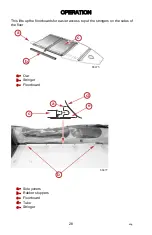
Deflate the side‑tubes of the boat completely and install the aluminum
stringers.
•
When there are more than three floorboards, make a bridge between the
second and third floorboard seen from the transom.
OPERATION
24
eng
Содержание Quicksilver 200 Tendy Slatted
Страница 1: ...Quicksilver Inflatables 2018 Mercury Marine Quicksilver Inflatables 8M0145401 318 eng ...
Страница 2: ...eng ...
Страница 8: ...eng vi ...
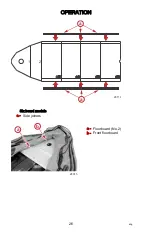
Страница 33: ... Floorboards are numbered from the bow Five board models a Side joiners 1 2 a a 24097 OPERATION eng 25 ...
Страница 34: ...Six board models a Side joiners a Floorboard No 2 b Front floorboard 1 2 a a 24114 24015 b a OPERATION 26 eng ...


