Section 5 - Maintenance
90-8M0070851
eng
AUGUST 2012
Page 73
!
CAUTION
Seawater leaking from the seawater strainer could cause excess water in the bilge, damaging the engine or causing the boat
to sink. Do not overtighten the cover screws, or the cover may warp and introduce seawater into the bilge.
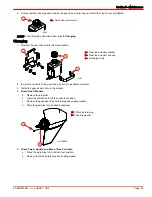
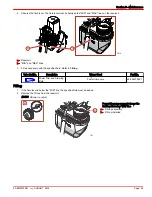
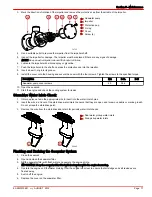
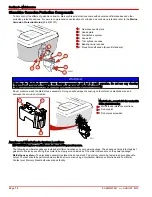
7. Install the seal and cover using the screws and washers. Do not overtighten the cover screws.
a -
Screws and washers
b -
Cover with glass
c -
Strainer
d -
Housing
e -
Drain plug and sealing washer
f -
Seal
8. Open the seacock, if equipped, or remove the plug and reconnect the seawater inlet hose.
9. Upon first starting the engine, check for leaks or air in the system that would indicate an external leak.
Replacing the Engine Coolant in the Closed Cooling System
Draining the Closed Cooling System
NOTICE
Discharge of oil, coolant, or other engine/drive fluids into the environment is restricted by law. Use caution not to spill oil,
coolant, or other fluids into the environment when using or servicing your boat. Be aware of the local restrictions governing
the disposal or recycling of waste, and contain and dispose of fluids as required.
NOTE: For instructions on draining the seawater section, refer to
Flushing and Draining the Seawater System
in this section.
IMPORTANT: Observe the following points:
•
Ensure the engine is as level as possible to promote complete draining of the cooling system.
•
The closed cooled section must be filled year‑round with the required coolant. If the engine will be exposed to freezing
temperatures, ensure that the closed cooled section is filled with a solution of ethylene glycol antifreeze and water properly
mixed to protect the engine to the lowest temperature to which it will be exposed.
•
Do not use propylene glycol antifreeze in the closed cooled section of the engine.
!
CAUTION
A sudden loss of pressure can cause hot coolant to boil and discharge violently resulting in serious injury from burns. Allow
the engine to cool down before removing the coolant pressure cap.
1. Allow the engine to cool.
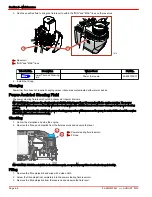
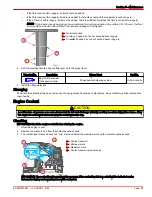
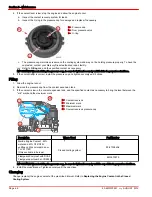
2. Remove the pressure cap from the expansion tank coolant reservoir.
a
b
c
d
e
f
12863
Содержание Sterndrive TDI 3.0L
Страница 4: ......
Страница 36: ...Section 2 Getting to Know Your Power Package Notes Page 28 90 8M0070851 eng AUGUST 2012 ...
Страница 50: ...Section 3 On The Water Notes Page 42 90 8M0070851 eng AUGUST 2012 ...
Страница 56: ...Section 4 Specifications Notes Page 48 90 8M0070851 eng AUGUST 2012 ...

