After Sales Support TEL: 1 300 884 987 WEB Support: www.medion.com.au
20
Connecting to your computer
Please make sure that you have installed the software as described on Page 14.
1.
Connect the smaller connector of the USB cable supplied with the device to the USB con-
nection [1] of the device.
2.
Push the other end of the USB cable into a free USB connection of your computer.
3.
The following indication will appear on the LCD display [3], if the connection has been
made:
4.
The computer will recognize that a new device has been
connected and will allocate two drives to the device.
Use as a digitizer tablet
You should attach the protective cover for the writing surface supplied with the device with the
aid of the paper clip [10], before using the Digitizer Tablet function. Replace the pen point with a
plastic refill. This is to ensure the delicate surface of the device is protected.
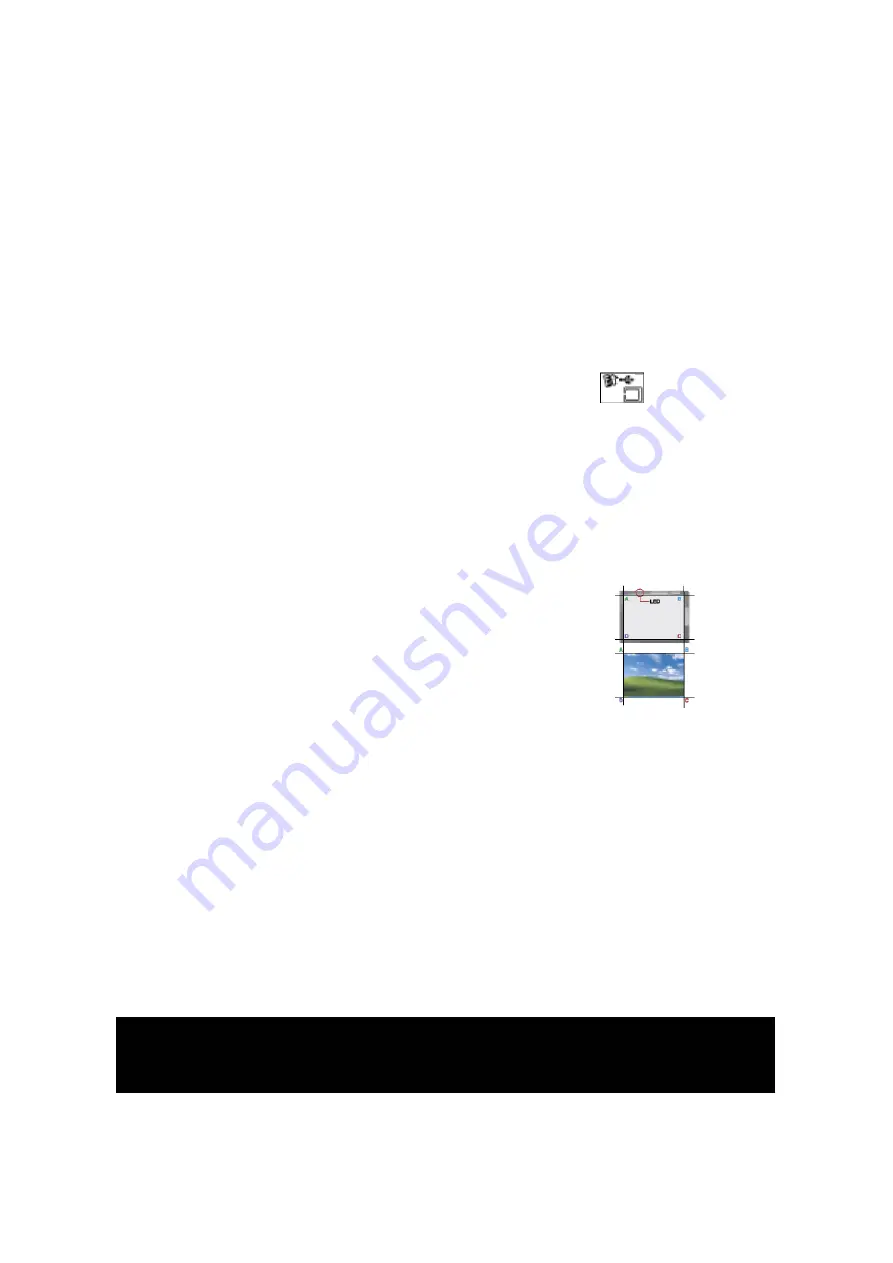
You will be able to move the cursor on your PC monitor (as your mouse does) with the digital pen
in the Digitizer Table function. The recognizable area is set proportionately to the screen, as illus-
trated.
The LED will begin to shine as soon as you are in the recognizable area with
the digital pen. The LED will go out again once you start writing.
You will be able to simulate the mouse buttons with the aid of the Function
keys of the device, if you own a special digitizer tablet pen (not supplied with
the device).
Left mouse button
: Press the tip of the digital pen.
Right mouse button
: Press the Recycle Basket Function key.
Double-click
: Press on the tip of the digital pen twice in succession quickly
or operate the
Function key.
You will be able to allocate other functions to the Function keys with the help of the software
supplied with the device. You will find information about this in the online Help.


