66 of 122
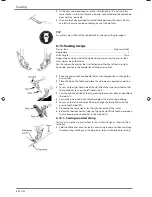
At the end, you are advised to set the stitch length to "0" and sew a few
more stitches so that the threads are better connected and the buttonhole
does not fray so quickly.
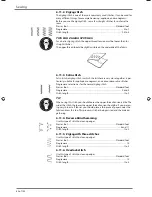
Then use the knife provided to cut the fabric between the seams. Do this
carefully to ensure you do not damage any of the bartacks.
TIP
Pin a safety pin in front of the top bartack to stop you cutting through it.
6.13. Sewing in zips
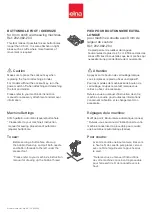
Presser foot: .............................................................................................. Zip presser foot
Programme: .......................................................................................................................... 1
Stitch length: ................................................................................................................1 to 4
Depending on which side of the zip band you are sewing, the presser foot
must always be on the fabric.
For this reason, the presser foot is attached on either the left-hand or right-
hand side, and not in the middle like all other presser feet.
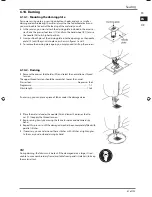
Raise the presser foot and needle (26) to their top position to change the
presser foot.
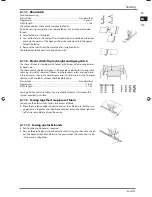
Place the zip on the fabric and place the workpiece in position under the
foot.
To sew on the right-hand side of the zip, attach the zip presser foot so that
the needle (26) sews on the left-hand side (1).
Sew the right-hand side of the zip, creating the seam as close as possible to
the teeth. (1)
Sew in the zip around 0.5 centimetres below the teeth using a bridge.
To sew on the left-hand side of the zip, change the foot position on the
presser foot holder (29).
Proceed in the same way as for the right-hand side of the zip (2).
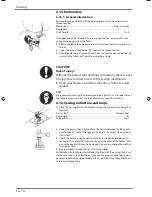
Before the foot reaches the slider on the zip band, lift the foot up and open
the zip, keeping the needle (26) in the material (3).
6.13.1. Sewing in a drawstring
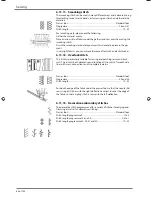
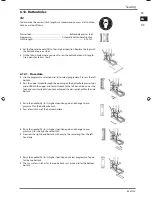
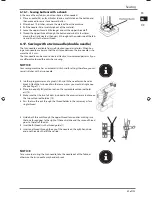
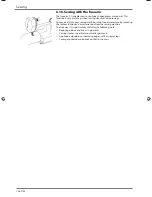
You can also use the zip presser foot to sew in drawstrings, as shown in the il-
lustration.
Fold the fabric over once to create a drawstring tunnel and then sew along
the drawstring, making sure the zip presser foot is behind the drawstring.
Sewing
17187 ES ALDI ES Content MSN 5005 3127 final.indb 66
17187 ES ALDI ES Content MSN 5005 3127 final.indb 66
18.05.2016 07:17:28
18.05.2016 07:17:28
Содержание MD 17187
Страница 2: ...nes ual ung Bitte aufklappen Please fold out Abrir aquí ...
Страница 6: ...28 23 24 25 26 27 31 32 29 30 Mecánica de coser Sewing mechanisms Nähmechanik ...
Страница 8: ...11 Especificaciones técnicas 39 12 Pie de imprenta 39 13 Índice 40 Índice 2 de 122 ...
Страница 48: ...11 Technical data 79 12 Legal notice 79 13 Index 80 Contents 42 of 122 ...
Страница 88: ...11 Technische Daten 119 12 Impressum 120 13 Index 121 Inhaltsverzeichnis 82 von 122 ...
Страница 128: ...122 von 122 Letzte Seite Index ...


