11
BACK
INPUT
VOLUME
TRIM SELECT
SURROUND MODE
DISPLAY
MODE
LATE
NIGHT
STANDBY
ON
SET UP
INPUT FORMAT
OUTPUT FORMAT
ANALOG SIGNAL
DIGITAL SIGNAL
SUB
RRS
RF
LF
C
BS
LRS
LFE
RF
LF
C
S
RS
LS
RS
LS
RRS
LRS
ADJUST
SELECT
ZONE B
CONTROL
NAVIGATE
ROOMPERFECT
HD AUDIO
/
M X 18 0 A V P R O C E S S O R
4K VIDEO
3D AUDIO
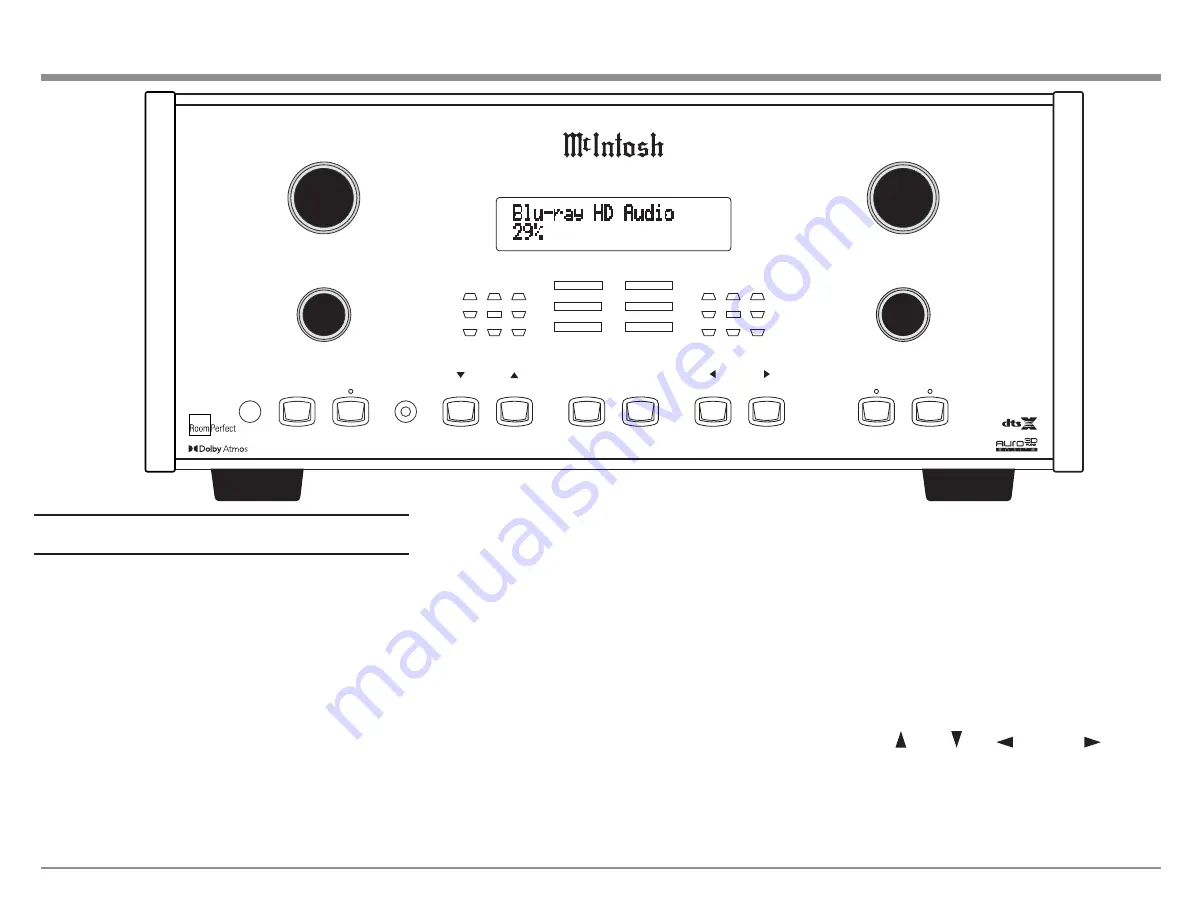
The Front Panel
The iconic front glass panel of the MX180 provides
knobs and buttons to control the unit as well as an
informational display and LED status lights that
display the current mode.
Standby / On
The red STANDBY / ON button toggles the MX180
between on and standby mode. The STANDBY
button will only work if the rear Power Switch
(page 9) is on. When the unit is in standby
mode, it can also be toggled on/off using the
Remote Control or the browser interface. To use the
on/off button in the top right corner of the browser
interface, the MX180’s power management must
be set to “Network” as opposed to “Deep sleep.”
When the power management is set to Deep Sleep,
the MX180 can not be woken up from the network
interface. The Power management can be setup
under SETUP>System configuration>General
setup>Power management. (For explanation of
menu path notation see the box on page 14.)
The Volume Knob
Turn this knob clockwise to raise the volume and
go the other way to make it quieter. A maximum
volume of 59% is the factory default, but this can
be set to any value between 12% and 99% in Setup.
A maximum volume prevents the MX180 from
accidently sending higher signals than your situation
permits. See “General Setup” on page 18.
The Input Knob
The Input Knob can be turned clockwise or
counterclockwise to scroll through all the Inputs
that are enabled in Setup. All Inputs are available by
default.
The Arrow, Back and Select
Buttons
These buttons are used to navigate menu screens
and selections in the Trim menus. The arrows allow
scrolling up , down , left , and right , when
those are menu choices. The SELECT button
accepts an option and the BACK button returns to
the previous menu.
Figure 08– MX180 Front panel


