21
Display Info. Refer to figure 68.
After approximately 4 seconds the Information
Display will return to indicate the Source Selection,
Volume Level and the Digital Information. Refer to
figure 69.
Processor Loop
Press the Front Panel PROCESSOR Push-button to
activate the C50 Processor Loop for the currently
selected Input Source. The LED above the PROCES-
SOR Push-button will illuminate. Refer to figure 50.
The C50 remembers for each selected Input whether
the Processor Loop is active. To remove the Processor
Loop for the currently selected Input Source press the
PROCESSOR Push-button.
Notes: 1. If the Processor Loop is active and no exter-
nal Processor is connected to the C50, sound
will not be heard.
2. The audio signal present at the RECORD
OUT Jacks is unaffected by the external
processor loop.
Equalizer Bypass
Press the Front Panel EQ BYPASS Push-button to
remove the C50 Equalizer Circuitry from the signal
path for the currently selected Input Source. The LED
above the EQ BYPASS Push-button will illuminate.
Refer to figure 50. The C50 remembers for each se-
lected Input whether the Equalizer Circuitry is deac-
tivated. To reactivate the Equalizer for the currently
selected Input Source press the EQ BYPASS Push-
button.
Note. The audio signal present at the RECORD OUT
Jacks is unaffected by the Equalizer Circuitry.
Trim
Press the Front Panel TRIM Push-button to activate
the C50 Trim Functions. Use the Front Panel OUT-
PUT 1/ OUTPUT 2 / ◄ MENU ► Push-buttons to
select the desired Trim Function and then use the
VOLUME/ADJUST Control to vary or make changes.
Refer to figure 50. The Remote Control TRIM and
LEVEL +/- Push-buttons may also be used. The LED
above the TRIM Push-button will illuminate during
Trim selection and adjustment. Approximately four
seconds after Trim Function Selection and/or adjust-
ments have stopped the C50 will switch off the Trim
Mode.
Mute
Press the MUTE Push-button, on the C50 Front Panel
or on the Remote Control, to Mute the Audio in all
outputs (Main, Output 1, Output 2 and Headphones)
except the REC OUTPUT. The Front Panel Informa-
tion Display will indicate the Source Name and the
word MUTE in place of the actual volume setting.
Refer to figure 70.
Pressing the Mute Push-button a second time or
adjusting the volume control (either the Front Panel or
Remote Control) will un-mute the C50.
Output 1 and 2
Press the Front Panel OUTPUT 1 / OUTPUT 2
Push-button or use the Remote Control and press the
SETUP/BLUE Push-button followed by the OUTPUT
1 / OUTPUT 2 Push-button to send audio to separate
Power Amplifiers connected to the rear panel OUT-
PUT 1 or 2 Jacks. It also activates the POWER CON-
TROL OUTPUT 1 / OUTPUT 2 Jacks on the rear
panel of the C50. To stop the Audio and Power Control
Signals from going to the separate Power Amplifiers,
press the same Push-button(s) a second time.
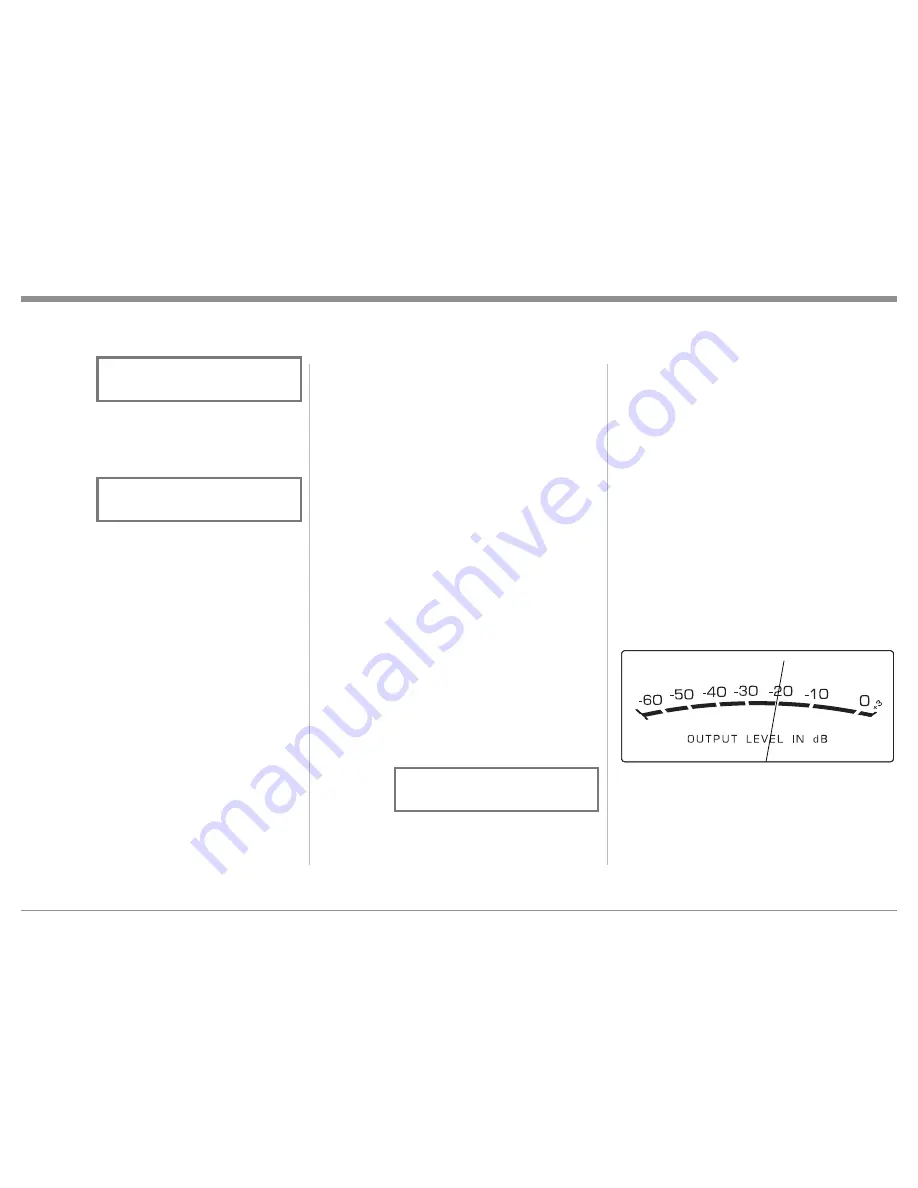
Output Meters
The C50’s Output Meters indicate the Output Level
in Decibels (dB) available at the MAIN and OUT
-
PUT 1 & 2 Jacks to drive Power Amplifiers. Refer to
figure 71. The Meters are calibrated in dB (decibels)
and respond to all the peaks contained in the musical
information. A meter reading of 0dB indicates the C50
is delivering its rated output.
Headphones Jack
Connect a pair of dynamic headphones to the Head-
phones Jack with a 1/4” (0.635cm) stereo phone type
plug for private listening. Press OUTPUT 1 and/or 2
Push-buttons to mute the Loudspeakers.
Note: The Headphone Output is optimized for imped-
ances ranging from 100 to 600 ohms.
How to Operate the C50, con’t
Figure 68
DIGITAL AUDIO
Display Info : On
Figure 69
SOURCE: DVD
15% 2CH PCM
Figure 70
SOURCE: CD1
MUTE
Figure 71
Содержание C50
Страница 24: ...24 ...
Страница 25: ...25 Photos ...


