Maintenance
21
Cleaning
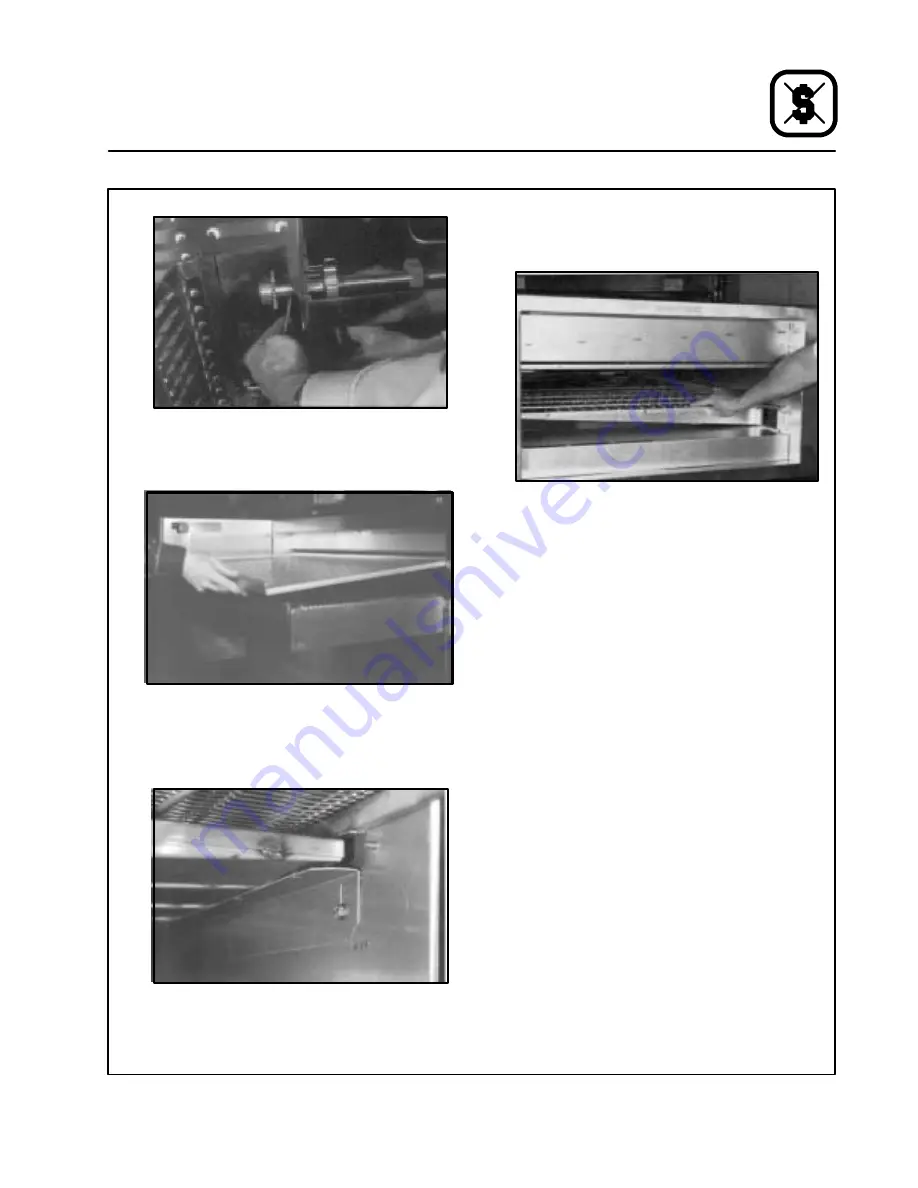
Figure 23
8. Using the handle supplied with the oven, pull
out the air plate.
Figure 24
9. Remove the nozzles as follows:
a.) Loosen the bolts from the lower nozzle
support.
Figure 25
b.) Lift the front end of each nozzle off the pin
on the nozzle support. Pull the nozzle to-
ward the front of the oven and remove.
Figure 26
10. Slide the three return air diverters out of the
oven.
11. Soak the conveyor in a hot water/detergent
mix.
12. Clean the crumb pans, return air diverters,
nozzles, air plates, and end plugs with a hot
water/detergent mix. Rinse with clean water.
For difficult cleaning use a heavy duty de-
greaser or oven cleaner that is safe for alumi-
num.
NOTE: DO NOT immerse the end plugs. They
contain insulation.
13. Clean the oven interior with an all purpose
cleaner or an oven cleaner that is safe for alu-
minum.
14. Move the oven to clean underneath. DO NOT
damage the gas hose or electrical cords when
moving.
15. Reverse steps 1---10 to reassemble.
Slide the return air diverters into the oven cav-
ity. Push until the diverters line up with the rec-
tangular cutout at the rear of the oven. The
long diverter goes in the middle. The short di-
verters go on the outsides.
Be sure the nozzles are installed correctly. Re-
fer to Figure 27.


