


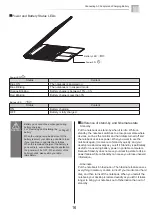


Battery LED
( )
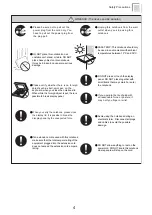
Attention
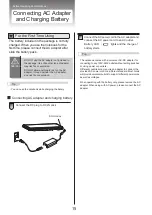
Connecting AC Adapter and Charging Battery
Difference of stand-by and hibernate state
・
Stand-by
Put the notebook on stand-by when it is idle. While on
standby, the notebook switches to a low-power state where
devices, such as the monitor and hard disks turned off and
the notebook uses less power. When you want to use the
notebook again, it comes out of stand-by quickly, and your
desktop is restored exactly as you left it. Stand-by is particularly
useful for conserving battery power in portable computers.
Because Stand-by does not save your desktop state to disk, a
power failure while on Stand-by can cause you to lose unsaved
information.
・
Hibernate
Put the notebook in hibernation. The hibernate feature saves
everything in memory on disk, turns off your monitor and hard
disk, and then turns off the notebook. When you restart the
notebook, your desktop is restored exactly as you left it. It takes
longer to bring your notebook out of hibernation than out of
stand-by.
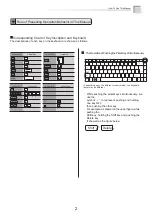
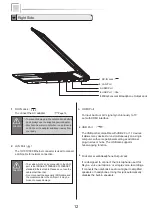
Power and Battery Status LEDs
Content
Battery charging
Battery is fully charged
Status
ON
OFF
Battery LED
( )
Content
The notebook is powered on
The notebook is in suspend mode
Battery charge is between 15% ~ 3%
Battery charge is less than 3%
Status
Blue ON
Blue Blinking
Orange Blinking
Red Blinking
Power LED
( )
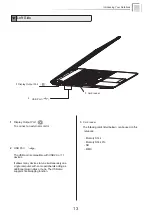
・
Battery pack cannot be exchanged during
battery charging.
For “Removing and Installing the
battery”
(
Page 21)
・
When the charge remained amount of the
battery is small, your data is possible to lose
if your continue to operate the notebook.
When the remained charge of the battery is
gone entirely, even while using the application
the power will be OFF. When alarm of the
battery sounds, please store your data
immediately.
16
Power LED
( )


