10
11
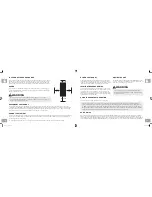
LOCATION OF THE EXERCISE BIKE
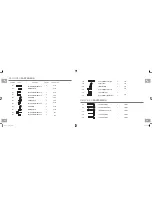
Place the exercise bike on a level and stable surface. There should be 3 feet of clearance
behind the exercise bike, 3 feet on each side and one foot in front for the power cord.
Do not place the exercise bike in any area that will block any vent or air openings. The
exercise bike should not be located in a garage, covered patio, near water or outdoors.
Never operate product if it has a damaged cord or plug, if it is not working
properly, if it has been damaged, or immersed in water. Contact Customer Tech
Support for examination and repair.
POWER
Your exercise bike may be powered by a power supply. The power must be plugged
into the power jack, which is located in the front of the machine near the stabilizer tube.
Unplug cord when not in use.
3 ft
3 ft
92 cm
92 cm
1 ft
31 cm
3 ft
92 cm
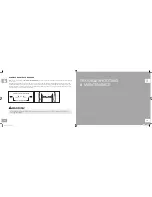
LEVELING THE EXERCISE BIKE
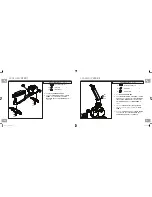
Locate a level, stable surface to position the Cycle. The Cycle
has leveling feet located under the foot support and the center
of the frame. If your Cycle wobbles in the location where you
intended to use it, loosen the lock nut to the adjusting foot and
adjust the feet until stable. Once level, lock the adjusting feet by
tightening the lock nut to the frame.
USING THE HEART RATE FUNCTION
Your exercise bike is equipped with heart rate pulse grips.
The heart rate function on this product is not a medical device. While heart rate grips can provide a relative estimation of
your actual heart rate, they should not be relied on when accurate readings are necessary. Some people, including those in
a cardiac rehab program, may benefit from using an alternate heart rate monitoring system like a chest or wrist strap. Various
factors, including movement of the user, may affect the accuracy of your heart rate reading. The heart rate reading is intended
only as an exercise aid in determining heart rate trends in general. Please consult your physician.
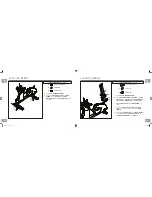
RECUMBENT SEAT HEIGHT
To adjust the seat height on the Recumbent Cycle, locate the yellow lever under the right side of the seat before you mount the
Cycle. Place your right hand on the orange adjustment handle under the right side of the seat. Place feet on the ground while seated
and slide forward if needed. Place feet on pedals, gently lift lever under the right side of the seat. Using legs, slowly push and slide
the seat up or down to desired position. Release lever and allow to lock into place.
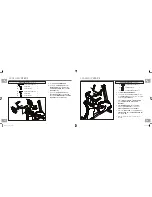
UPRIGHT SEAT HEIGHT
To adjust the seat height on the Upright Cycle, locate the orange pull pin before you mount the Cycle. To raise or lower the seat, pull
the orange knob while holding the seat with the other hand and slide up or down accordingly. Make sure you are not seated when
you pull the knob or pull the seat up.
The seat height adjusts from level 1 to 15, when you see the mark “15 MAX” on the seat post, stop to pull the seat up.
HYBRID SEAT HEIGHT
To adjust the seat height on the Hybrid Cycle, pull the orange
lever under the seat and lower the seat to the lowest position,
stand over the seat and grab the orange lever. Pull the lever and
lift until the seat base makes contact with your pelvic bone.
PULSE GRIPS
Place the palm of your hands directly on the grip pulse handlebars. Both hands must grip the bars for your heart rate to register. It
takes 5 consecutive heart beats (15-20 seconds) for your heart rate to register. When gripping the pulse handlebars, do not grip
tightly. Holding the grips tightly may elevate your blood pressure. Keep a loose, cupping hold. You may experience an erratic readout
if consistently holding the grip pulse handlebars. Make sure to clean the pulse sensors to ensure proper contact can be maintained.
WARNING
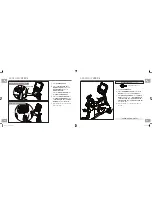
MOVING THE UNIT
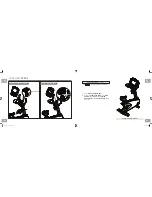
Two hand holds are located just above the MATRIX logo on the
rear legs of the unit. To avoid injury to the user or the unit, be sure
to have proper assistance to move the unit.
Our equipment is heavy, use care and additional help if
necessary when moving. Failure to follow these instructions
could result in injury.
WARNING
bikes_om_r1.5.indd 10-11
9/9/11 8:19 AM


