25
8.4 gEnErator rEplacEMEnt
1) Turn off power and disconnect the cord from the machine.
2) Remove the front disks as outlined in Section 8.1.
3) Remove the front shrouds as outlined in Section 8.2.
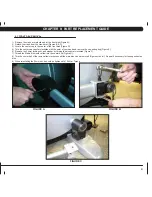
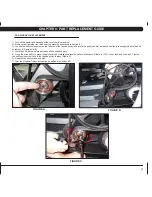
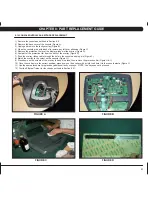
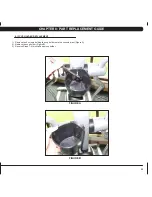
4) Unplug the Generator wire harness from the lower control board (Figure A).
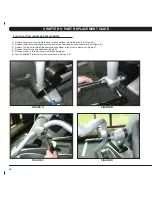
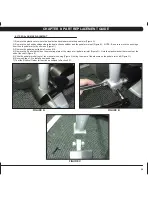
5) Remove the screw holding the Generator axle in place on the right side of the frame (Figure B).
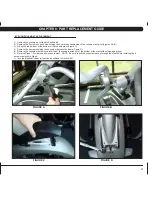
6) Loosen the large nut on the tension eye bolt on both sides of the frame (Figure C).
7) Remove the tension eye bolt nut from the Generator bracket on both sides of the frame (Figure D).
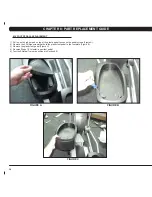
8) Once the tension eye bolts have been removed, slide the Generator towards the back of the unit and off of the Generator bracket (Figure E).
9) Reverse Steps 1-8 to install a new Generator. NOTE: Be sure to re-tension the Generator belt to 85 ft / lbs using the tension eye bolts.
10) Test the Elliptical Trainer for function as outlined in Section 8.21. .
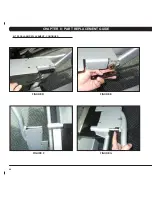
cHaptEr 8: part rEplacEMEnt gUidE
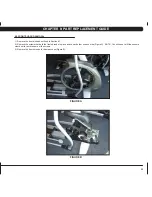
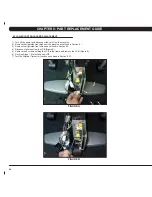
figUrE a
figUrE b
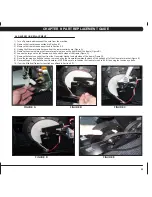
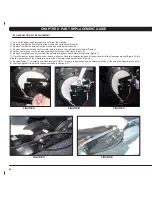
figUrE c
figUrE d
figUrE E
Содержание E3X-01
Страница 1: ...E 3 x 0 1 e l l i p t i c a l T r a i n e r S E R V IC E M AN U A l...
Страница 2: ......
Страница 5: ...1 Chapter 1 Serial number location 1 1 SERIAL NUMBER LOCATION...
Страница 16: ...12 Chapter 7 TROUBLESHOOTING 7 1 Electrical Diagrams...
Страница 17: ...13 Chapter 7 TROUBLESHOOTING 7 1 electrical diagrams...
Страница 18: ...14 7 1 electrical diagrams chapter 7 troubleshooting...
Страница 44: ...40 figure d chapter 8 part replacement guide figure E figure F figure G 8 17 pedal arm replacement continued...
Страница 65: ...61 notes...

