Marshall Electronics QV261-HDSDI Скачать руководство пользователя страница 5


28 


Maintenance 


  Screen Cleaning 


Periodically clean the screen surface using ammonia-free cleaning wipes (Marshall Part No. V-HWP-K). A clean 
micro-fiber cloth can also be used using only non-abrasive and ammonia-free cleaning agents. Do not use paper 
towels. Paper towel fibers are coarse and may scratch the surface of the polycarbonate faceplate or leave streaks 
on the surface.  Antistatic and fingerprint resistant cleaning agents are recommended. Do not apply excessive 
pressure to the screen to avoid damaging the LCD. 


  Faceplate Dusting 

 
Dust the unit with a soft, damp cloth or chamois. Dry or abrasive cloths may cause electrostatic charge on the 
surface, attracting dust particles. Neutralize static electricity effects by using the recommended cleaning and 
polishing practice. 


Warranty

 
Marshall Electronics warranties to the first consumer that this QV261-HDSDI LCD monitor will, under normal use, be 
free from defects in workmanship and materials, when received in its original container, for a period of one year from 
the purchase date. This warranty is extended to the first consumer only, and proof of purchase is necessary to honor 
the warranty. If there is no proof of purchase provided with a warranty claim, Marshall Electronics reserves the right not 
to honor the warranty set forth above. Therefore, labor and parts may be charged to the consumer. This warranty does 
not apply to the product exterior or cosmetics. Misuse, abnormal handling, alterations or modifications in design or 
construction void this warranty. It is considered normal for a minimal amount of pixels, not to exceed three, to fail on 
the periphery of the display active viewing area.
 Marshall Electronics reserves the option to refuse service for display 
pixel failure if deemed unobtrusive to effective use of the monitor by our technicians. No sales personnel of the seller 
or any other person is authorized to make any warranties other than those described above, or to extend the duration 
of any warranties on behalf of Marshall Electronics, beyond the time period described above. Due to constant effort to 
improve products and product features, specifications may change without notice.


  5 

Installation and Initial Setup


  Unpacking 


Carefully unpack the QV261-HDSDI monitor and verify that the following items are included: 


• QV261-HDSDI Monitor 


• V-PS24-7.5 Power Supply with 4-Pin XLR Connector 


• Operating Instructions 


Inspect the unit for any physical damage that may have occurred during shipping. Should there be any damage, 
immediately contact Marshall Electronics at (800) 800-6608. If you are not located within the continental United 
States, call +1 (310) 333-0606. 


  Installation 

 
     The QV261-HDSDI comes with a desktop stand (Marshall Part V-ST23-32).  
          

VESA standard 75mm and 200 mm hole patterns allows custom mounting installations (Marshall Part VP-
LCD171H-ST-01). 


  Connections, Power-On and Initial Setup 


Plug the V-PS24-7.5 power supply into an AC power source (100-240 V @ 50/60 Hz). Attach the XLR connector to 
the back of the monitor. Connect the required cables for video signals input and output. (Power must be applied to 
the QV261-HDSDI for the active loop-though output to be activated.) The monitor defaults to ‘ON’ when power is 
supplied.  
 
For IMD setup details, see IMD Configuration Submenu on page 21.

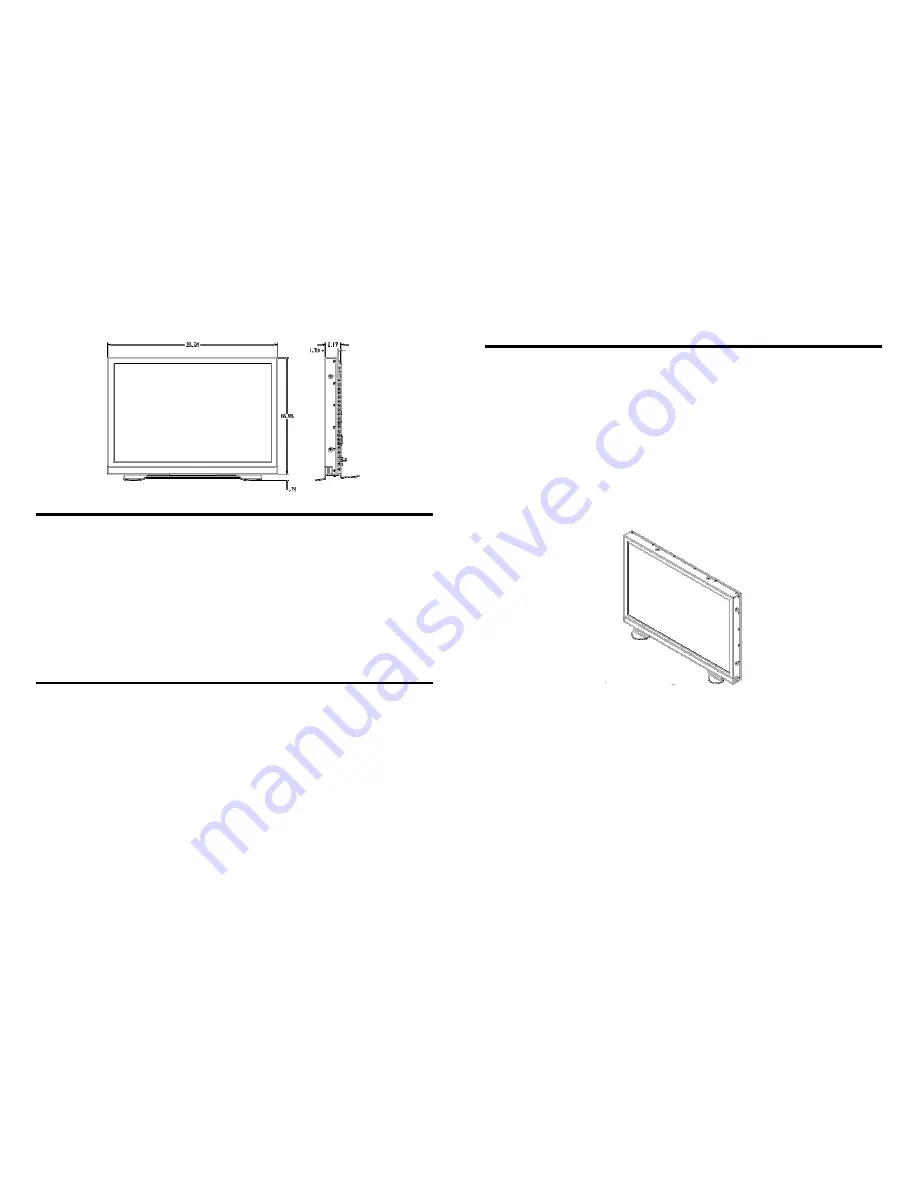
QV261-HDSDI with desktop 
stand (Marshall Part Number V-
ST23-32) 

Содержание QV261-HDSDI

Страница 1: ...1910 East Maple Ave El Segundo CA 90245 Tel 800 800 6608 310 333 0606 Fax 310 333 0688 www LCDRacks com sales lcdracks com 2010 0318 Marshall Electronics QV261 HDSDI 26 Full Resolution Quad Viewer Mon...

Страница 2: ...2 This page intentionally left blank 31 This page intentionally left blank...

Страница 3: ...VIGATION 12 Making Changes to an Individual Channel 12 Group Link Changes 13 VIDEO CONFIGURATION SUBMENU 14 Monochrome Mode 14 Blue Only Mode 15 Pixel to Pixel Mode 15 Aspect Ratio Settings 15 Curtain...

Страница 4: ...ide mode Ability to view 4 inputs on the screen at once Each input source is scaled and positioned in real time so that all 4 can be seen DVI I input can replace HD SDI input 4 in this mode There are...

Страница 5: ...of pixels not to exceed three to fail on the periphery of the display active viewing area Marshall Electronics reserves the option to refuse service for display pixel failure if deemed unobtrusive to...

Страница 6: ...Pixels 1920 x RGB x 1200 Color Depth 8 bit Viewing Angle h x v 178 x 178 Brightness 500 cd m 2 Contrast Ratio 800 1 Pixel Pitch h x v 0 2865x 0 2865mm Burn In Warning The QV261 HDSDI uses a high qual...

Страница 7: ...e the unit Tally Interface HD 15 The OSD tally can be activated via the HD 15 connector by connecting the corresponding pin to ground A variety of external devices can be used to perform the contact c...

Страница 8: ...Video or TSL v4 0 protocols text color is set via the protocols IMD Fixed Align Use this setting to choose the horizontal alignment of the IMD text IMD text can be justified on the left center or rig...

Страница 9: ...u knob to edit the IMD Name Rotate the RotoMenu knob to move the cursor Press the RotoMenu knob with the cursor on the character to be changed then rotate the knob to scroll through the character set...

Страница 10: ...mage Video commands via MEI protocol for use when an Image Video controller is connected to the Marshall Network Controller box Tally Source The QV261 HDSDI OSD tally can be controlled in a variety of...

Страница 11: ...Config Analog Phase 0 31 DVI Analog input only Back Return to Main Menu Red Offset Per Channel 0 100 Green Offset Per Channel 0 100 Color Config Blue Offset Per Channel 0 100 Red Gain Per Channel 0 1...

Страница 12: ...ual channel select the particular submenu you would like to modify in this case the Monochrome option by turning your RotoMenu left or right from the screen above Main Menu 21 Audio Monitor Use the Au...

Страница 13: ...ellow RGY mode single color activated RGY mode two colors activated RGY mode three colors activated red gree n red gree n 13 Your current position in the menu is indicated by the green highlight When...

Страница 14: ...le picture Video Configuration Submenu 19 Status Display Use this setting to enable or disable status display When enabled the current video input standard is displayed on the top left of the screen W...

Страница 15: ...blue appear to match in brightness Pixel to Pixel Mode Use this setting to enable Pixel to Pixel mode This mode bypasses the monitor s internal scaling function and displays images in their native res...

Страница 16: ...alog to digital conversion 0 31 value 17 COLOR CONFIGURATION SUBMENU Use the Color Configuration submenu to adjust the Red Green and Blue Offset and Gain values of all four HD SDI channels the DVI D i...

Отзывы: