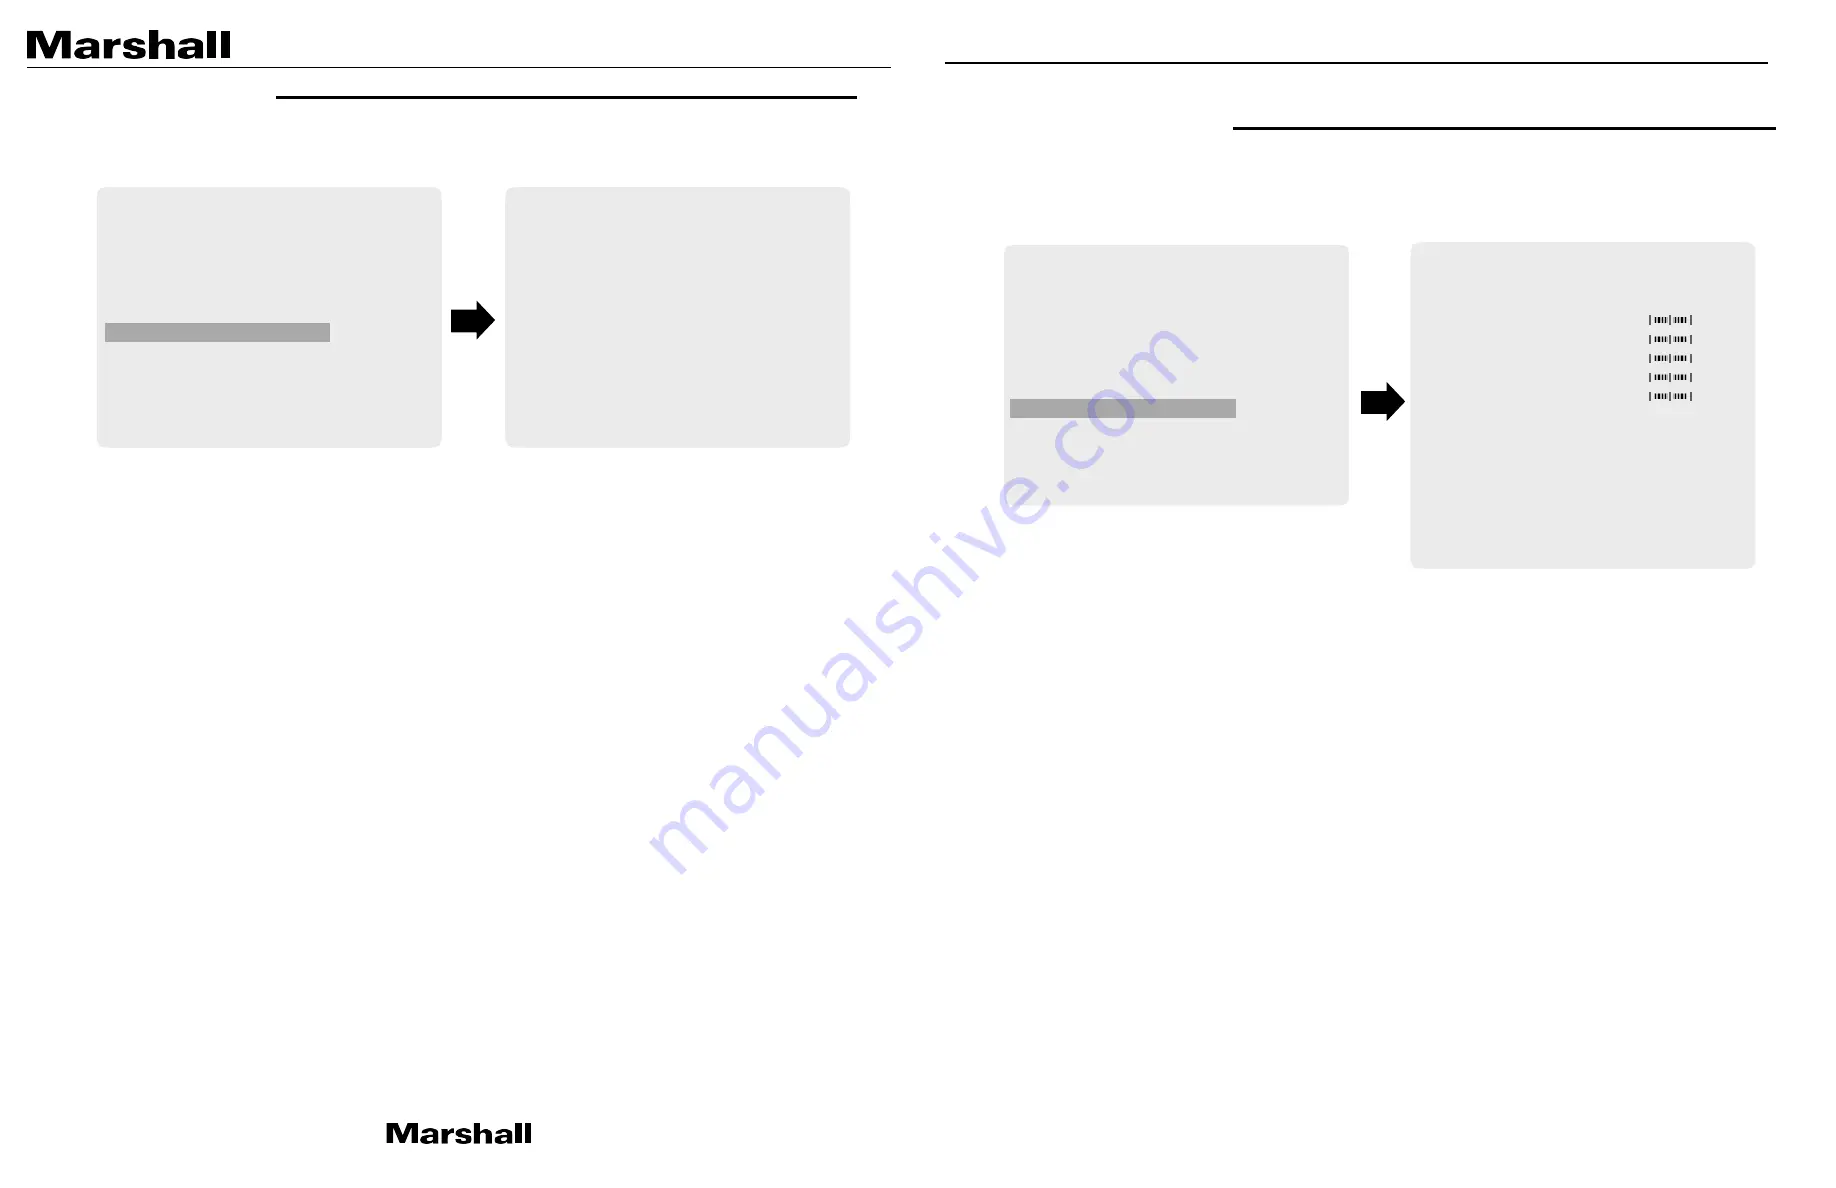
manualshive.com logo in svg
background image


CV355-10X Manual 


www.marshall-usa.com 


9. BACKLIGHT 

Select BACKLIGHT using the UP or DOWN button. 
You can Select BACKLIGHT, WDR, DWDR and DEFOG using the UP or DOWN buttons. 


BACKLIGHT: 

Select between different BACKLIGHT compensation modes. 

1.  BLC: 

BLC enables back light compensation. 

2.  HLM:

 HLM mode will mask out bright areas. 

3.  SPOT:

 SPOT enables to create a user defined area for BLC.  


WDR: 

Sensor enables to view both object and background more clearly when background 

is too bright.   


DWDR: 

Digital algorithm enables to view both object and background more clearly when 

background is too bright 


DEFOG: 

This feature will help increase visibility in extreme weather conditions, such as 

fog, rain or in a very strong luminous intensity.   


10.  IMAGE CONTROL  

Select IMAGE CONTROL using the UP or DOWN button. 
You can select LENS SHADING, CONTRAST, HUE, and image related menu using the UP or 
DOWN buttons. 


LENS SHADING: 

Corrects inconsistent brightness level in the image. 


CONTRAST: 

Adjust the image contrast level. 


BRIGHTNESS: 

Adjust the image brightness level. 


SATURATION: 

Adjust the image saturation level. 


HUE: 

Adjust the image hue level. 


EDGE ENHANCE: 

Adjust the image sharpness level. 


AUTO SATURATE: 

Decrease saturation automatically when noise scene is detected. 


IMAGE EFFECT: 

Adjust different color schemes. 


IMAGE MIRROR: 

Adjust horizontal mirror effect. 


IMAGE FLIP: 

Adjust vertical flip effect. 


BLACK WHITE LEVEL: 

Adjust the image black level and white level value. 


GAMMA CORRECT: 

Adjust the image output gamma level. 


DNR: 

Reduces video noise at low ambient light 

Select the DNR level from Auto, LOW, MIDDLE, and HIGH using the LEFT or RIGHT button.


MAIN MENU 


WB CONTROL 


>                                                 

AE CONTROL  


FOCUS CONTROL   

DAY/NIGHT   


AUDIO  


BACKLIGHT   


IMAGE CONTROL   

SPECIAL 


SETUP 


RESET 


EXIT 

IMAGE CONTROL 


LENS SHADING 

CONTRAST   


11


BRIGHTNESS  


10


SATURATION  


10


HUE   


0  


EDGE ENHANCE 


5  


AUTO SATURATE 

IMAGE EFFECT 

IMAGE MIRROR 

IMAGE FLIP 

BLACK WHITE LV   

GAMMA CORRECT 

DNR   


RETURN 


MAIN MENU 


WB CONTROL 


>                                                 

AE CONTROL  


FOCUS CONTROL   

DAY/NIGHT   


AUDIO  


BACKLIGHT   


IMAGE CONTROL   

SPECIAL 


SETUP 


RESET 


EXIT 

BACKLIGHT 


BACKLIGHT 

WDR 

DWDR 

DEFOG 


RETURN 


Содержание CV355-10X

Страница 1: ...Broadcast A V Division CV355 10X Compact 10x Zoom HD Camera 3G HDSDI HDMI User Manual...

Страница 2: ...ly remove all contents of box which should include the following components CV355 10X includes Camera Breakout Cable Power RS485 Audio IR Remote Controller 12V Power Supply The CV355 10X Camera utiliz...

Страница 3: ...F MODE DZOOM ZOOM SPEED NEAR LIMIT AF INTERVAL AF AREA SIZE DAY NIGHT DAY NIGHT NIGHT COLOR AUTO SETUP SUB MENU SUB MENU AUDIO MIC LINE AUDIO LEVEL MIC ATTENUCATOR SAMPLE BITS BACKLIGHT BACKLIGHT BLC...

Страница 4: ...OSD button Place the white paper in front of the camera when OSD button is pressed to obtain optimum result MANUAL Select this to fine tune White Balance manually You can adjust the blue and red tone...

Страница 5: ...equency to match the power frequency in order to minimize video flicker 6 Focus Control Select Focus Controlusing the UP or DOWN button You can change between AUTO and Manual focus modes FOCUS MODE Ad...

Страница 6: ...mode 3 N D LEVEL Adjust the level to switch from Night mode to Day mode 8 AUDIO Select AUDIO using the UP or DOWN button and enter ON using SEL button You can select one sub mode using the UP or DOWN...

Страница 7: ...in the image CONTRAST Adjust the image contrast level BRIGHTNESS Adjust the image brightness level SATURATION Adjust the image saturation level HUE Adjust the image hue level EDGE ENHANCE Adjust the...

Страница 8: ...be turned ON or OFF COMMUNICATION VISCA communication can be adjusted 1 CAM ID Camera ID can be setup 0 254 2 ID DISPLAY Camera ID display can be displayed 3 BAUDRATE Camera baudrate can be set 2400 4...

Страница 9: ...actory default setting is needed RESET Reset the camera to the mode set on RESET MODE SAVE AS USER Save the current camera settings as USER 14 EXIT Select EXIT using the UP or DOWN button SAVE Exit th...

Страница 10: ...izing with the reference signal a Make sure Tri Level reference signal is used b Locking takes up to 1 minute depending on the signal strength Make sure the sync LED is solidly lit c Check if the cabl...

Отзывы: