MR 150M–1050M - PLC CONTROLLER
MAINTENANCE
46
PAGE
32
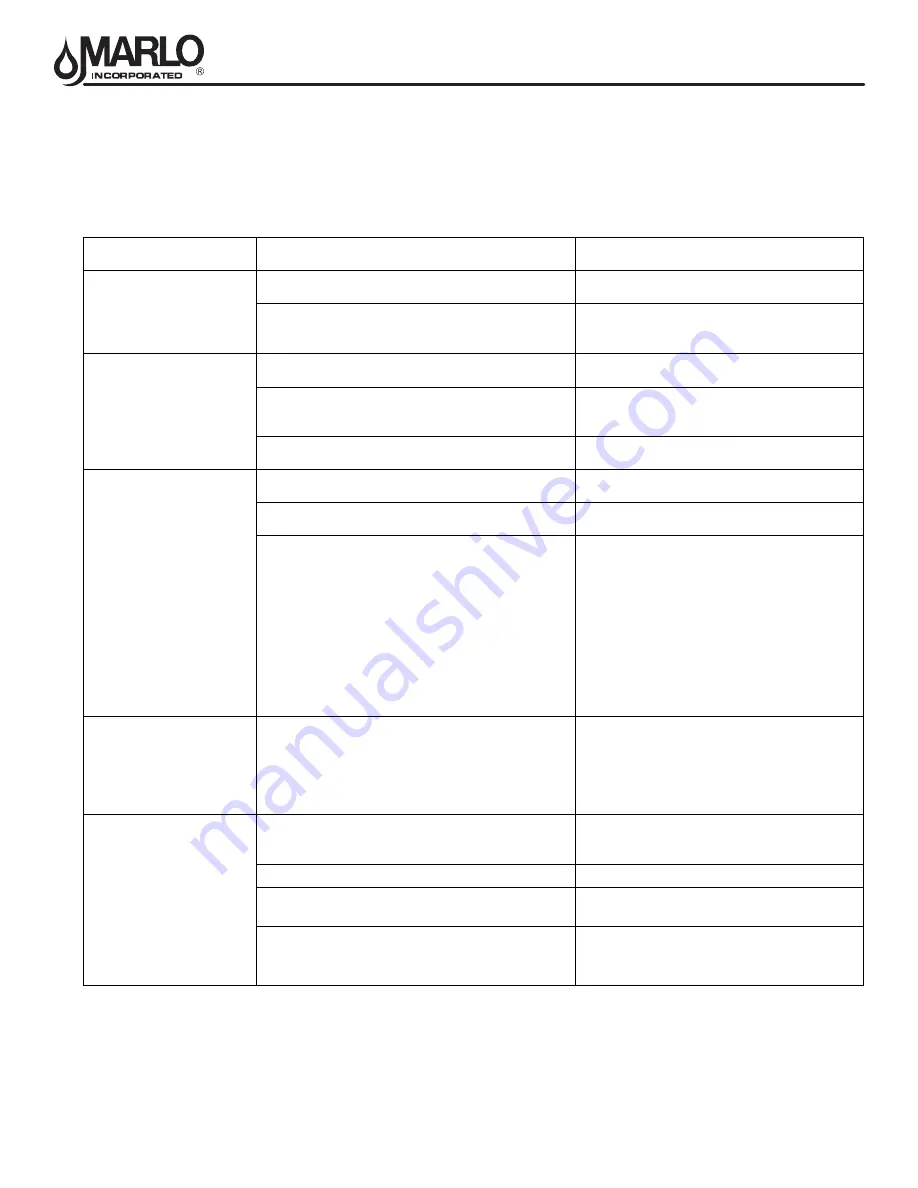
SERVICE CHART WATER SOFTENERS
IMPORTANT: Many softener complaints result from oversights (poor electric connections, out of
salt, regenerating at wrong hour etc.) rather than from a mechanical failure.
Troubleshooting guide for the MX controller is located in the back of this manual
page 33.
PROBLEM OR
SYMPTOM
CHECK PROCEDURE
CAUSE
1. Disconnect tubing at backwash control.
Flow from indicates leaky seal in stager
valve.
Slight leak to drain.
2. If stager is not leaking, use soap test kit and
check hardness of water at drain.
If water tests soft, Valve #6 is leaking: If
hard, Valve #3. See procedures 10, 11, 12
and 13.
3. Check position dial.
If not in position #4, rotate clockwise to this
position.
4. If position dial is in position #4, check for
water leakage from Valve #3 or #6 vent
holes.
Leakage indicates:
1. Ruptured diaphragm.
2. Loose diaphragm nut.
High flow to drain during
service
5. If vent hole is not leaking, use soap test kit
and check hardness of water at drain.
If water tests soft, Valve #6 is open: If hard,
Valve #3. See procedures 10, 12 and 13.
6. Check that manual brine valve is open wide. Valve must be open at all times, except
when servicing.
7. Check water pressure
Water pressure must be a least 30 psi
during regeneration.
Failure to draw brine
8. Turn position dial clockwise to position #2.
Break union in suction line to injector and
feel for suction.
If there is suction, automatic brine valve
may be clogged.
No suction indicates:
1. Drain pipe to small or discharging at
level too high above floor.
2. Plugged pilot strainer.
3. Plugged injection nozzle.
4. Valve #1, #4, or #2 not closing fully.
See items 10, 11 and 13.
5. Plugged backwash controller.
6. Dirty mineral bed.
Slight leak from vent
hole.
9. Turn position dial clockwise to a position,
which relieves pressure on valve.
If leaking stops leak results from loose
diaphragm nut, small Tear in diaphragm or
special washer under diaphragm is
missing. If leaking does not stop, shaft
guide O-ring is damaged, shaft guide is not
seated against gasket or shaft is damaged.
10. Check that vent hole is not plugged.
If vent hole is plugged, air in space
between diaphragm and shaft guide will
compress and prevent valve from closing.
11. Check for water leak at vent hole.
See Procedure 9.
12. Loosen tubing nut at diaphragm cap. If there is not flow, pilot strainer may
be plugged.
Diaphragm valve does
not close.
13. Turn off water pressure and dis-
assemble diaphragm valve.
1. Seat washer may be dirty, worn
or loose.
2. Seat may be eroded.
Page 4
6
MR 150M–1050M PLC
MAINTENANCE
Содержание MR Series
Страница 7: ...MR 150M 1050M PLC CONTROLLER SYSTEM INFORMATION 4 Page 4 MR 150M 1050M PLC INSTALLATION ...
Страница 11: ...MR 150M 1050M PLC CONTROLLER INSTALLATION 8 TUBING DIAGRAM VALVE NEST MULTITANK ASCO SOLENOID ...
Страница 31: ...MR 150M 1050M PLC CONTROLLER OPERATION 28 PAGE 28 FLOW DIAGRAM Page 28 MR 150M 1050M PLC OPERATION ...
Страница 36: ...MR 150M 1050M PLC CONTROLLER MAINTENANCE 33 ...
Страница 37: ...MR 150M 1050M PLC CONTROLLER MAINTENANCE 34 ...
Страница 38: ...MR 150M 1050M PLC CONTROLLER MAINTENANCE 35 ...
Страница 39: ...MR 150M 1050M PLC CONTROLLER MAINTENANCE 36 ...
Страница 40: ...MR 150M 1050M PLC CONTROLLER MAINTENANCE 37 ...
Страница 41: ...MR 150M 1050M PLC CONTROLLER MAINTENANCE 38 ...
Страница 42: ...MR 150M 1050M PLC CONTROLLER MAINTENANCE 39 ...
Страница 51: ...MR 150M 1050M PLC CONTROLLER 48 NOTES ...
Страница 52: ...2227 South Street P O Box 044170 Racine WI 53404 7003 www Marlo Inc com 8 217 R5 ...


