59
METAL X PRINTER USER GUIDE
SAFELY REMOVING METAL PARTS
METAL PART REMOVAL
1.
Once a part has finished printing on the Metal X, the print bed will begin cooling automatically. The
cooldown cycle should be thought of as a regular part of the print process.
2.
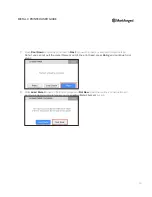
You will receive an email notification when the print bed is completely cooled. Alternatively, you can select
Skip Cooling
on the touchscreen to cancel the cooldown process, though
we recommend always
cooling the part on the print bed
before removing the part to avoid part warping and potential
operator injury. Once the cooldown is completed or cancelled, the print bed vacuum seal will
automatically disengage.
Note: See
Safety Notes
for additional instructions.
3.
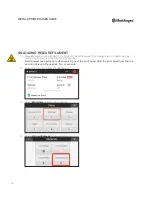
You can assign the print a 1-5 star quality rating on the touchscreen, which will be viewable in the
History
feature in Eiger.
4.
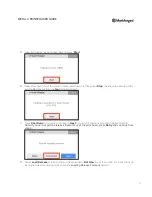
Select
Clear Bed
to change the printer’s status to
Ready
in the Eiger queue.
Note: At this point the part and print bed should be safe to handle, but may still feel warm to the
touch, especially the print bed
.
5.
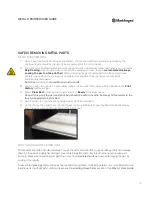
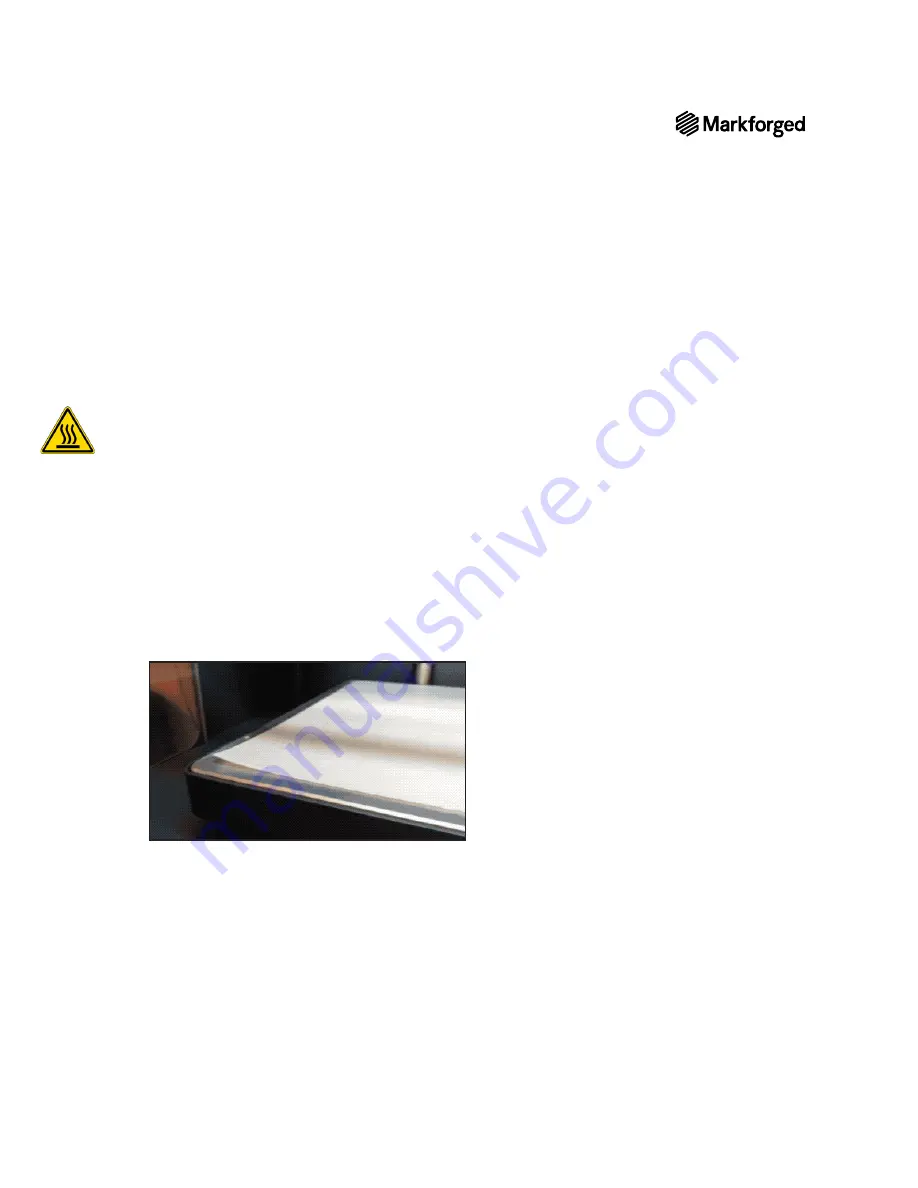
Carefully slide the print sheet and printed parts off of the print bed.
6.
Gently remove the part(s) from the print sheet. You should be able to peel the flexible print sheet away
from the parts without difficulty. Discard the print sheet.
PART HANDLING AFTER REMOVAL
Printed parts should be handled carefully. Though the parts are not brittle, rough handling or falls can damage
them. A dropped or roughly handled part may contain invisible micro-fractures that can compromise part
strength. Make sure to set the warm part down only on an
insulated surface
to avoid damaging the part by
cooling it too rapidly.
Newly printed
green parts
must be washed in a Markforged Wash-1 debinding station. For more information on
loading parts into the Wash-1 station, please see the
Loading Green Parts
section of the
Wash-1 User Guide
.
Содержание Metal X
Страница 1: ...1 METAL X PRINTER USER GUIDE METAL X PRINTER USER GUIDE ...
Страница 33: ...33 METAL X PRINTER USER GUIDE 5 Select Quick Load 6 Select the type of metal material that you are loading ...
Страница 40: ...METAL X PRINTER USER GUIDE 40 Press Next 8 Mount the spool on the spool holder as shown and press Next ...
Страница 44: ...METAL X PRINTER USER GUIDE 44 6 Mount the spool on the spool holder as shown and press Next ...

