44
Setting the BNC connectors
Select whether to set the input of the 5 BNC connectors to
RGB or component.
Example: Set the BNC SELECT mode to “COMP.”
Press the
3
-D1(ON) button button on the remote control-
ler to display the MAIN MENU on the screen, then...
1. Use the
▲
and
▼
buttons to select “OPTION”, then
press the
3
-D1(ON) button.
The “OPTION” screen appears.
2. Use the
▲
and
▼
buttons to select “BNC SELECT”.
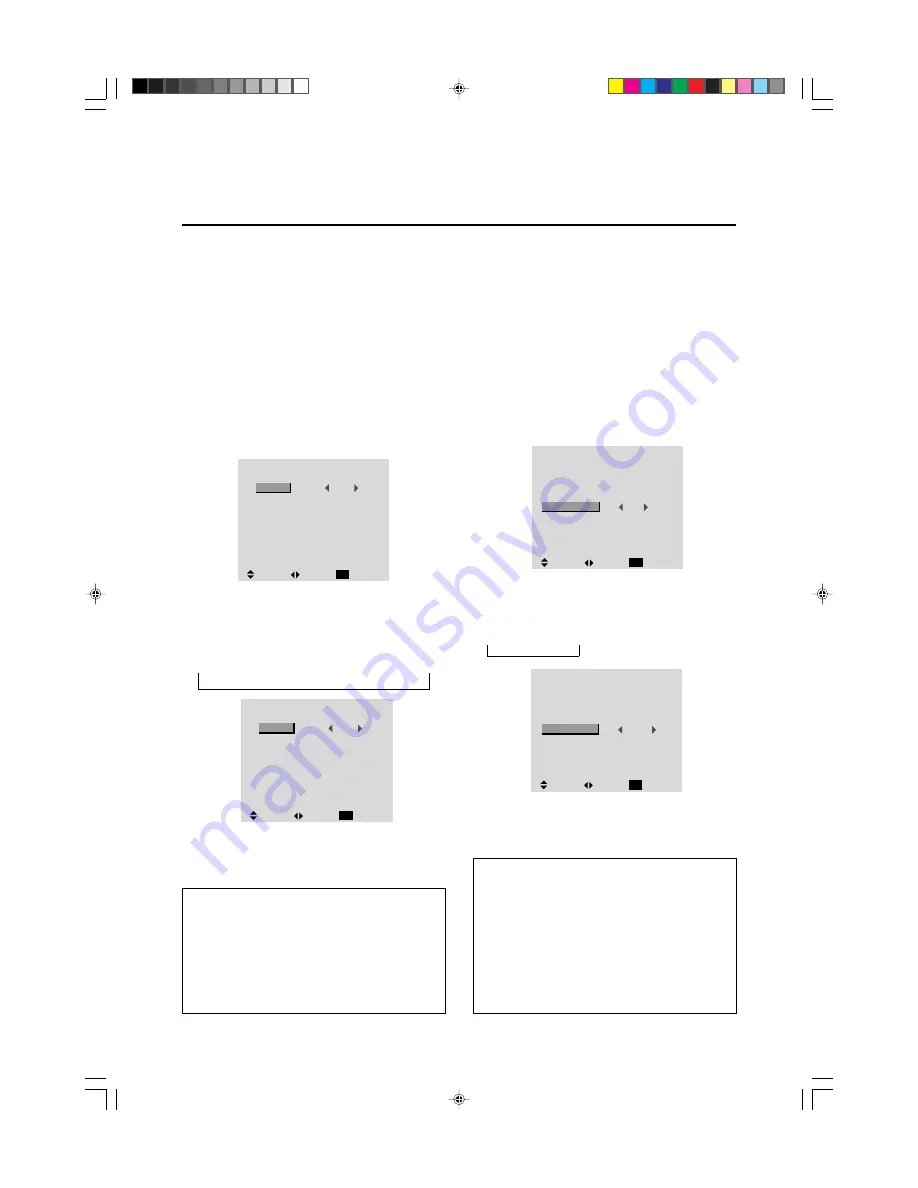
O P T I O N
AUDIO INPUT
AUDIO1
AUDIO2
AUDIO3
BNC SELECT
RGB SELECT
HD SELECT
RGB3 ADJ.
RGB1
VIDEO1
HD/DVD1
RGB
RGB
1080B
1
:
:
:
:
:
:
:
SEL.
ADJ.
RETURN
EXIT
3. To set the BNC SELECT mode to “COMP”...
Use the
§
and
©
buttons to select “COMP”.
The mode switches as follows each time the
§
or
©
button is pressed:
RGB
↔
COMP.
4. Once setting is completed...
Press the “OK” button to return to the main menu.
To delete the main menu, press the “OK” button once
more.
Information
m
BNC SELECT
RGB ..............
Uses the 5BNC terminal for RGB in-
put.
COMP. ...........
Use the 3BNC terminal for component
input.
m
Restoring the factory default settings
Select “RESET” under the function menu. Note that this
also restores other settings to the factory defaults.
O P T I O N
AUDIO INPUT
AUDIO1
AUDIO2
AUDIO3
BNC SELECT
RGB SELECT
HD SELECT
RGB3 ADJ.
RGB1
VIDEO1
HD/DVD1
COMP.
RGB
1080
B
1
:
:
:
:
:
:
:
SEL.
ADJ.
RETURN
EXIT
Setting the allocation of the audio connectors
Setting the AUDIO 1, 2, and 3 connectors to the desired
input.
Example: Set AUDIO 1 to RGB 2.
Press the
3
-D1(ON) button on the remote controller to
display the MAIN MENU on the screen, then...
1. Use the
▲
and
▼
buttons to select “OPTION”, then
press the
3
-D1(ON) button.
The “OPTION” screen appears.
2. Use the
▲
and
▼
buttons to select “AUDIO 1”.
O P T I O N
AUDIO INPUT
AUDIO1
AUDIO2
AUDIO3
BNC SELECT
RGB SELECT
HD SELECT
RGB3 ADJ.
RGB1
VIDEO1
HD/DVD1
RGB
RGB
1080B
1
:
:
:
:
:
:
:
SEL.
ADJ.
RETURN
EXIT
3. To set the AUDIO1 to “RGB2”...
Use the
▲
and
▼
buttons to select “AUDIO1”.
Use the
§
and
©
buttons to select “RGB2”.
The mode switches as follows each time the
§
or
©
button is pressed:
→
VIDEO1
↔
VIDEO2
↔
VIDEO3
↔
HD/DVD1
↔
RGB1
↔
RGB2
↔
RGB3
←
O P T I O N
AUDIO INPUT
AUDIO1
AUDIO2
AUDIO3
BNC SELECT
RGB SELECT
HD SELECT
RGB3 ADJ.
RGB2
VIDEO1
HD/DVD1
RGB
RGB
1080
B
1
:
:
:
:
:
:
:
SEL.
ADJ.
RETURN
EXIT
4. Once setting is completed...
Press the “OK” button to return to the main menu.
To delete the main menu, press the “OK” button once
more.
Information
m
AUDIO INPUT
A single audio input cannot be selected as the audio
channel for more than one input terminal.
m
Restoring the factory default settings
Select “RESET” under the function menu. Note that this
also restores other settings to the factory defaults.
Option Setting Menu
PD4292D-2
00.10.4, 3:11 PM
44


