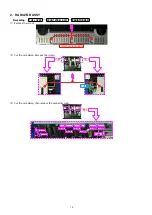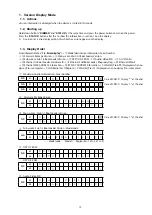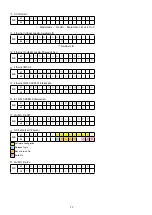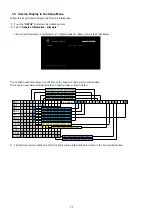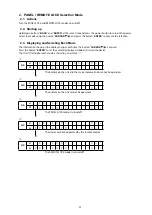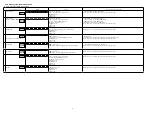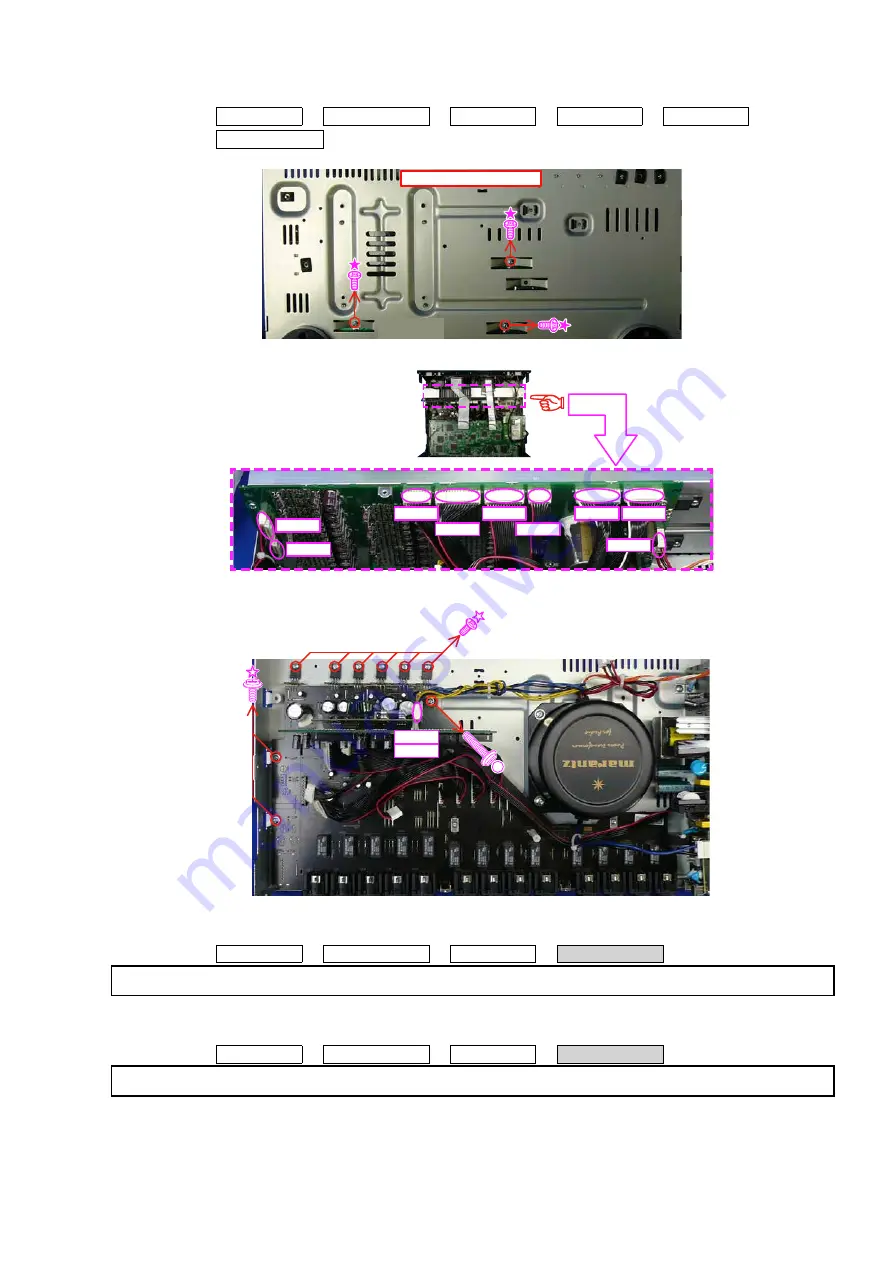
6. XLR PCB
Proceedingn:
TOPnCOVER
→
BACKnCHASSIS
→
DIGITALnPCB
→
VIDEOnPCB
→
INPUTnPCB
→
→
XLRnPCB
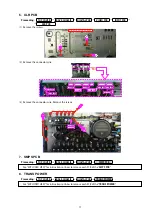
(1) Remove the screws.
(2) Remove the connector wire.
(3) Remove the connector wire. Remove the screws.
7. SMPS PCB
Proceedingn:
TOPnCOVER
→
BACKnCHASSIS
→
DIGITALnPCB
→
SMPSnPCB
8. TRANS POWER
Proceedingn:
TOPnCOVER
→
BACKnCHASSIS
→
DIGITALnPCB
→
TRANSnPOWER
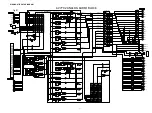
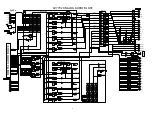
View from the bottom
CN920
CN922
CN484 CN483
CN940
CN481
CN482
CN921
CN923
CN940
CN941
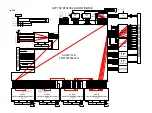
See "EXPLODED VIEW" for instructions on how to remove each PCB of the "
SMPSnPCB
".
See "EXPLODED VIEW" for instructions on how to remove each PCB of the "
TRANSnPOWER
".
17
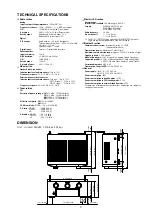
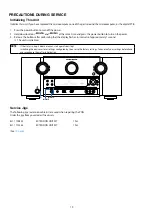
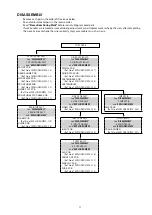
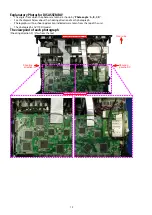
Содержание AV7702
Страница 8: ...Personal notes 8 ...
Страница 187: ...AK5358BET DIGITAL IC306 AK5358BET Pin Function 187 ...
Страница 192: ...NJW1194A INPUT IC484 IC489 BLOCK DIAGRAM 192 ...
Страница 193: ...2 FL DISPLAY FLD GP1261AI FRONT FL602 PIN CONNECTION PATTERN DETAIL 193 ...

