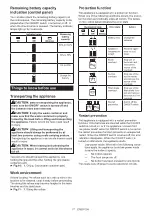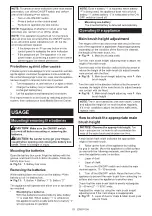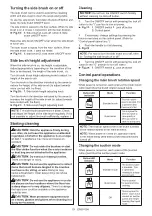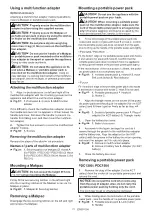
19 ENGLISH
Turning the side brush on or off
The side brush can be used to extend the cleaning
width and also used to clean the areas along walls.
To use the side brush, hold down the lock off button and
lower the side brush ON/OFF lever.
The side brush is lowered to the floor surface. When the side
brush is on, it rotates in conjunction with the main brushes.
►
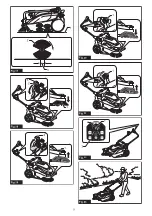
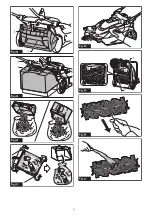
Fig.18:
1.
Side brush
2.
Lock off button
3.
Side
brush ON/OFF lever
Raise the side brush ON/OFF lever when the side brush
is not in use.
The side brush is raised from the floor surface. When
the side brush is off, it does not rotate.
►
Fig.19:
1.
Side brush
2.
Side brush ON/OFF lever
Side brush height adjustment
When the side brush is on, the height is adjustable.
Adjust appropriately depending on the condition of the
floor to be cleaned, the length of the side brush, etc.
Turn the side brush height adjusting knob to adjust the
height of the side brush.
Turn the knob in the direction indicated by the arrow to
reduce the height of the side brush (to adjust towards
more contact with the floor).
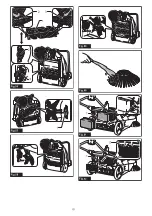
►
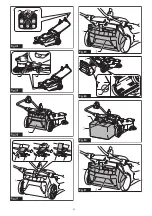
Fig.20:
1.
Side brush height adjusting knob
Turn the knob in the direction indicated by the arrow to
increase the height of the side brush (to adjust towards
less contact with the floor).
►
Fig.21:
1.
Side brush height adjusting knob
NOTE:
The side brush becomes worn down. Check
and adjust the height of the side brush regularly. If it is
not possible to adjust the brush sufficiently, replace it.
Starting cleaning
CAUTION:
Hold the appliance firmly during
use. Also, do not leave the appliance unattended
regardless of whether the appliance is on a slope
or not.
The appliance may move and cause an
accident.
CAUTION:
Do not rotate the brushes or start
the filter shake function when the waste container
or dust bag are not attached to the appliance.
CAUTION:
Do not touch rotating brushes.
There is a danger of injury.
CAUTION:
Do not use the appliance to collect
items that could become tangled in the brushes,
such as cords, string, or wire.
Doing so may
cause a breakdown. Clear away string-like refuse
beforehand.
CAUTION:
Do not use the appliance in unsta-
ble places such as locations where the floor has
a steep slope or is very slippery.
There is a danger
that operation could be unstable or the appliance
could tip over.
CAUTION:
Wear protective equipment such
as a mask, glasses and gloves when cleaning in a
dusty environment.
Cleaning
NOTICE:
Do not turn the ON/OFF switch forcibly
without pressing the lock off button.
1.
Turn the ON/OFF switch with pressing the lock off
button to the “I” position to turn on power.
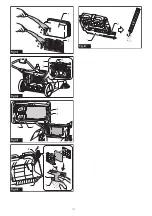
►
Fig.22:
1.
ON/OFF switch
2.
Lock off button
3.
Control panel
2.
If necessary, change settings by pressing the
function switches on the control panel. (Refer to
“
Control panel operations
.”)
3.
Push the handle to start cleaning.
►
Fig.23
NOTE:
For how to turn the side brush on or off, refer
to “
Turning the side brush on or off
.”
4.
Turn the ON/OFF switch with pressing the lock off
button to the “O” position to turn off power.
►
Fig.24:
1.
ON/OFF switch
2.
Lock off button
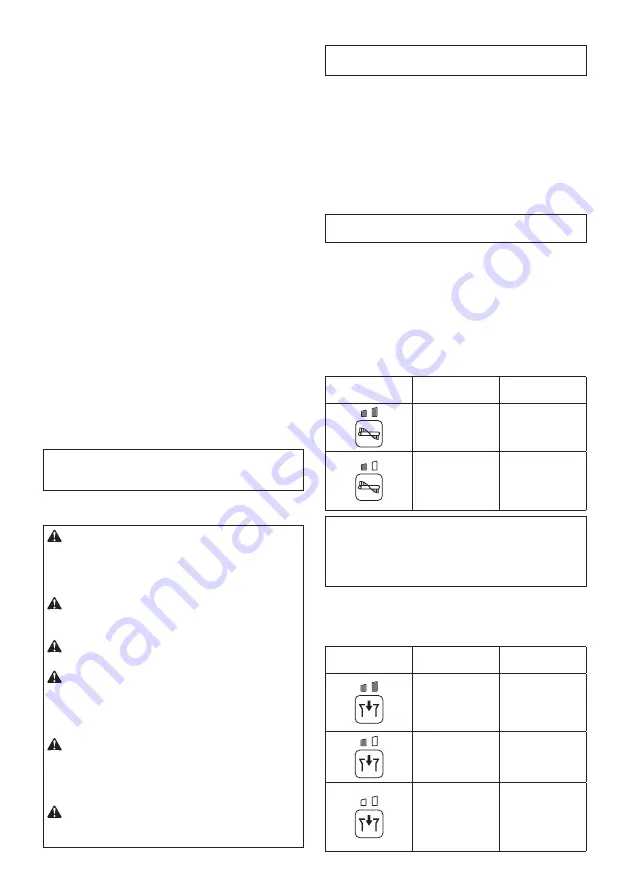
Control panel operations
Changing the main brush rotation speed
When power is turned on, each press of the [main brush
button] switches the brush rotation speed mode.
Button/LED
indication
Mode
Function
Standard mode
The brush rotation
speed is standard. This
is optimal for when
there is a lot of dirt.
Quiet mode
This is optimal for
when you want to
clean quietly or
when you want to
clean for a long time.
NOTE:
The rotation speed of the side brush is linked
to the rotation speed of the main brushes.
NOTE:
When power is turned on, operation starts
in the mode being used when power was previously
turned off.
Changing the suction mode
When power is turned on, each press of the [suction
button] switches the suction power mode.
Button/LED
indication
Mode
Function
Standard mode
The suction power
is standard. This
is optimal for
cleaning in a dusty
environment.
Quiet mode
This is optimal
for quiet and long
cleaning.
Off
This is optimal for
when suction is not
needed, as well as
quieter and longer
cleaning than quiet
mode.
Содержание VS001G
Страница 3: ...3 1 2 3 Fig 5 1 Fig 6 1 2 Fig 7 1 Fig 8 1 2 Fig 9 1 2 Fig 10...
Страница 4: ...4 1 Fig 11 1 Fig 12 2 3 1 Fig 13 1 Fig 14 1 2 Fig 15 1 2 Fig 16...
Страница 5: ...5 1 3 2 Fig 17 1 2 3 Fig 18 2 1 Fig 19 1 Fig 20 1 Fig 21 1 2 3 Fig 22 Fig 23...
Страница 6: ...6 1 2 Fig 24 1 1 Fig 25 1 Fig 26 1 Fig 27 1 2 Fig 28 1 2 Fig 29 1 2 Fig 30 1 2 Fig 31...
Страница 7: ...7 1 3 2 Fig 32 Fig 33 2 1 Fig 34 1 2 Fig 35 1 Fig 36 1 2 3 Fig 37 1 Fig 38 2 2 1 1 3 4 4 Fig 39...
Страница 9: ...9 1 2 Fig 48 1 2 Fig 49 Fig 50 Fig 51 Fig 52 1 1 A B Fig 53 Fig 54 Fig 55...
Страница 10: ...10 1 2 3 2 3 Fig 56 1 Fig 57 Fig 58 Fig 59 Fig 60 1 2 Fig 61 1 2 Fig 62...
Страница 11: ...11 1 2 Fig 63 1 2 3 4 Fig 64 1 2 3 4 Fig 65 1 2 3 Fig 66 1 2 Fig 67...
Страница 110: ...110 VS001G 15 6 1 1 920 2 2 600 2 480 650 36 40 830 x 677 x 1 146 830 x 677 x 467 44 0 1 BL4025 29 9 IPX4 1 4...
Страница 112: ...112 7 8 9 10 11 12 13 14 15 16 17 18 19 20 21 22 23 24 25 26 1 2 3 4 5 6 130 C 7...
Страница 115: ...115 Makita Makita 1 2 2 1 2 3 3 1 4 5 1 2 3 1 6 1 2 2 2 6 7 1 2 2 6 8 1...
Страница 116: ...116 9 1 2 75 100 50 75 25 50 0 25 3 50 100 20 50 0 20 10 1 2 11 1...
Страница 117: ...117 1 2 3 Makita 12 1 13 1 2 1 3 2 1 1 2 1 2 1 2...
Страница 118: ...118 14 1 15 1 2 16 1 2 1 2 15 30 3 25 40 1 1 9 16 17 1 2 3 18 1 2 3 19 1 2 20 1 21 1...
Страница 119: ...119 1 I 22 1 2 3 2 3 23 4 O 24 1 2...
Страница 120: ...120 15 25 1 30 26 1 1 2 27 1 3 28 1 2 1 29 1 2 2 30 1 2 1 31 1 2 2 32 1 2 3 3 33 4 34 1 2...
Страница 123: ...123 52 1 2 53 1 3 4 5 54 6 55 7 56 1 2 3 8 57 1 9 58 7 10 59 1 2 60 3 1 2 61 1 2...
Страница 124: ...124 3 HEPA HEPA 62 1 HEPA 2 4 HEPA 63 1 2 HEPA 5 HEPA 64 1 HEPA 2 3 4 6 65 1 2 3 4 1 2 66 1 2 3 3 4 1 2 67 1 2 3 Makita...
Страница 125: ...125...
Страница 126: ...126...
Страница 127: ...127...

