background image

Pg 13 of 24

1-800-892-3986

IS9555

Instrucciones de Ensamblado / Instructions de montage
Modelo / Modèle 9554CHWM 

(Espresso / espresso)

Содержание 9554CHWM Espresso

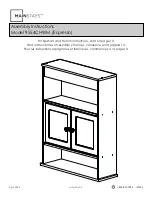
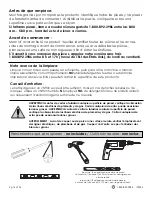
Страница 1: ...03 2019 Assembly Instructions Model 9554CHWM Espresso For Spanish and French instructions start on page 13 Para instrucciones en espa ol y franc s comience en la p gina 13 Pour les instructions espagn...

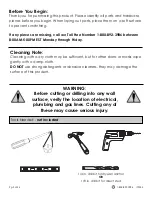
Страница 2: ...M 5 00PM EST Monday through Friday Cleaning Note Cleaning with a dry cloth may be sufficient but for other stains or marks wipe gently with a damp cloth DO NOT use strong detergents or abrasive cleane...

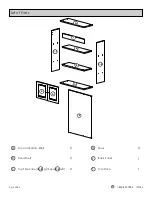
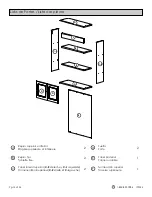
Страница 3: ...Pg 3 of 24 1 800 892 3986 IS9555 A Top and Bottom Shelf 2 B Fixed Shelf 2 C Top Side Panel C R right and C L left 2 List of Parts D Door 2 E Back Panel 1 F Trim Piece 1 A A B B C R E F D D C L...

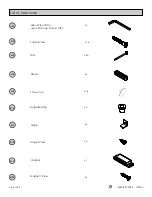
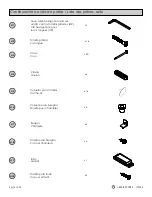
Страница 4: ...55 Large Screw Hinge Screw Magnet Hinge Bushing Magnet Screw Hinge Allen Wrench for use with Large Screws H2 x 1 x 16 x 4 x 4 x 4 x 1 x 2 Nail x 40 H 10 H 1 H 2 H 3 H 6 H 7 H 8 H 9 List of Hardware Do...

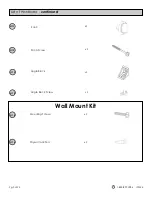
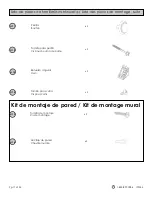
Страница 5: ...00 892 3986 IS9555 Pg 5 of 24 Knob Screw Knob x 2 x 2 H 11 H 12 List of Hardware continued Drywall Anchors Mounting Screws x 2 x 2 Angle Block Angle Block Screw x 2 x 2 H 13 H 14 H 15 H 16 Wall Mount...

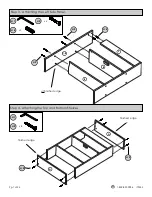
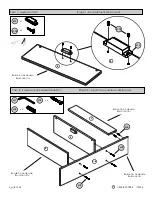
Страница 6: ...Installing the Magnet 1 800 892 3986 IS9555 B B x 1 x 2 H 10 H 9 C L Step 2 Attaching the Right Side Panel unfinished edge unfinished edge unfinished edge unfinished edge B B F H 9 H 10 H 2 H 2 H 4 x...

Страница 7: ...800 892 3986 IS9555 Step 3 Attaching the Left Side Panel finished edge A Step 4 Attaching the Top and Bottom Shelves x 8 H 1 H 2 finished edge C R B B F A unfinished edge H 2 H 2 H 4 x 2 H 1 H 4 x 4...

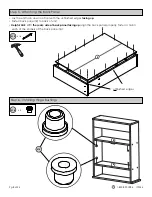
Страница 8: ...wn on floor with the unfinished edges facing up Fasten back panel E to back of unit Helpful Hint With the seam side of back panel facing up align the back panel properly fasten a nail in each of the c...

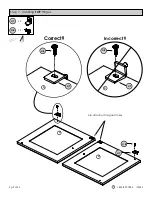
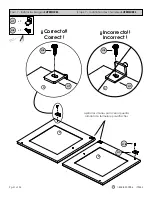
Страница 9: ...Pg 9 of 24 1 800 892 3986 IS9555 Step 7 Installing TOP Hinges Incorrect Correct H 7 H 8 x 2 x 2 D D D H 8 H 7 H 8 H 7 pre attached magnet strikes D H 8 H 7...

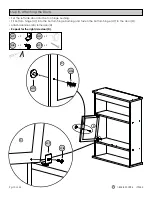
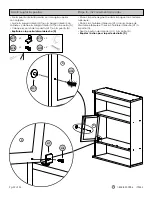
Страница 10: ...8 x 2 x 2 H 11 H 12 x 2 x 2 Set the left side door into the top hinge bushing Fit bottom hinge H7 into the bottom hinge bushing and fasten the bottom hinge H7 to the door D Attach door knob H11 to th...

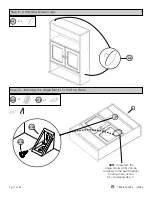
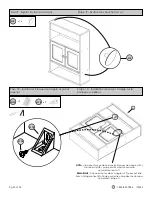
Страница 11: ...p 9 Attaching Screw Caps H 5 x 16 H 5 Step 10 Installing the Angle Blocks to the Top Panel A x 2 x 2 H 13 H 14 NOTE If needed the angle blocks H13 can be fastened to the fixed shelf B to allow more ac...

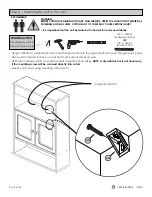
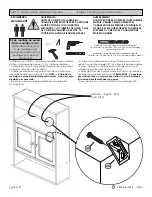
Страница 12: ...bit for drywall anchor OR 1 8 in drill bit for direct stud Using a drill and a small drill bit drill a hole through the hole in the angle block H13 and through back panel Place unit in desired locati...

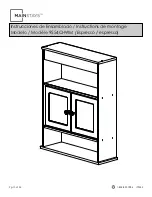
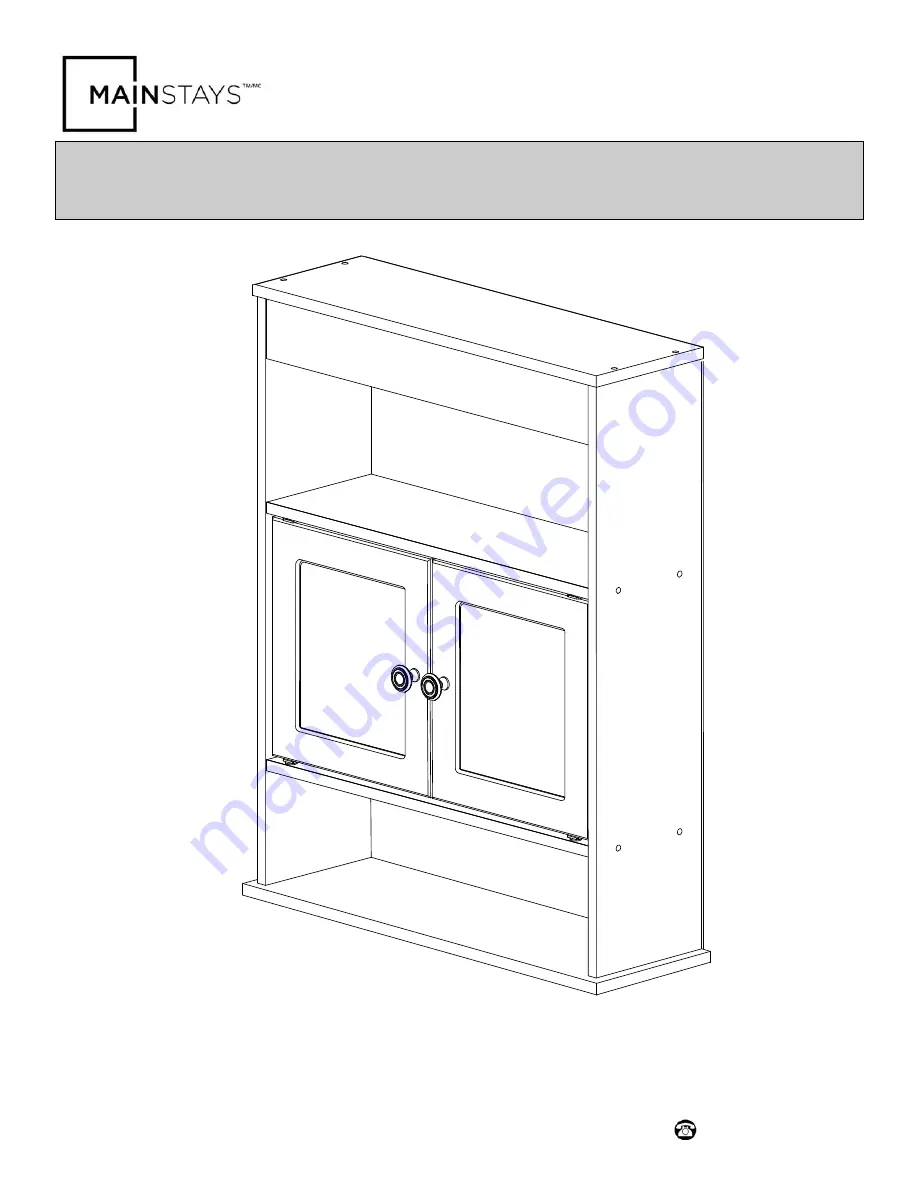
Страница 13: ...Pg 13 of 24 1 800 892 3986 IS9555 Instrucciones de Ensamblado Instructions de montage Modelo Mod le 9554CHWM Espresso espresso...

Страница 14: ...sivas Ellas pueden da ar la superficie de este producto Conseil d entretien Le nettoyage avec un chiffon sec peut tre suffisant mais en cas de taches rebelles ou de marques utilisez un chiffon humide...

Страница 15: ...2 B Repisa fija Tablette fixe 2 C Panel lateral superior C R derecho y C L izquierdo Panneau lat ral sup rieur C R droite et C L gauche 2 Lista de Partes Liste des pi ces D Puerta Porte 2 E Panel pos...

Страница 16: ...es Tornillo para im n Vis pour aimant Bisagra Charni re Llave Allen hexagonal para ser usada con los tornillos grandes H2 Cl hexagonale pour les vis longues H2 x 1 x 16 x 4 x 4 x 4 x 1 x 2 Clavo Clou...

Страница 17: ...2 x 2 H 11 H 12 Lista de piezas de torniller a continuada Liste des pi ces de montage suite Anclaje de pared Cheville murale Tornillo de montaje Vis de montage x 2 x 2 Refuerzo angular Coin Tornillo...

Страница 18: ...l derecho tape 2 Fixation du panneau lat ral droit Borde Sin Acabado Bord non fini Borde Sin Acabado Bord non fini Borde Sin Acabado Bord non fini Borde Sin Acabado Bord non fini B B F H 9 H 10 H 2 H...

Страница 19: ...Fixation du panneau lat ral gauche Borde Acabado Bord fini A Paso 4 Sujetar la repisa superior e inferior tape 4 Fixation des tag res sup rieures et inf rieures x 8 H 1 H 2 Borde Acabado Bord fini B...

Страница 20: ...ba alinee el panel posterior adecuadamente y coloque un clavo en cada una de sus esquinas Posez l appareil face vers le bas sur le sol avec les bords non finis vers le haut Fixer le panneau arri re E...

Страница 21: ...7 Instalar las bisagras SUPERIORES tape 7 Installation des charni res SUP RIEURES Incorrecto Incorrect Correcto Correct H 7 H 8 x 2 x 2 D D D H 8 H 7 H 8 H 7 sujetar los imanes para cerrar puertas aim...

Страница 22: ...or con cojinete y coloque la bisagra inferior H7 en la puerta D Coloque el pomo de la puerta H11 en la puerta D Rep talo en la puerta lateral derecha D Placez la porte de gauche dans la bague de charn...

Страница 23: ...erior tape 10 Installation des blocs angle sur le panneau sup rieur A x 2 x 2 H 13 H 14 NOTA si lo necesita puede colocar los bloques de ngulo H13 a la repisa fija B para permitir m s acceso para comp...

Страница 24: ...ared Kit de montage mural Refuerzo angular H13 Coin H13 H 15 H 13 Utilizando un martillo y una broca peque a haga un orificio a trav s del bloque de ngulo H13 y del panel posterior Coloque la unidad e...

Отзывы: