H O R E C A G R I N D E R
GB
23
5
12
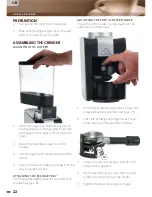
6. Insert the port-a-fi lter holder as shown
past the Start/Stop button (pos. 5) and
hold it in this position.
7. Slide the holder in at the position (pos. 12)
until it engages.
8. Insert the port-a-fi lter as a reference. If the
port-a-fi lter does not stay in the desired
position, the holder must be readjusted.
9. Fasten the Allen screw below the
portafi lter rest to fi x it at the front panel fo
the grinder.
OPERATION
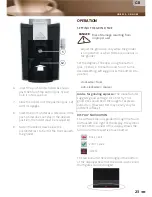
SETTING THE GRIND SIZE
Risk of damage resulting from
improper use!
• Adjust the grind size only when the grinder
is in operation or when there are no beans in
the grinder.
Set the degree of fi neness using the button
(pos. 3). Push in the button and turn it to the
desired setting. Letting go locks the button into
position.
clockwise = fi ner
anti-clockwise = coarser
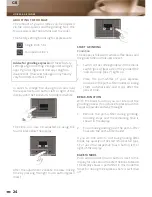
Advise for grinding espresso:
The manufacturer
suggests grind setting 2 for a fi rst try. This
grind size should be in the range for espresso
extraction. (However this may heavily vary for
different coffees.)
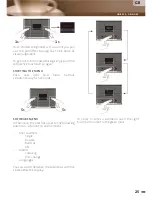
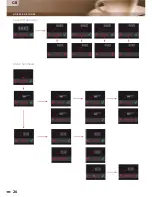
DISPLAY NAVIGATION
The software menu is guided through the touch
buttons left and right of the display. The symbol
in the bottom corners of the display shows the
function of the respective touch button:
back / exit
enter / save
delete
The red line with the red triangle in the bottom
of the displays show that the slider is active and
that fi gures can be changed.
DANGER
Содержание Pro M Espresso
Страница 1: ...Bedienungsanleitung Operating Instructions Manuale di istruzione Ve r s i o n 1 2...
Страница 11: ...G A ST R O N O M I E M H L E N D 11 Alarmmen Sprachenmen...
Страница 17: ...G A ST R O N O M I E M H L E N D 17...
Страница 26: ...H O R E C A G R I N D E R GB 26 Counter Submenu Alarm Submenu...


