background image

Push-button: Magnetising

Function: 

turns on the magnetisation as long as the 

button remains pressed.

Prerequisite: 

workpiece clamped

Push-button: Demagnetising

Function: 

starts demagnetisation

Button pressed: 

•  In 

automatic mode: 

demagnetisation is controlled  

  by PLC. 
•  In manual mode: the workpiece is magnetised with  

  the set intensity. For sufficient magnetisation, press  

  and hold the button for 5 seconds.

Button released: 

the magnetising current is controlled 

to zero along an e-function.

Prerequisite: 

workpiece clamped.

Push-button with indicator light: Clamp (option)

Function of button: 

clamps the sleeves

Light on:  

workpiece clamped

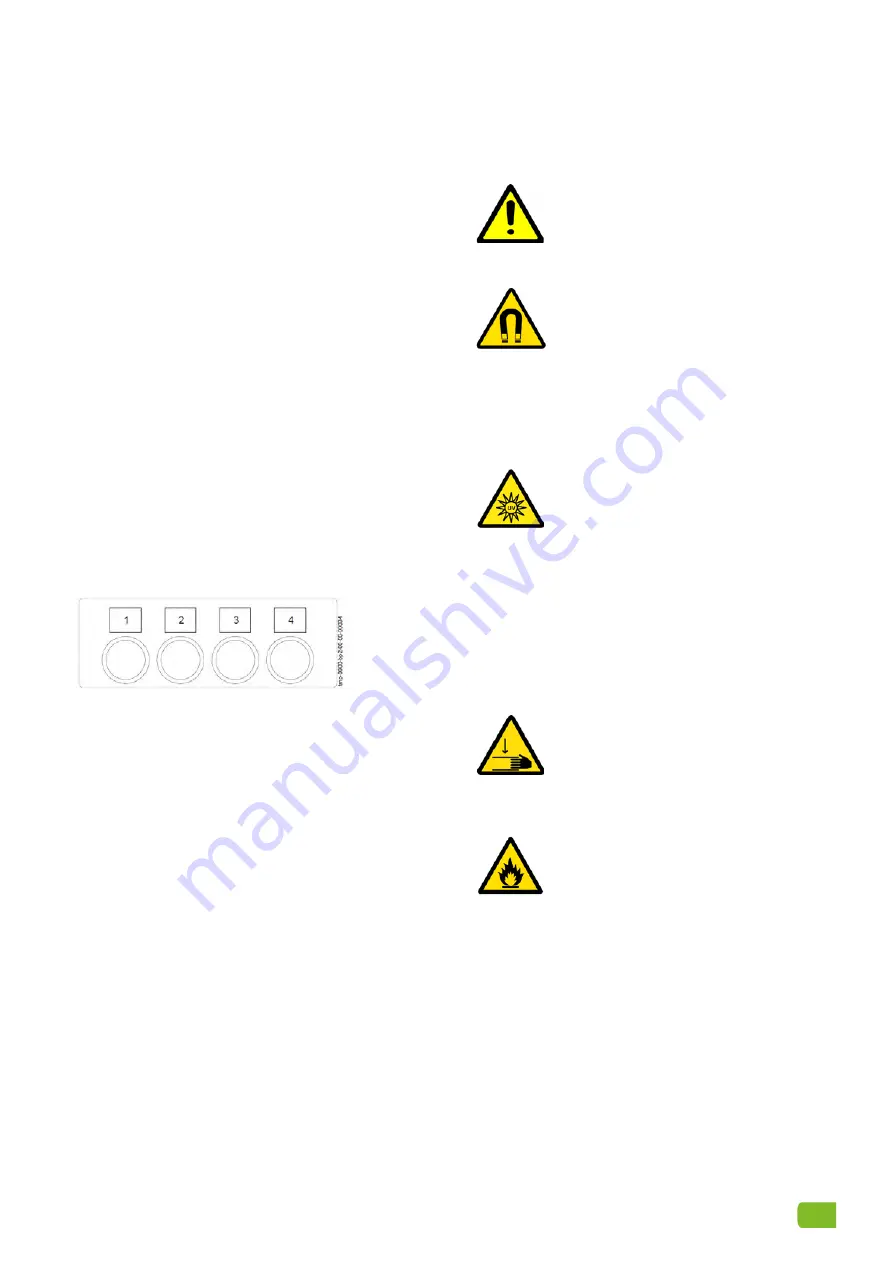
3.5  RIGHT OPERATING PANEL

1.  Push-button: 

Rotate workpiece

2. -
3. -
4. -

4.  GENERAL SAFETY INFORMATION

4.1  HAZARDS WHEN USING THE MACHINE

WARNING: 

This manual must be 

kept with the machine and must be 

freely accessible for operating and 

maintenance personnel at all times.

WARNING: 

High magnetic field 

strengths during magnetising can 

cause damage to health and have 

negative effects on medical implants. 

•  Always comply with the applicable accident  

  prevention regulations
•  Keep a safe distance from the machine during  

 magnetisation.

WARNING: 

Ultraviolet radiation can 

damage skin and eyes.

•  Never look directly into an UV lamp.
•  Avoid skin contact.
•  Ensure that only authorised personnel are allowed  

  within the danger zone.
•  Operate UV lamps only if fitted with an undamaged  

  and properly mounted filter.
•  If required, wear eye and skin protection.

CAUTION: 

Heavy workpieces can 

crush hands. Do not reach between 

workpieces and machine components 

during loading and unloading. Use 

hand protection.

CAUTION: 

Fire hazard: test oils are 

highly flammable. Only use flame- 

retardant test oils with a flash point > 

100°C.

When using oily test liquids:
•  have suitable fire extinguishers nearby,
•  keep magnetising contacts clean at all times,
•  observe the instructions provided by the test liquid  

 manufacturer.

When using the Universal SW, you must be aware of 

hazards for:
•  the life and limbs of the operator and other personnel
•  the machine itself
•  other assets

12

Содержание Universal SW Series

Страница 1: ...Operating Manual Universal SW...

Страница 2: ...flux Coil magnetising Field flux with threader bar Yoke magnetising Induction flux Magnetising coil Inner diameter mm Manual movement Motor driven movement Spraying Hand hose Large surface shower Han...

Страница 3: ...e parts and consumables 14 5 Transport 14 5 1 Equipment for transport 14 5 2 Preparing for transport 14 5 3 Transport in original packaging 15 5 4 Unpacking the machine 15 5 5 Transporting an unpacked...

Страница 4: ...chine is exclusively intended for materials testing of specified workpieces see below by magnetic particle inspection according to EN ISO 9934 1 while stationary fixed in place within the specified li...

Страница 5: ...ice approx 200 kg Electrics The electric figures vary depending on the model see page 1 of this manual for your machine s data Pneumatics Air pressure 6 bar Air quality dry clean air Pneumatic connect...

Страница 6: ...ain switch 2 Emergency stop button option 3 Two hand control option 1 5 WORKING POSITION The Universal SW must be operated by one person The main working position for normal operation is in the front...

Страница 7: ...permanently mounted on a manually movable carriage allowing the distance between sleeves to be adjusted to the work piece length Optionally a clamping unit can also be installed on the right sleeve As...

Страница 8: ...ece 4 Intensity of magnetisation depends upon the current flux through the conductor The circular field enables the detection of longitudinal cracks in the workpiece The magnetising current is display...

Страница 9: ...tion by current flux Annular or tubular workpiece as secondary winding 1 winding in short circuit of a transformer Generates a circular magnetic field around a work piece cross section Enables detecti...

Страница 10: ...carrier medium mix the suspension thoroughly replace the suspension when it gets contaminated Spraying with a hand held hose You can spray the workpiece 3 with test liquid using a hand held hose 1 Use...

Страница 11: ...r the test liquid hose to enable a closed circuit through the test liquid collect ing tray WARNING FIRE HAZARD Oil based test liquids are highly flammable Use only flame retardant test liquids with a...

Страница 12: ...ght intensity never falls lower than 1000 W cm and check your UV lamps regularly When using visible test liquids i e those without flu orescent colouring agents you should ensure lumi nance of at leas...

Страница 13: ...cy stop and make sure all hazards are eliminated Unlocking Depending on the version of the emergency stop but ton either Turn the button a quarter turn clockwise Pull the button upwards 3 3 MAIN OPERA...

Страница 14: ...ity potentiometer is limited to the range set on the step switch Selector switch for operating mode Function sets the operating mode of the machine Position 0 manual mode active Position 1 automatic m...

Страница 15: ...ths during magnetising can cause damage to health and have negative effects on medical implants Always comply with the applicable accident prevention regulations Keep a safe distance from the machine...

Страница 16: ...nding only short periods of time in this area The operator of the machine is required to identify document and mark areas of increased exposure S he must ensure that only authorised and trained person...

Страница 17: ...approved spare parts or consumables 5 TRANSPORT 5 1 EQUIPMENT FOR TRANSPORT To transport the Universal SW the following means are required a crane with two trolleys and suitable rope harnesses a forkl...

Страница 18: ...transformer cabinet disconnect the high current cables between the transformer cabinet and the magnetisation station Transport with a forklift Procedure 1 Determine the transport route and remove any...

Страница 19: ...stall the machine on a level surface in a closed dry room Procedure 1 Set the machine down at its final location 2 Mark the positions of the drilled holes through the holes in the screw on plates on t...

Страница 20: ...ripping hazard and is not likely to get damaged 7 COMMISSIONING Before starting up the machine complete the following tasks Check power supply Fill with test agent Test all functions Set up the machin...

Страница 21: ...tween the sleeves 1 Distance of the sleeves 2 Workpiece 3 Length of the workpiece 4 Clamping levers of the sleeve carriage Procedure 1 Move the machine to its home position 2 Remove all workpieces fro...

Страница 22: ...e supports correctly to the diameter of the workpiece Always tighten the clamping bolts on the work piece support Never move the carriage with a workpiece in it Do not make adjustments to the carriage...

Страница 23: ...n the dimensions and characteristics of the workpiece different magnetisation coils may be required 1 Clamping levers at the current bars optional hexagonal screws 2 Connecting nut to test liquid pipe...

Страница 24: ...uid manufac turer The detection of faults in workpieces becomes less reliable the longer the magnetic particles are in use as the quality deteriorates over time The lifespan of magnetic powders and li...

Страница 25: ...ipment not included with the machine Do not walk under a suspended load 9 4 MANUAL MODE 1 Select manual mode by setting the mode selector switch to position 0 2 Insert a workpiece 3 Depending on the c...

Страница 26: ...tion of the clamping device depends on the configuration of the machine and on the length of the clamping stroke Clamping stroke 7 mm Footswitch left process in diagram below or push button Clamp righ...

Страница 27: ...orkpiece rotation equipment is installed Put the machine in the initial position Turn on the device at both sides and at the same time option inductive sensors request If motor driven option workpiece...

Страница 28: ...The operation of the clamping device depends on the configuration of the machine and on the length of the clamping stroke Clamping stroke 7 mm Footswitch left process in diagram below or push button C...

Страница 29: ...h a UV lamp if using fluorescent test liquid 8 7 Workpiece rotation 9 depends on the configuration of the machine If manual workpiece rotation equipment is installed Put the machine in the initial pos...

Страница 30: ...he operation of the clamping device depends on the configuration of the machine and on the length of the clamping stroke Clamping stroke 7 mm Footswitch left process in diagram below or push button Cl...

Страница 31: ...otation equipment is installed press the push button Rotate 5 Press the push button Unclamp 11 This will unclamp the workpiece and move the sleeves back to the rear most position NOTE Unclamp only whe...

Страница 32: ...s with an already tested workpiece Call Magnaflux GmbH customer service 10 MAINTENANCE Maintenance of your Universal SW includes all tech nical measures required to maintain the machine in proper work...

Страница 33: ...and liquids depends on the actual testing environment and the properties of the work pieces Check your test liquid regularly and replace it when necessary Optimal detection of cracks depends on the co...

Страница 34: ...stening screws of clamping levers Flange wheels and ball bearings at the sleeve carriage Procedure 1 Turn off the main switch 2 Clean all 4 flange wheels and check for wear visual inspection 3 Check a...

Страница 35: ...nance schedule and empty it when necessary Procedure 1 Place a container under the pneumatic maintenance unit 2 Open the drain plug on the water separator 3 Completely drain the water out 4 Close the...

Страница 36: ...e and remove the copper pad and clamping parts 4 Clean the contact points with steel wool to a shiny finish 5 Apply a thin coat of contact grease to the contact points 6 Round copper pads Insert a new...

Страница 37: ...ak a soft cloth with industrial cleaner Do not use acids or alkalines 5 Rub the guide shaft with the cloth down Do not use metal tools for cleaning 6 Apply a thin coat of contact grease to the shaft 7...

Страница 38: ...isconnect the drive If it does not adjust the safety clutch The clutch must disconnect the drive when the smallest amount of resistance is encountered Check the function of the clutch in both directio...

Страница 39: ...tered to the left sleeve 9 Replace the clamping levers 8 and 9 and secure them with the fastening screws 7 10 If necessary remove the ball bearings from the axles and replace them 11 Mount the bracket...

Страница 40: ...plug 3 Roll up the power supply cable and secure it to the machine 4 Turn off the compressed air supply to the machine and disconnect the supply line 5 Drain auxiliary products and dispose of responsi...

Страница 41: ...e 49 0 7365 81 0 Fax 49 0 7365 81 449 Email sales de magnaflux com Web eu magnaflux com de Faraday Road South Dorcan Industrial Estate Swindon SN3 5HE UK Telephone 44 0 1793 524566 Fax 44 0 1793 49045...

Отзывы: