P7-3500 User Guide
Page 5 / Chapter 1 - Introduction
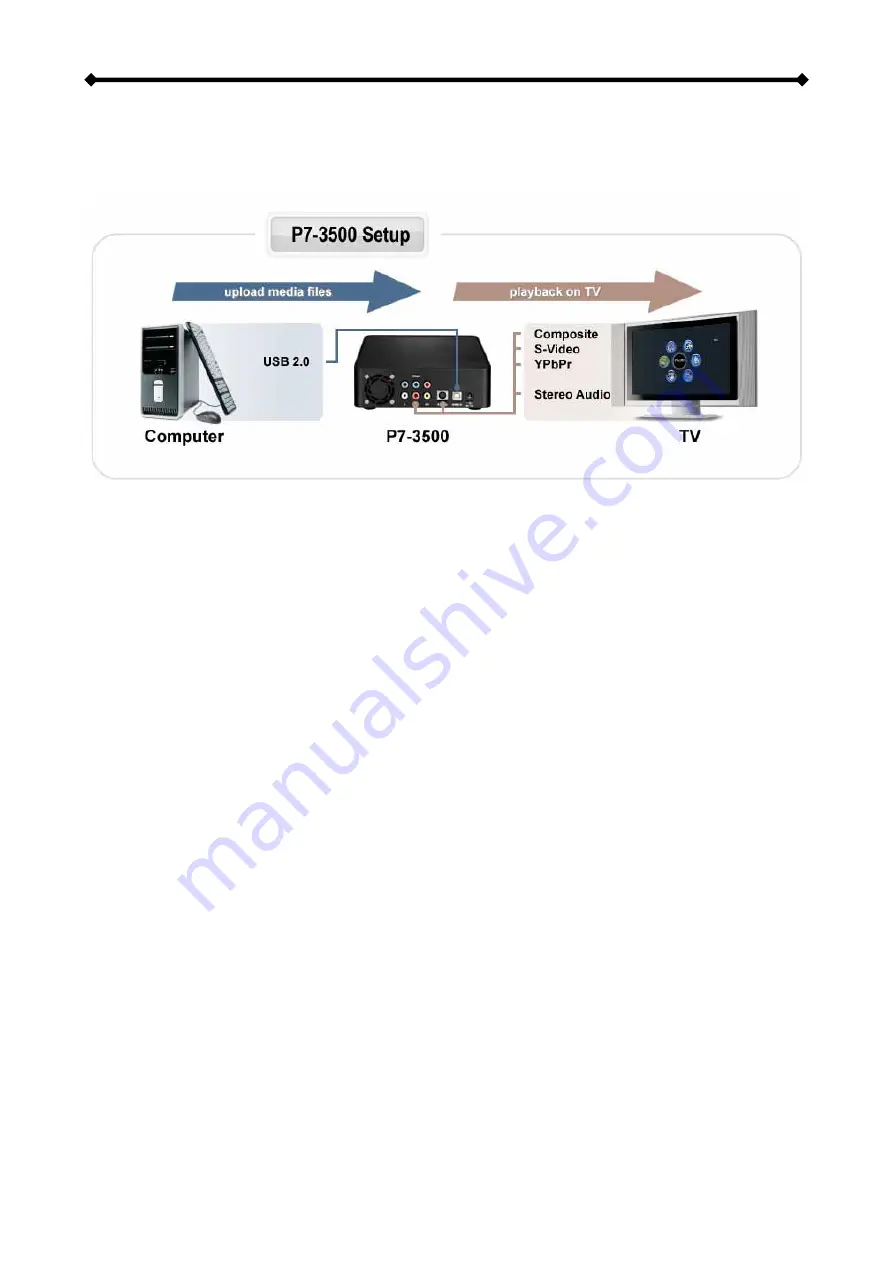
1.6 Quick Installation Guide
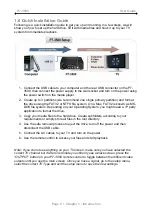
Following is a quick installation guide to get you up and running. In a few steps, we will
show you how to set up the hard drive, fill it with media files and hook it up to your TV
system for immediate playback.
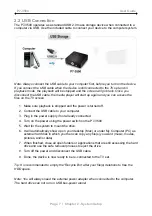
1. Connect the USB cable to your computer and the rear USB connector on the P7-
3500, then connect the power supply to the wall socket and turn on the power using
the power switch on the media player.
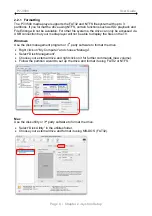
2. Create up to 3 partitions (we recommend one single primary partition) and format
the drive using the FAT32 or NTFS file system. On a Mac, FAT32 is known as MS-
DOS file system. Depending on your Operating System, you might need a 3
rd
party
application to format the drive.
3. Copy your media files to the hard drive. Create subfolders according to your
requirements or simply store all files in the root directory.
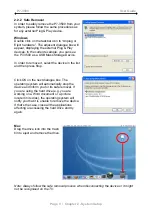
4. Use the safe removal process to eject the drive, turn off the power and then
disconnect the USB cable.
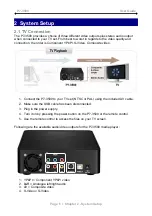
5. Connect the AV cables to your TV and turn on the power.
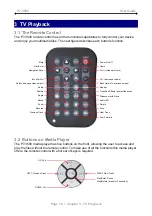
6. Use the remote control to access your files and start playback.
Note: If you do not see anything on your TV screen, make sure you have selected the
correct TV channel but if after one minute you still only see a black screen, press the
“OUTPUT” button on your P7-3500 remote control to toggle between the different video
outputs until you see the main screen. Once you have a signal, go to the setup menu,
select the correct TV Type and exit the setup menu to save the new settings.


