Mace MVR-SQ-40 Series Скачать руководство пользователя страница 26

WELCOME

  Thank you for purchasing a MaceView SQ Series Digital Video Recorder. This quick start 

guide will help you become familiar with this DVR.

  This guide contains information on hardware installation, cable connection and general 

operations such as system setup, record, search, backup, alarm setup, PTZ operation, as 

well as web operation instructions.

  Before installation and operation, please read the following safeguards and warnings 

carefully!


IMPORTANT SAFEGUARD AND WARNING

1) ELECTRICAL SAFETY

  All installation and operation here should conform to your local electrical safety codes. 

  We assume no liability or responsibility for any fire or electrical shock caused by improper 

handling or installation. 

2) TRANSPORTATION SECURITY

  Heavy stress loads, violent vibration or water intrusion are not allowed during 

transportation, storage and installation.

3) INSTALLATION

  Keep right side up. Handle with care. 

  Do not apply power to the DVR before completing installation. 

  Do not place objects on the DVR

4) QUALIFIED SERVICE PERSONNEL NEEDED 

  All repair work should be done by qualified service engineers.  

  We are not liable for any problems caused by unauthorized modifications or attempted 

repair.

5) ENVIRONMENT

  The DVR should be installed in a cool, dry place away from direct sunlight.
  This series product shall be transported, installed and use under the environment ranging 

from 32ºF to 104ºF (0ºC to 40ºC).

6).  ACCESSORIES

  Be sure to use all the accessories recommended by manufacturer.

  Before installation, please open the package and check all the components are included:

  Contact your local retailer ASAP if something is missing in your package.

3  WEB OPERATION

Please note all the operations here are based on our MVR-SQ-40 DVR.

The MVR-SQ-40 product does not support the RS232 function.

There may be slight difference in the interface due to series model differences.

3.1  

NETWORK CONNECTION 

Before web operation, please check the following items:

• Network connection is working

• DVR and PC network setup is working. Please refer to network setup 

  (main menu->setting->network)

• Use order ping ***.***.***.***(* DVR IP address) to check if connection is working. 

Usually the return TTL value should be less than 255.

• System can automatically download latest web control and the new version can 

overwrite the previous one.

• If you want to un-install the web controls, please run uninstall webrec 2.0.bat to auto 

delete the control or you can go to C:\Program Files\webrec to delete Single folder.

3.2  

LOGIN 

Open IE and input DVR address in the address column. For example, if your DVR IP 

address is 10.10.3.16, then please input http:// 10.10.3.16 in IE address column. 
System pops up warning information to ask you whether install webrec.cab control or not. 

Click the yes button.
If you can’t download the ActiveX file, please modify your IE security setup. 
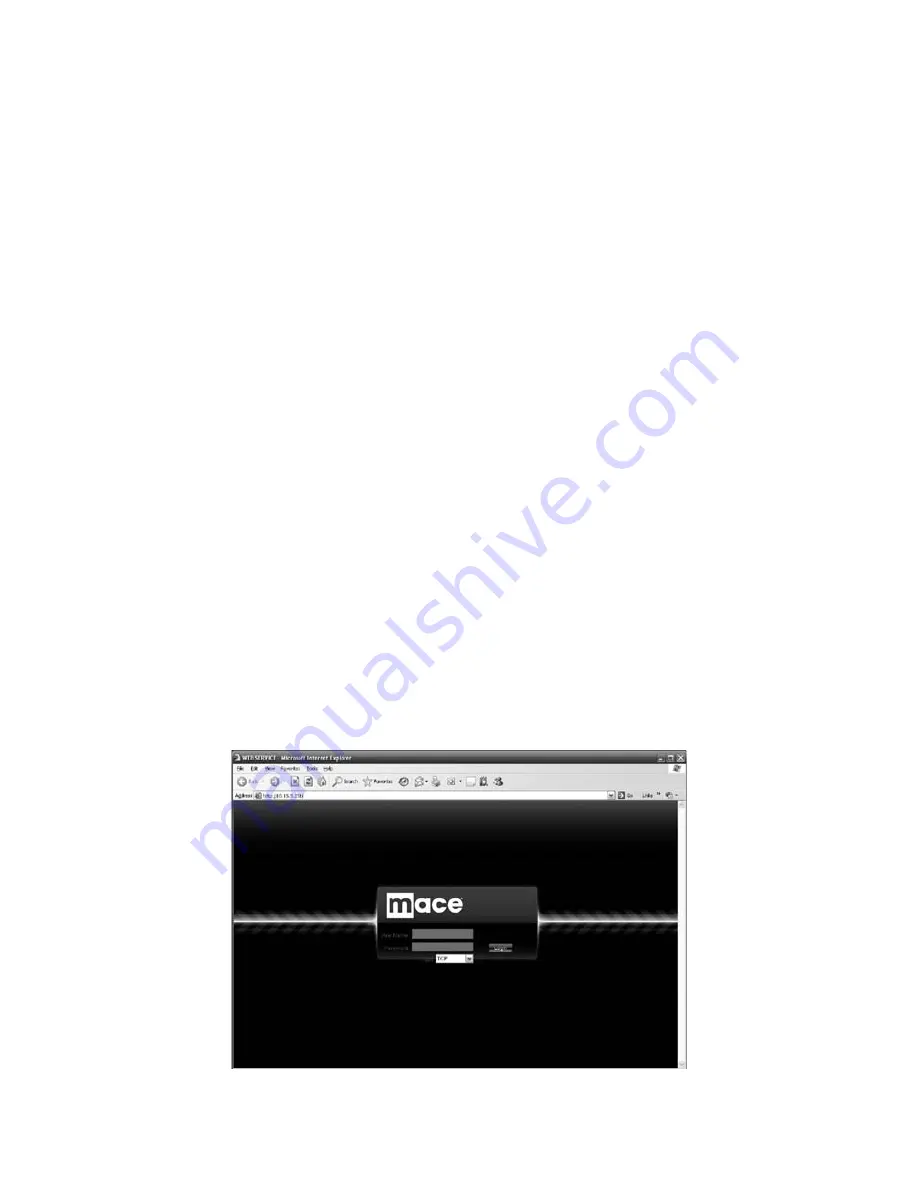
After installation, the interface is as shown below. See Figure 3-1.
Please input your user name and password. 
Default factory name is admin and password is admin. 

Note: For security reasons, please modify your password after you first login.


Figure 3-1

25

2

Содержание MVR-SQ-40 Series

Страница 1: ...Thank you for purchasing a MaceView SQ Series DVR Please read the instructions completely before installation Please consult a legal expert on the proper use of this equipment in accordance with the...

Страница 2: ...ut Main Menu 12 2 1 1 Login 12 2 1 2 Main Menu 13 2 1 3 Logout 13 2 1 4 Auto Resume after Power Failure 14 2 2 Live Viewing 14 2 3 Record Setup Schedule 14 2 3 1 Schedule Menu 14 2 4 Manual Record 15...

Страница 3: ...ION SECURITY Heavy stress loads violent vibration or water intrusion are not allowed during transportation storage and installation 3 INSTALLATION Keep right side up Handle with care Do not apply powe...

Страница 4: ...d Remote control is optional Finally remove the protective film from the DVR Note Remote control is not a standard accessory and it is not included in the accessory bag 1 2 ABOUT FRONT PANEL AND REAL...

Страница 5: ...l Assistant function such as PTZ menu In text mode input number 1 4 English character G H I Left 2 Right 3 Shift current activated control When playback click these buttons to control playback bar In...

Страница 6: ...on to reverse playback In reverse playback click this button to pause playback In text mode input number 6 English character M N O Play Next 9 In playback mode playback the next video In menu setup go...

Страница 7: ...el is shown as below See Figure 1 2 Figure 1 2 1 Video input 2 Audio input 3 Video CVBS output 4 Audio output 5 Network port 6 USB port 7 HDMI port 8 RS232 port 9 Video VGA output 10 Alarm input alarm...

Страница 8: ...Figure 1 3 Please refer to the following chart for detailed information 1 Video input 2 Audio input 3 Video CVBS output 4 Audio output 5 Network port 6 USB port 7 Video VGA output 8 RS232 port 9 Alar...

Страница 9: ...1 5 CONNECTION SAMPLE 1 5 1 MVR SQ 80 Please refer to Figure 1 4 for MVR SQ 80 series product connection sample Figure 1 4 8...

Страница 10: ...uct has three types of alarm ports Please refer to the following three figures for detailed information There are two alarm input types for you to select normal open NO and normal close NC Important P...

Страница 11: ...the alarm port is shown as in Figure 1 7 Figure 1 7 AB Connection port Parameter Grounding Alarm Ground line Alarm Input 1 2 8 It becomes valid in low voltage 1 NO C 2 NO C 3 NO C Three NO activation...

Страница 12: ...alarm input ALARM Use the same ground with that of DVR if you use external power to the alarm device Figure 1 9 Parameter Grounding Alarm Ground line Alarm Input 1 2 16 It becomes valid in low voltage...

Страница 13: ...terface See Figure 2 1 System consists of four accounts Username admin Password admin administrator local and network Username 888888 Password 888888 administrator local only Username 666666 Passwords...

Страница 14: ...you to log out The first one is from menu option In the main menu click shutdown button you can see an interface is shown as below See Figure 2 3 Figure 2 3 There are several options for you See Figu...

Страница 15: ...number first You can select All if you want to set for all the channels Week day There are eight options they ranges from Saturday to Sunday and All Pre record System can pre record the video before...

Страница 16: ...tra stream supports QCIF only Frame rate It ranges from 1f s to 25f s in NTSC mode and 1f s to 30f s in PAL mode Note For the 8 ch series DVR refer to the following information If the 1 channel resolu...

Страница 17: ...SHOT In the Encode interface click snapshot button to input snapshot mode size quality and frequency In the General interface please input upload interval In the Schedule interface please enable snaps...

Страница 18: ...pload interval In the Detect interface please enable the snapshot function for specified channels or in the Alarm interface enable the snapshot function for specified channels Please refer to the foll...

Страница 19: ...n click save button See Figure 2 10 Please refer to the User s Manual included in the resource CD for detailed information Please boot up corresponding FTP server Please enable schedule snapshot or ac...

Страница 20: ...Figure 2 11 Please refer to the following table for more information 1 2 3 4 5 6 3 3 91011 15 14 13 12 File List Playback Window File Information Playback Control Bar Select Playback Mode Here Set se...

Страница 21: ...ame time 2 6 1 5 Digital zoom When the system is in full screen playback mode drag your mouse on the screen to select a section and then left click mouse to activate digital zoom You can right click m...

Страница 22: ...ns Slow play button In playback mode click this button to switch between various slow play modes such as slow play 1 or slow play 2 Play Pause In slow playback mode click this button to switch between...

Страница 23: ...alue is 80 Max connection system support maximal 10 users 0 means there is no connection limit Transfer mode Select the priority between fluency video qualities Network download System can process the...

Страница 24: ...three choices none odd even Default value is none Figure 2 14 After completing all the setup click the save button the system goes back to the previous menu 2 8 2 PTZ OPERATION In one window display m...

Страница 25: ...ase note this function needs protocol supported and can only be operated by mouse Click this key and the system goes back to the single screen mode Drag the mouse on the screen to adjust section size...

Страница 26: ...sion can overwrite the previous one If you want to un install the web controls please run uninstall webrec 2 0 bat to auto delete the control or you can go to C Program Files webrec to delete Single f...

Страница 27: ...he resources CD Figure 3 2 Note For detailed operation introduction please refer to the resource CD included in your package for the electronic version of the User s Manual This quick start guide is f...

Страница 28: ...Mace Security Products Inc 5101 NW 21st Ave Suite 210 Fort Lauderdale FL 33309 877 585 6223...

Отзывы: