background image

Lightcommander 

Lightcommander 

Lightcommander 

Lightcommander 

Lightcommander  111112/2

2/2

2/2

2/2

2/2

eMail: [email protected] . Tel.:  + 49  9 31  49 79 40  . User's Manual Lightcommander 12/2

23

23

23

23

23

Setting up the Output (Channel Presetting)

How to connect desk channels with DMX channels

(DMX Patch)

How to prevent channels to be dimmed by Solo

(Disable Solo)

How to match dimming levels of different lamps

(Select Curve)

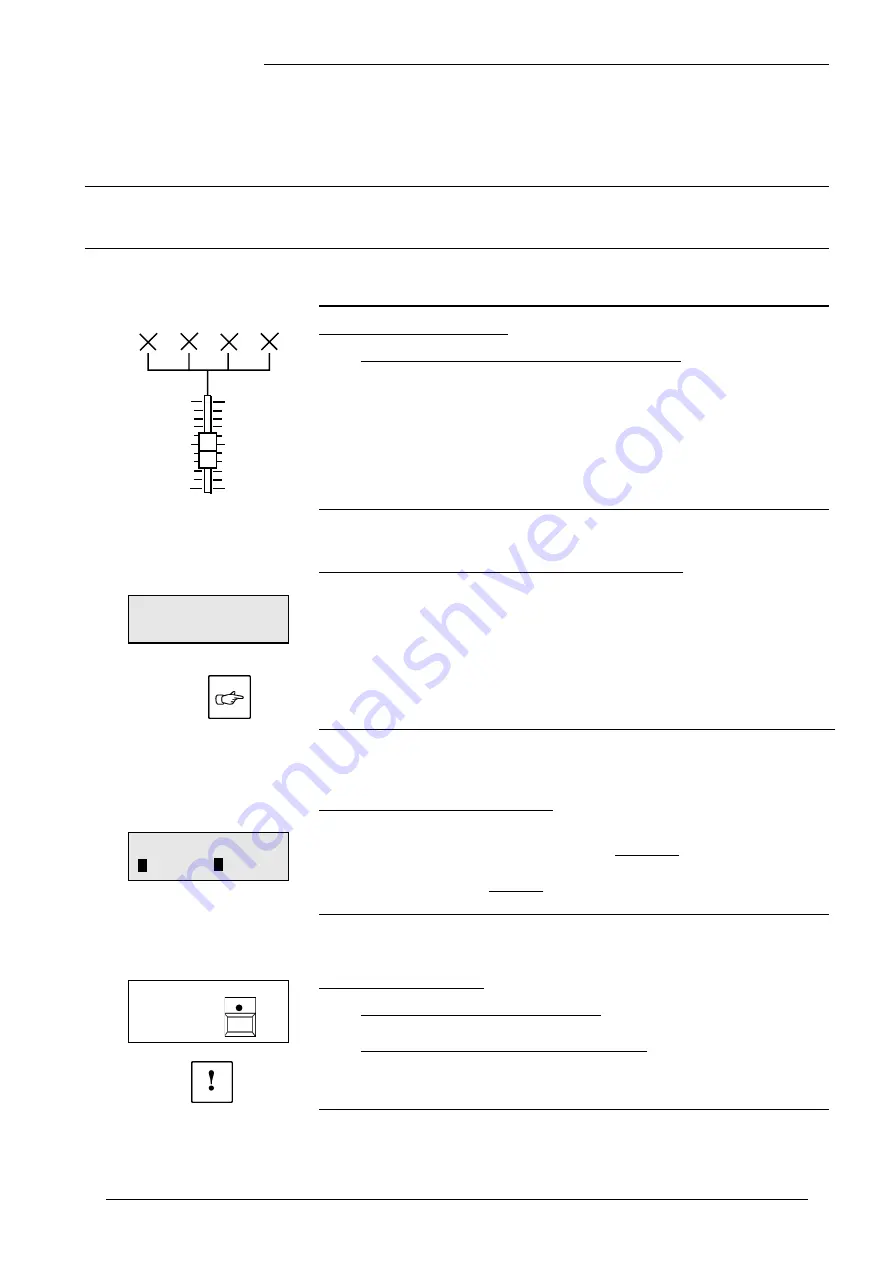
Connecting Desk Channels to DMX Channels

Introduction: DMX Patch

Î

DMX Patch will not affect the analog output!
The DMX output controls the DMX channels 1-99.
DMX Patch enables the connection of each desk channel with
up to four DMX channels.
This function may be especially interesting when dealing with
different stages, when using motorized equipment and colour
changers and also in case of Dimmer failure.
Within Standard Assignment the Desk Channels 1-26 are
connected to the DMX Channels 1-26 (other channels are open).

Connecting Desk Channels with DMX Channels

Press 

Utility 1

 and select 

DMX PATCH

.

Use 

Flash 

button to select a 

Desk Channel

 and turn Encoder

wheel to select a 

DMX Channel

.

Î

You can view


the selected 

DMX Channel

 appearing at the output,

by switching the desk to 

Live Operation 

(Shift+Live)

.

To assign channels press 

CONNECT

.

Π„

CONNECT

„

 shows the channels which are connected.

You may verify this, by pushing up the associated channel fader.

Indication of DMX Assignment

„

CONNECT

„

Actual

 display; this DMX channel is

connected to the indicated Desk channel.

CONNECT

:

This DMX channel is connected to
another Desk channel.

„

OPEN

„

This DMX channel is 

NOT

 connected.

Standard Assignment

Shift

  proceeds to another menu:

ALL 1 : 1:

 Desk channels 1-26 control DMX channels 1-26.

Î

ALL CLEAR  opens each connection!

Î

Use this function only if a new patch setting
is required, or save the actual setting to card,
before continuing.

+

DMX
PATCH

 SHIFT

CH O3 > O3 17.
  CONNECT      OPEN

{

{

{

{

DMX

SELECT

PATCH

MIDI

Содержание Lightcommander 12/2

Страница 1: ...Lightcommander 12 2 User s Manual Version 1 32 June 15 1995...

Страница 2: ...Selecting another Page discreetly 10 Dipless Crossfade Insert Mode 11 Previewing and Editing a Memory 11 Previewing a Memory store before setting up the cue 11 Editing a Memory store 11 Programming Me...

Страница 3: ...Live Blind Operation 20 Theatre Mode 21 Operating 24 Channels Wide Mode 22 Using Upper Channels additionally 22 Setting up the 24 Channel Preset 22 Cancelling the setting Grab Release 22 Setting up th...

Страница 4: ...chnical Specification 29 Inputs and Outputs Pinlayout 29 Safety Instructions 30 Declaration of Conformity 31 INDEX 32 The following symbols are used in this manual Important Information Read carefully...

Страница 5: ...ommander Lightcommander Lightcommander Lightcommander Lightcommander 1 1 1 1 12 2 2 2 2 2 2 2 2 2 eMail info malighting de Tel 49 931 497940 User s Manual Lightcommander 12 2 5 5 5 5 5 Overview of Fun...

Страница 6: ...programmed by using Preset A 6 Memory Controls B MEMORY Master B sets maximum output level of all Memory masters All B Memory masters are allowed to be switched to Preset B Controls See page 9 Preset...

Страница 7: ...eset A Channels Preset B Memory B Master sets max output level for Memory masters MAIN Master sets maximum output level for the entire desk Chaser Master sets maximum output level for Chase steps 14 P...

Страница 8: ...ade in Now test the Channel Flash and Solo Flash functions Using Flash Buttons Memory Flash and Solo While pressed individual Memories are added to the current output When SOLO is selected Memory flas...

Страница 9: ...tton and select P using the Encoder wheel the display flashes Preset mode will be auto selected after 3 seconds Programming memory is disabled The Chaser section remains fully functional Fading betwee...

Страница 10: ...n to select a Memory if required you may select another Page Adjust a scene on Preset A Press the Soft key SAVE PRESET to store the preset levels into the Memory SAVE All stores the actual output Ever...

Страница 11: ...u don t select a Memory the previous one is faded in and you can change between both The Chaser Master controls brightness Fading out Memories Turn Insert off and press the Step button or use the X Fa...

Страница 12: ...n the LED s Use Shift Live buttons The steps appears at the output Programming in Live Mode enables the entire output to be recorded as a step Preset and Memories etc With Quit the desk returns to Top...

Страница 13: ...tton To Restart the Chaser briefly hit the Number button Stopping a Chase 1 Set Chaser Master to zero Chaser continues or 2 Start a Chase without programmed Steps idling Chaser Chaser stops Number LED...

Страница 14: ...s appear in the preprogrammed order STOPPING a manual Chase 1 Set Chaser Master to zero Fade remains active or 2 Use Number to start a Chaser without preprogrammed Steps Being in manual Playback you h...

Страница 15: ...ime is only relevant while the THEATRE MODE is active see p 21 The value for new steps is 0 00 seconds Confirming this value by CONT DELETE ALL removes all steps Take care with this function The entir...

Страница 16: ...l not affect the output Set Speed using LEARN to step ahead at the required rate or hold down LEARN and adjust speed via Encoder wheel Press Quit to store setup The yellow LED flashes according to the...

Страница 17: ...me P Pause this Memory is inverse proportional to input volume I e audio off causes the memory to be on The Memory Masters set maximum output of audio triggered Cues 100 when set to mid position Remot...

Страница 18: ...ontrol equipment that has no voltage at it s input in no case 230 V Data Storage on Memory Card Backup Using a Memory Card enables you to create a personal library of lighting plots Different programs...

Страница 19: ...nels by toggling between Upper and standard Modifying channels by grabbing the actual level Cancelling a setting Using Shift Preset Flash sets all levels to zero Quit sets levels to the actual fader s...

Страница 20: ...affect on the outputs LIVE Previewed Memories auto previewed Chases and Chases being selected while programming will appear ON STAGE Note Only the selected program remains visible if the Main Master...

Страница 21: ...the next step can be programmed or edited The fadetimes are part of the chaser and will be saved also to the memory card Activating the THEATRE MODE SHIFT UTILITY and within the next menu MORE leds yo...

Страница 22: ...4 channels permanent Using Shift Upper buttons activates channels 13 24 Each Setting Programming or Selecting function now relates to channels 13 24 including Flash functions You may program or modify...

Страница 23: ...ent the Desk Channels 1 26 are connected to the DMX Channels 1 26 other channels are open Connecting Desk Channels with DMX Channels Press Utility 1 and select DMX PATCH Use Flash button to select a D...

Страница 24: ...of all channels simultaneously Note This function has no influence on brightness of LED s Select Curve While using projectors with different lamp bulbs it may occur that brightness differs although f...

Страница 25: ...ST HENCE turn MIDI OUT on at the main desk The sign MIDI appears in the Top Menu to indicate mode of operation Push up the Main Master at the receiver desk and set Masters of main desk as required The...

Страница 26: ...Fader level Main Master Fader 17 119 00 127 Fader level Preset A Master 18 120 00 127 Fader level Preset B Master 19 52 00 127 Fader level Chaser Master 20 53 00 127 Fader level Memory button 5 8 23...

Страница 27: ...n the desk again Observe the display and hold the buttons until the menu is displayed Delete All Press and hold Soft A Soft B Quit YES deletes all Memories and Chasers Presettings will be set to Stand...

Страница 28: ...MA Lighting Technology GmbH Dachdeckerstr 16 D 97297 Waldb ttelbrunn Fax 49 931 4979429 www malighting de 28 28 28 28 28...

Страница 29: ...meets USITT DMX 512 1990 Standard The Lightcommander can control each equipment meeting this standard Pinlayout Pin 1 Ground Pin 4 not connected Pin 2 Data Pin 5 not connected Pin 3 Data 4 Sound inpu...

Страница 30: ...eplaced by an electrician 9 Don t put any objects on the wire and make sure nobody steps on it 10 In case you use an extension wire make sure the sum of the power consumption of the connected units do...

Страница 31: ...hnology GmbH Address of producer Dachdeckerstr 16 D 97297 Waldb ttelbrunn declares that the product Name of product MA Lightcommander 12 2 Type LC 12 2 answers the following product specifications Saf...

Страница 32: ...tion 13 CONNECT 23 Connecting Desk Channels to DMX Channels 23 D Data Storage on Memory Card 18 Dipless Crossfade 11 Disable Solo 24 DMX Patch 23 Connecting Desk Channels with DMX Channels 23 DMX Assi...

Страница 33: ...g Memory 10 Save All 10 Save PRESET 10 select a Page 10 R Remote Step GO 17 S Save and Load 18 Scene Playback 14 Select Curve 24 Setting up the Output 23 Settings for Analog and DMX Output 24 Disable...

Страница 34: ...MA Lighting Technology GmbH Dachdeckerstr 16 D 97297 Waldb ttelbrunn Fax 49 931 4979429 www malighting de 34 34 34 34 34...

Страница 35: ...Lightcommander Lightcommander Lightcommander Lightcommander Lightcommander 1 1 1 1 12 2 2 2 2 2 2 2 2 2 eMail info malighting de Tel 49 931 497940 User s Manual Lightcommander 12 2 35 35 35 35 35...

Страница 36: ......

Страница 37: ...User s Manual User s Manual User s Manual User s Manual User s Manual V V V V Version 1 32 ersion 1 32 ersion 1 32 ersion 1 32 ersion 1 32 Lightcommander 12 2...

Отзывы: