9
E
N
G
L
I
S
H
8
E
N
G
L
I
S
H
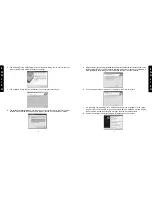
2. The M-Audio Transit USB Installer screen will appear,asking you to confirm that you wish
to install Transit USB. Click Next to continue.
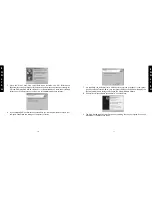
3. The installer will begin to copy the Transit USB files to your computer’s hard drive.
4. The Digital Signature window will appear, warning you that the driver software does not
contain a Microsoft digital signature. Click the Yes button to continue the installation.
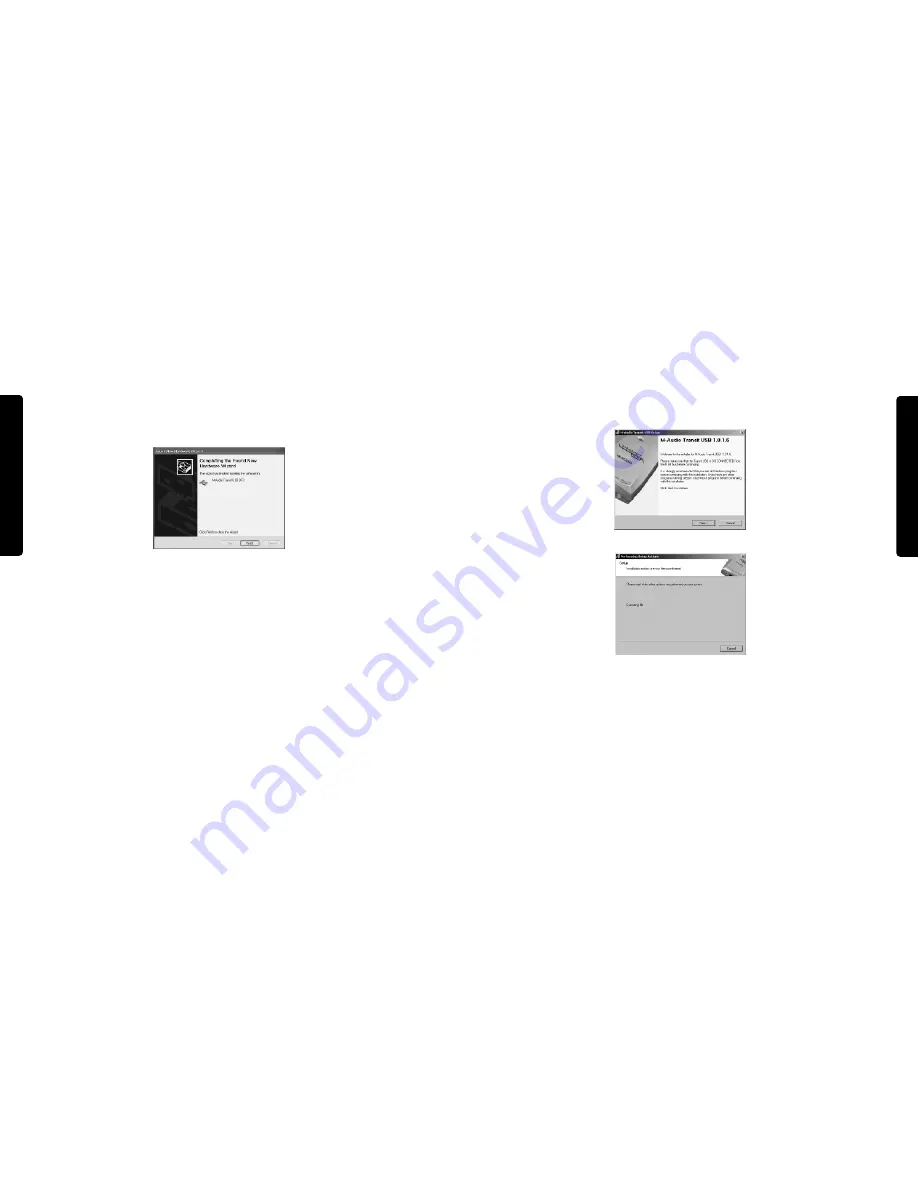
9. The New Hardware Wizard will write the remaining files to your system.You may once
again see the warning that the driver software has not passed the Windows Logo testing;
click “Continue Anyway” and allow the installation to complete. Click Finish.
10. After the installation is complete, you may double-click on the M-Audio Transit USB
Control Panel icon to open the Transit USB Control Panel. See the section “Transit USB
Control Panel” for more information on the Control Panel’s features and function.
Windows 2000
It is important to make sure, when installing under Windows 2000, that you have the Service
Pack 3 installed.To obtain this update, visit the Windows Updates area at www.microsoft.com.
Note: Transit USB requires that you have Microsoft DirectX version 8.1 or later
installed. The Transit USB installer will automatically check for the correct
version of DirectX and install the latest Direct X update. This update will be
skipped if you already have DirectX version 8.1 (or higher) in your system.
1. Place the Transit USB CD into your CD-ROM drive. Do NOT connect the Transit USB
to your computer’s USB port at this time. Browse the CD content and double click the
Transit USB folder.Then double click the Transit USB Icon.


