Document Name:
Colibri X user’s manual
Version:
1.0
Page 16 of 34
2.4
TSK page
In order to use this page to its maximum extent, the user should first
import turnpoint, and airfield files. For more information on this subject,
please refer to Setup/Transfer/Load TP.
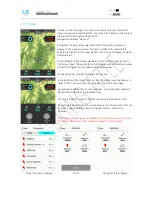
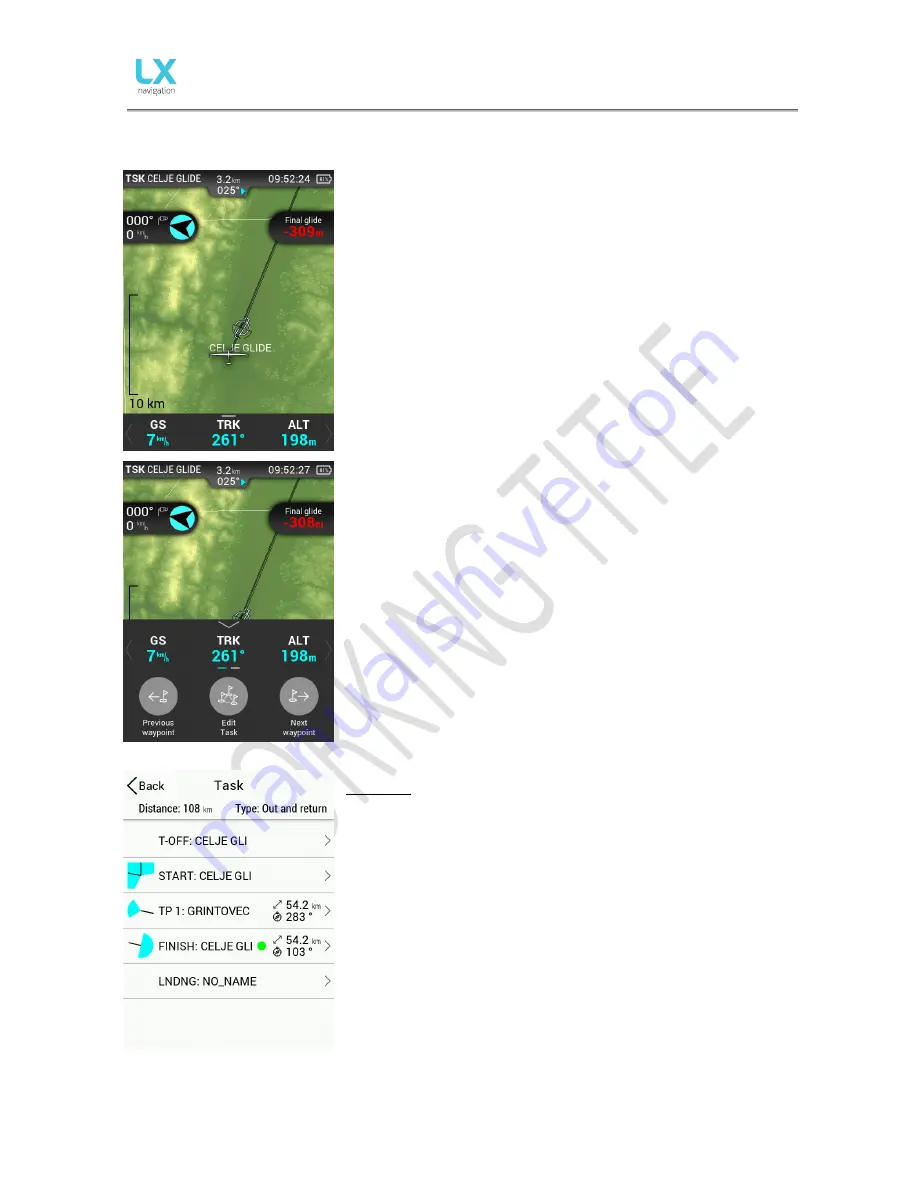
Navigation is always “track up”.
Below the name of the current TP we are navigating to, a steering
symbol will inform the pilot by how many degrees (°) he or she needs to
correct track in order to fly towards the selected turnpoint. In the upper
right corner, time is displayed, as well as battery status.
In the left part of the screen, standard wind information can be read.
The arrow shows the wind direction relative to the glider, its direction in
degrees relative to North with wind speed being shown below.
On the right side, we have final glide information.
In the bottom of the screen, there is a configurable row of navboxes. In
order to find out how they are configured, check ‘2.1 Vario page’.
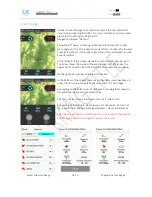
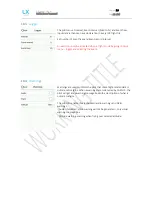
By pressing on the bottom row of navboxes, or swiping them upwards,
three additional options are presented to us.
The first is ‘Previous waypoint’ and the second one is ‘Waypoint Info’.
By pressing ‘Edit Task’, TSK SETUP is activated where a task can be
created or edited. Additional TP’s can be added, removed, zones
changed etc.
Task setup
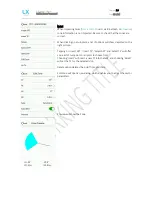
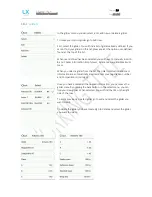
In order to create a task, first open the Task setup page, by going to the
Task navigation page, swiping the navboxes upwards, and pressing ‘Edit
task’.
Take off and Landing locations do not need to be filled in.
Choose your start point and start inserting additional points (which can
be either from the .cup turnpoint database, or from the .af airfields
database.
Choose the finish point.
Now, set the turnpoint zones and recheck everything.
Содержание Colibri X
Страница 1: ......

