IP-CAMERA User Manual -
25
C
C
C
h
h
h
a
a
a
p
p
p
t
t
t
e
e
e
r
r
r
5
5
5
R
R
R
e
e
e
m
m
m
o
o
o
t
t
t
e
e
e
C
C
C
o
o
o
n
n
n
f
f
f
i
i
i
g
g
g
u
u
u
r
r
r
a
a
a
t
t
t
i
i
i
o
o
o
n
n
n
and password is „123456‟. The register dialog display as above.
(2)
Login
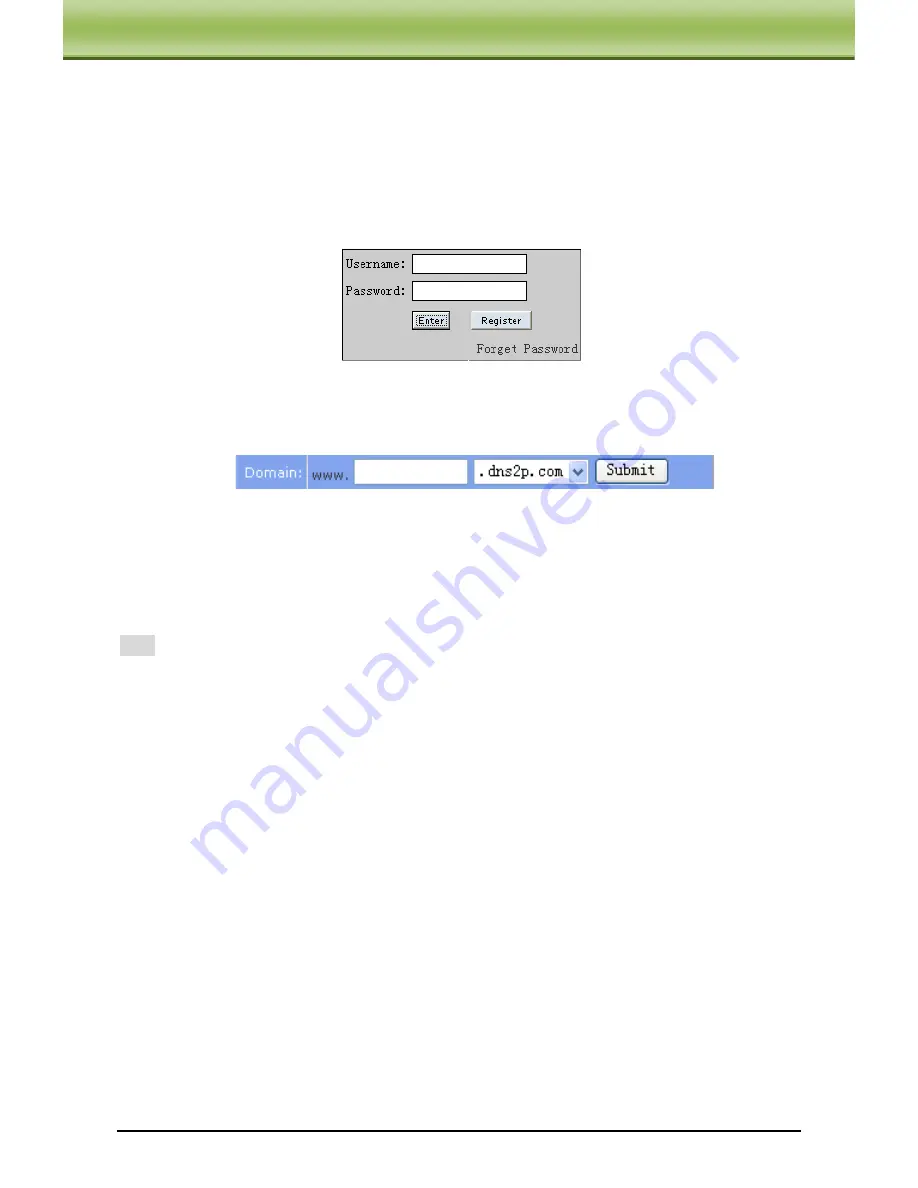
Step 1: Return to homepage after registering successfully.
Step 2: Click "Account Manager" on the right of homepage to login.
Step 3: Input the username and password with the information that you have registered.
Step 4: Click "Enter" key after filling in the textbox.
Log in
(3)
Domain Setup
Step 1: Click "Domain Management" on the left to set the domain.
Domain setup
Step 2: Input the domain in the textbox. For example, you set „IP-CAMERA‟ as the domain.
Step 3: Click "Submit" button, the system will pop up a dialog box to show that the domain is
added successfully.
Note:
Time of probationary period is one month. If user wants to use it continuatively after
one month, please Step 4: click "Buy Now" in the right of homepage to pay for it.
2. Setup in the IP-CAMERA
⑴
DOMAIN
Domain is set in „1. Apply the Domain Name‟. According to the example above, the domain
is „WWW. IP-CAMERA.dns2p.com‟.
⑵
USER ID
Username of registered which is set in „(1) Register in the Web‟. According to the example
above, user ID is „abc‟.
⑶
PASSWORD
Password is set in „(1) Register in the Web‟. According to the example above, password is
„123456‟.
Note: If the connection fails, press the "INFO" button. Now the system will display: „DDNS
NONE‟. Then you need to check network and information above and try again.
3. Application
Connect IP-CAMERA to the Network Client.


