M10P
10
display image.
2)
Hold the left mouse button and drag the display image to adjust the viewing
angle.
3)
Hold the mouse wheel and drag the image to move the display image; you
can also hold both the shift key on the keyboard and the left mouse button
to move the display image.
▉
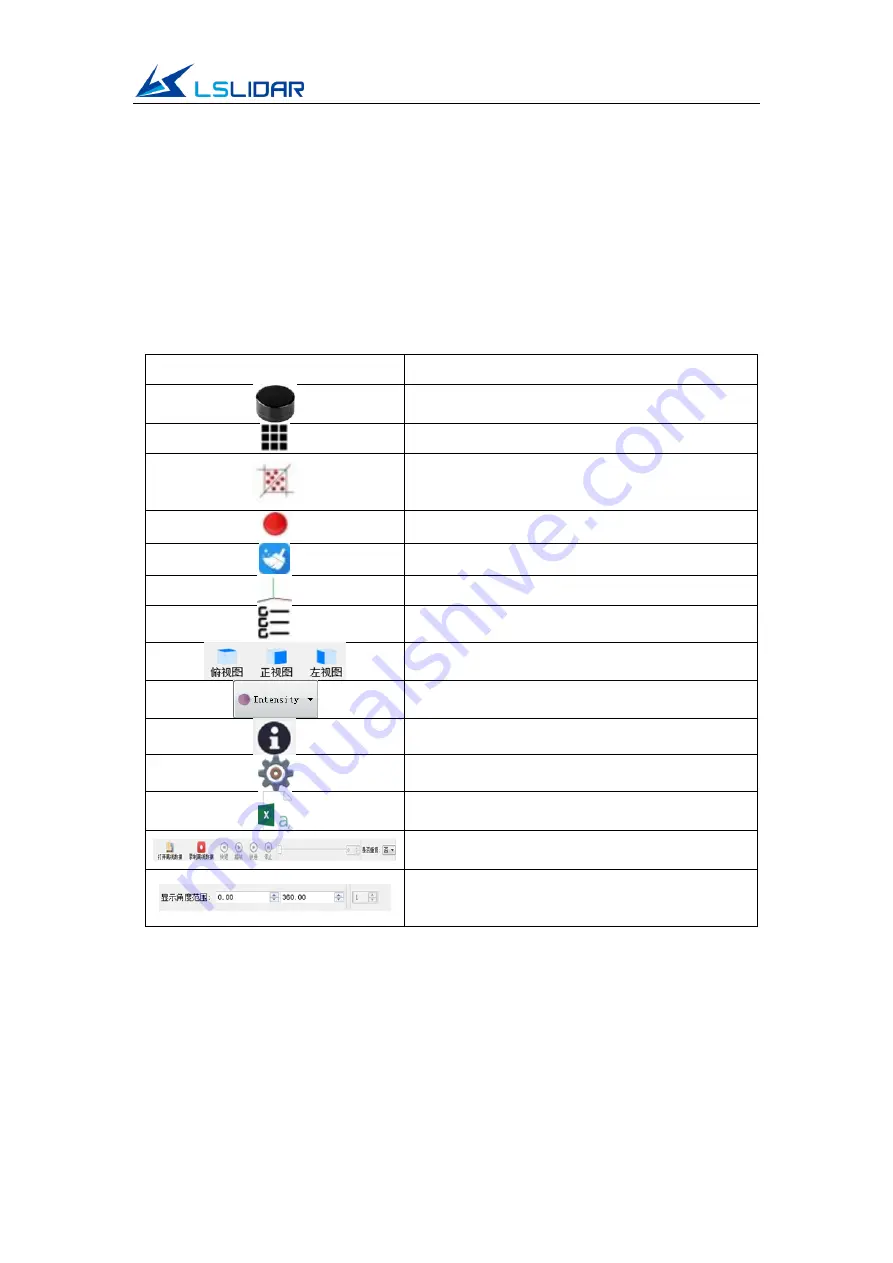
Introduction to Menu Bar Buttons
Table 5.1 Lidar Menu Button Description
Button
Description
Click to start receiving and displaying data
Show/hide the measurement grid
Mark the selected points in the point cloud
image;
Select point clouds from different angles
Pause the live point cloud image and data
Clear screen
Show/hide the coordinate
Show/hide the data column on the left
Three-view option: set the observation angle
from top, front, and left.
Set the display mode of the point cloud
View the software version
Open lidar parameter form
Save the data in .csv format
Save, open, play, stop playing the offline data,
adjust the play speed, etc.
Select the angle of view, the software will only
display the set angle point cloud, with the ability
to accumulate multiple frames
5.2
Notes
▉
Notice about the Lidar setting and usage
1)
It is not possible to use the M10P Windows client to receive data in two
processes (open twice at the same time) on the same computer. The port
occupancy of the PC is generally exclusive, so after a process is bound to a
specified port number, the other software using the same process or the


