

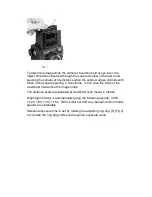


film into the body receptacle between the spring and the body wall having
pressed the flat spring with your finger.
Unwind the end of the protective paper and on folding it down for about
10mm insert in the slot of the take-up spool. Then holding the spool with
the film with your left finger and rotating the film rewinding knob wind 2 - 3
layers of the protective paper to the take-up spool. Close the camera back
assured that the paper tension is good.
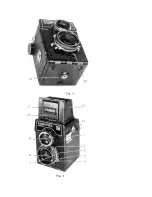
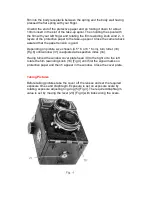
Depending on picture size chosen (4.5 * 6 or 6 * 6 cm), turn turret (33)
[Fig.6] until window (31) is adjusted at respective index (34).
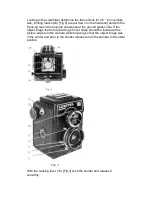
Having turned the window cover plate head
30
to the right or to the left
rotate the film rewinding knob (18) [Fig.3] until first the signal marks on
protective paper and then
1
appear in the window. Close the cover plate.
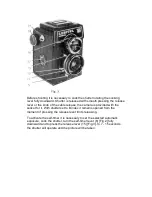
Taking Pictures
Before taking pictures take the cover off the lenses and set the required
exposure times and diaphragm. Exposure is set on exposure scale by
rotating exposure adjusting ring dog (5) [Fig.3]. The required diaphragm
value is set by moving the lever (20) [Fig.4] with index along the scale.
Содержание Lubitel 166
Страница 7: ......


