15
Change the hours by pressing the
+/HRS
key; the hours will increment
from the current setting up to 23 (or 11pm) and then “wrap-around” to 00
(or 12am). Change the minutes by pressing the
-/MIN
key; the minutes
will increment from the current setting up to 59 and then “wrap-around” to
00. If you change your mind and don’t wish to change the event start time,
simply press the
MODE
key; the display will return to the current time
(adjusted for any fast time minutes elapsed while in this editing mode).
Once you are satisfied with the event start time press the
SEL
key; the
start time value will be in effect and stored in non-volatile memory as well.
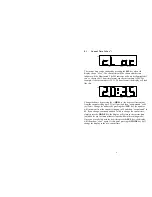
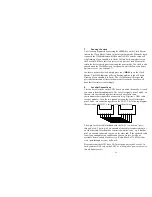
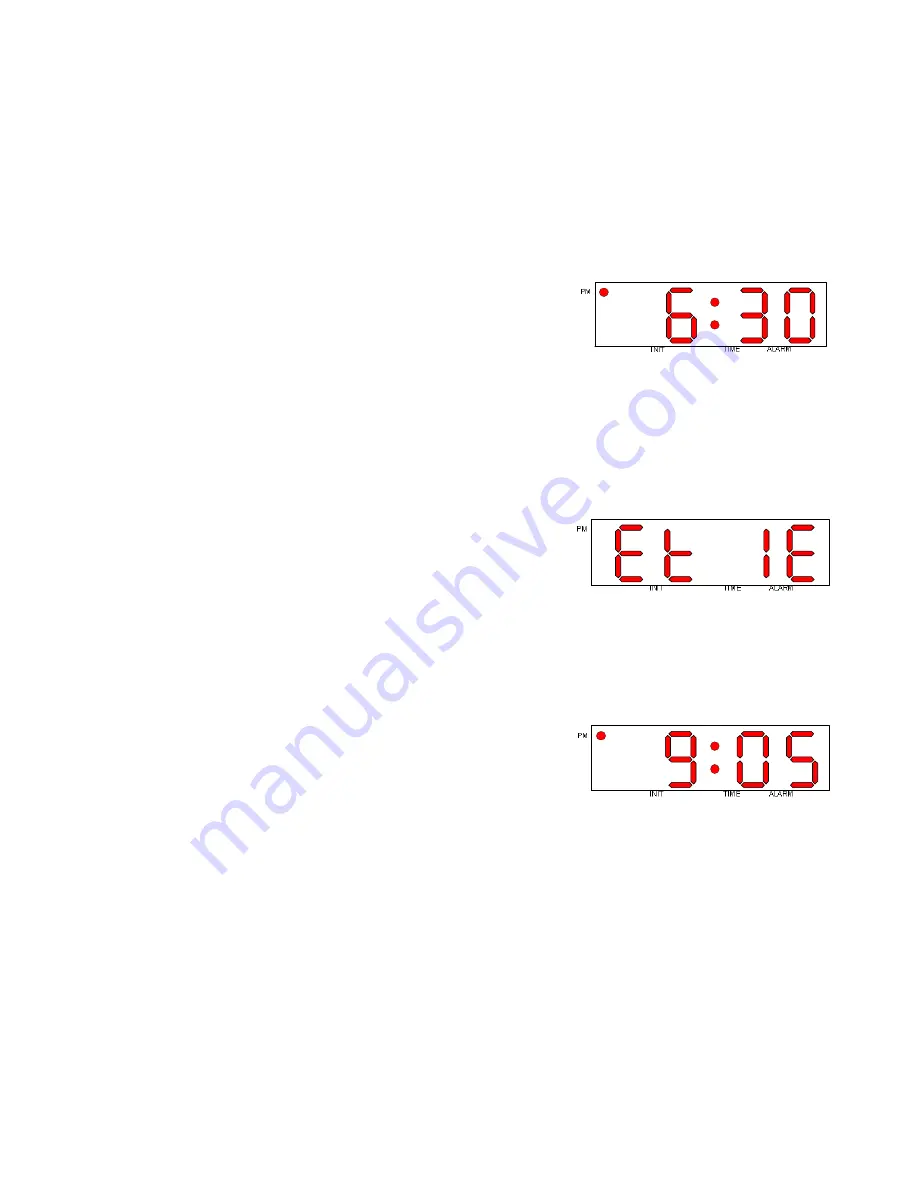
The display will change to this:
This indicates that you are now going to specify the
End
time for Event
#1. You can select a different event number by pressing the
+/HRS
or
-/MIN
keys. Once you have chosen an event number press the
SEL
key.
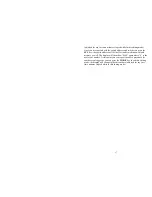
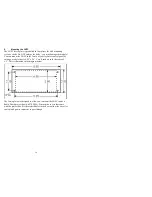
The display will then show the current event end time. The PM indicator
will only be illuminated if you’ve chosen the 12 hour time format and the
current time is PM! For example, if the existing event end time is 9:05pm
(12 hour format) the display will look like this:
Change the hours by pressing the
+/HRS
key; the hours will increment
from the current setting up to 23 (or 11pm) and then “wrap-around” to 00
(or 12am). Change the minutes by pressing the
-/MIN
key; the minutes
will increment from the current setting up to 59 and then “wrap-around” to
00. As described in Section 1.3, if an event’s start and end times are equal
the event trigger will be a “one-shot” type; otherwise it will be a


