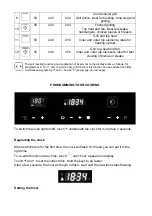
Touch
until “bell” appears on display. Wait until default time appears, then use
+
and
–
to adjust the time. Hold the keys to go faster.
Timer is pre-set to 10 minutes. It can be modified within a range of 0 to 240 minutes. The
timer is not connected to oven settings and can be set even if the oven is off.
The time of day is always visualised as priority and the bell symbol
in the top left-hand
corner of the clock display shows the timer is set.
When the cooking time has ended, the
symbol flashes, “End” appears and the oven
gives a warning signal (one beep per second).
Press
to stop beeping.
Manual setting of an oven function
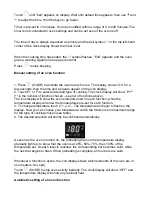
1. Press
(On/Off) to activate the oven ready for use. The display shows “On” for a
few seconds, then the time and a square appear on the icon display.
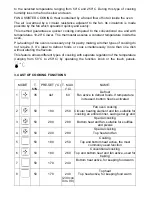
2. Touch P+ or P- to selected desired type of cooking. The clock display will show “Pr**”
(** is the number of function chosen – see list of functions above).
The icon display will show the oven elements used for each function, while the
temperature display will show the temperatures pre-set for each function.
3. To change temperature touch C°+ e C°-. The temperature will begin to flash on the
display. Now you can choose your temperature, within the minimum and maximum range
for the type of cooking chosen (see table)
4. The desired selection will shortly be confirmed automatically.
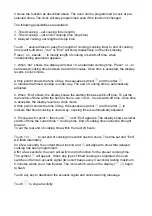
As soon as the oven is turned on, the preheating bars on the temperature display
gradually light up, to show that the oven is at 25%, 50%, 75%, then 100% of the
temperature set. As each level is reached, the corresponding bar becomes solid, while
the next bar begins to flash. When preheating is complete, all four bars are solid.
Whenever a function is active, the icon display shows which elements of the oven are in
use (heaters, fan, spit).
Touch
(On/Off) to stop oven activity instantly. The clock display will show “OFF” and
the temperature display will show any residual heat.
Automatic setting of an oven function

