


- 34
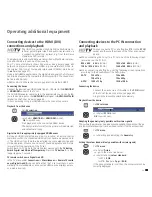
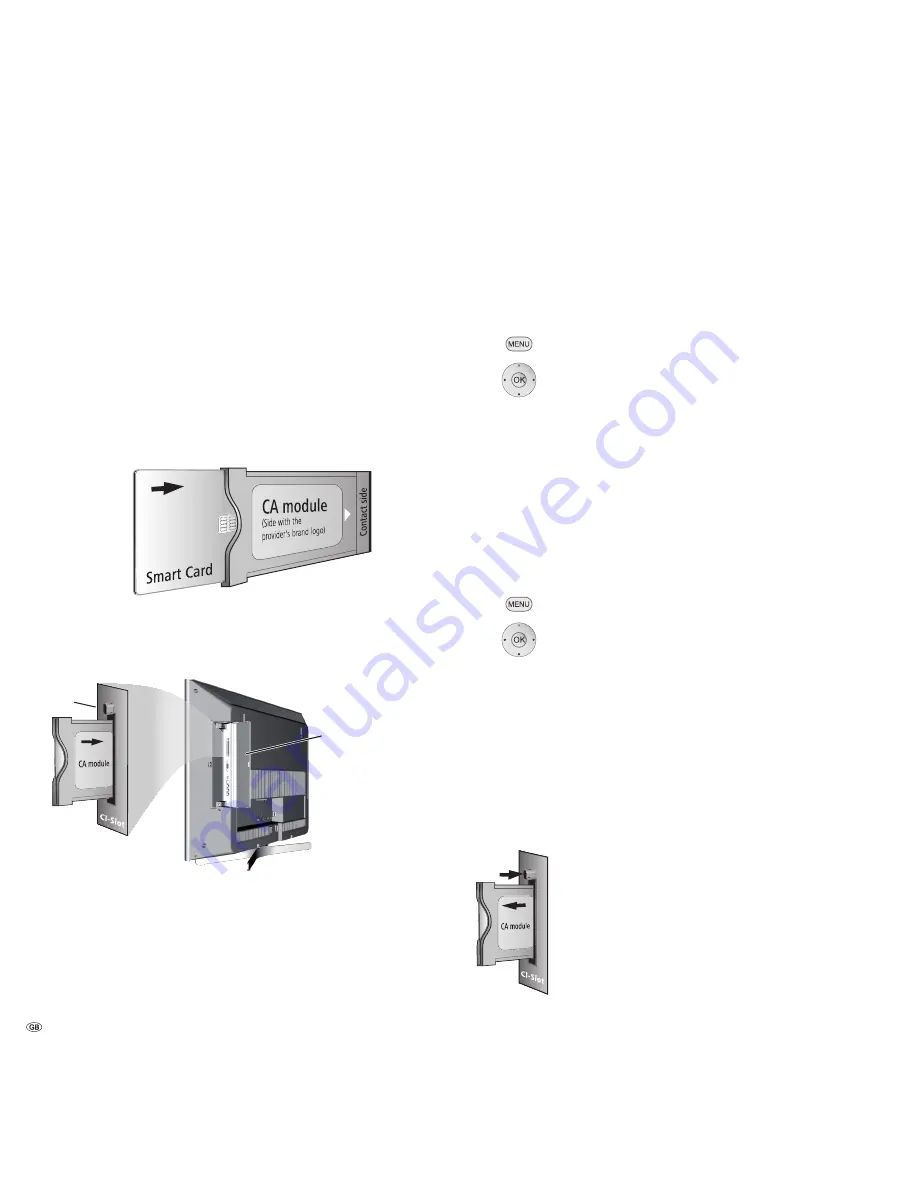
Conditional Access module (CA module)
In order to be able to receive digital stations, a Conditional Access module
(CA module) and a Smart Card must be inserted in the CI slot of your TV
set (see pages 5 and 6).
The CA module and the Smart Card are not part of the TV set's scope of
delivery. They are usually available from your dealer.
Loewe provides no guarantee for the functioning of the CA module.
Inserting the smart card into the CA module
Push the Smart Card into the CA module as far as it goes so that the side
with the gold coloured contact chip is facing the side of the CA module
marked with the provider's logo. Note the direction of the arrow printed
on the Smart Card.
Inserting the CA module in the CI slot
➠
Switch off the TV set's power switch.
Open cover on the rear of the set.
Insert the CA module carefully into the CI slot with the
contact side first.
If you are standing in front of the TV set (display) then
the logo on the CA module must be pointing to the rear.
Do not use force. Make sure the module is not twisted
in the process.
The eject button protrudes slightly when the CA module
is inserted correctly.
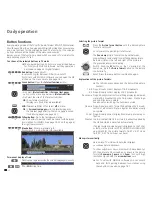
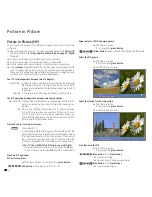
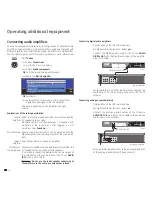
Searching for encrypted stations
➠
The search wizard must only be started when the
setting possibility
no
has been selected for the search
for coded stations in first-time start-up or no CA
module has been inserted.
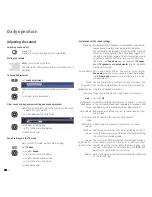
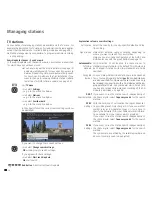
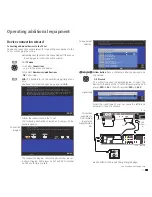
Call
TV menu
.
34
Select
Settings
,
6
go to the menu line below.
34
Select
Stations
,
6
go to the menu line below.
34
Select
Search wizard
,
6
go to the menu line below.
34
Select
Change search settings
,
OK
Wizard guides you through the search settings.
Description of the search settings, see page 24.
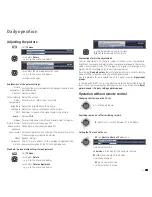
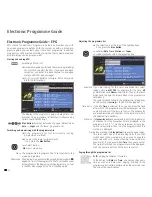
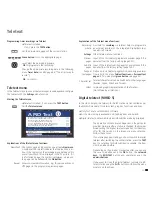
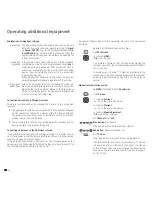
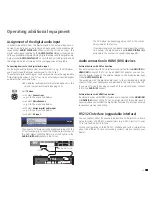
Calling CA module information
➠
This menu is available with digital stations only.
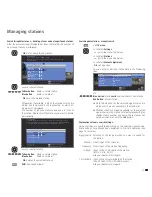
Call
TV menu
.
34
Select
Settings
,
6
go to the menu line below.
34
Select
Miscellaneous
,
6
go to the menu line below.
34
Select
CA module:
xxx
(xxx corresponds to the CA module provider),
OK
Call information.
The content of this menu depends on the provider of the
CA module.
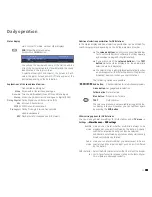
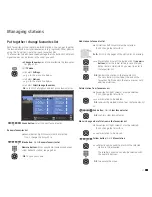
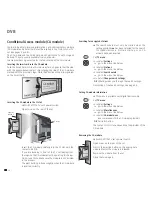
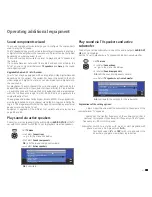
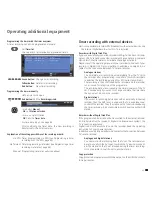
Removing the CA module
➠
Switch off the TV set's power switch.
Open cover on the rear of the set.
Press in the ejection button on the appropriate
module drawer, the module is released.
Remove the module from the set.
Close the cover again.
DVB
Cover
Ejector
button