background image

EQUIPMENT  

Operation Manual


Warning: UV Energy is transmitted from the end of the
light guide. Protective eyewear equipped with side shields
are required that meet ANSI Z80.3 & Z87.1 Certification.

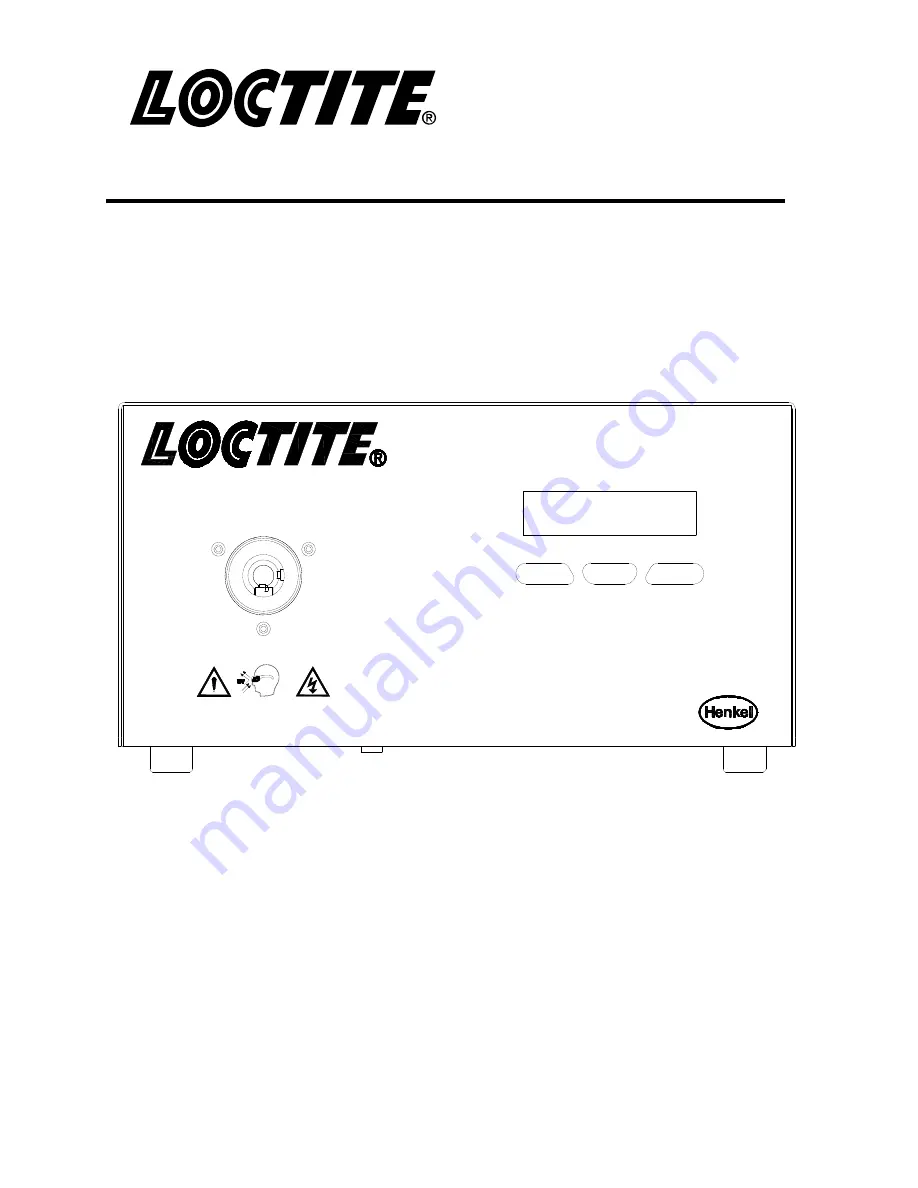
CL15 UV Wand System

Item No. 1661548

Enter

+

_


Loctite® CL15 UV Curing Wand System 

Part Number: 1661548 

Содержание CL15 UV

Страница 1: ... is transmitted from the end of the light guide Protective eyewear equipped with side shields are required that meet ANSI Z80 3 Z87 1 Certification CL15 UV Wand System Item No 1661548 Enter _ Loctite CL15 UV Curing Wand System Part Number 1661548 ...

Страница 2: ...PERATION 2 2 OPERATING ELEMENTS AND CONNECTIONS 3 TECHNICAL DATA 4 INSTALLATION 4 1 SPACE REQUIREMENTS 4 2 CONNECTIONS 5 OPERATING THE UNIT 6 INSERTING AND REMOVING LIGHT GUIDES 6 1 INSTALLING SINGLE LIGHT GUIDE 6 2 BALANCING MULTI POLE LIGHT GUIDES 7 CARE AND MAINTENANCE 7 1 REPLACING THE LAMP 8 TROUBLE SHOOTING 9 PIN CONNECTIONS 10 REPLACEMENT PARTS AND ACCESSORIES 11 WARRANTY ...

Страница 3: ...read these instructions completely If the instructions are not observed the manufacturer can assume no responsibility Be sure to retain this manual for future reference WARNING Always wear the included UV safety glasses or glasses that conform to ANSI Z87 1 CSA Z94 3 when operating the unit WARNING Always cover hands face and other parts of the body that may be exposed to UV light WARNING Never lo...

Страница 4: ...y Several configurations of light guides are available from Loctite including single and dual ended types The unit is also capable of interfacing with an external relay or PLC circuit 2 Description 2 1 Theory of Operation When the unit is switched on electrical power is immediately supplied to the lamp and ignition should occur within several seconds As soon as the lamp has completed the warm up c...

Страница 5: ...ily engaging the footswitch or when an externally operated device such as a PLC makes a relay closure across pins 1 and 9 of the nine pin foot switch connection XS 1 on the rear panel In the manual operating mode the shutter remains open for as long as the footswitch or alternate external device maintains contact between pins 1 and 9 Notice The hour meter should only be reset when a new lamp is in...

Страница 6: ...ng ENTER Button The OK button allows the user to scroll through the levels of set up parameters It is also used to accept any changes that are made to the current set of parameters UP Button The Up Button allows the user to either select options on the left hand side of the screen or increase values of set up parameters Down Button The Down Button allows the user to either select options on the ri...

Страница 7: ...s used to maintain the optimum temperature of the lamp while cooling the optics and electronics One fan is used for intake and the other fan is used for exhaust The intake fan has a removable filter that should be cleaned regularly depending on the environment Footswitch Connector XS 1 Nine pin D sub with pins 1 and 9 being the start signal and pins 3 and 4 being the lamp on signal relay contacts ...

Страница 8: ...ontinued Lamp Housing This area contains the optical transmission assembly bulb reflector and electrical lamp connections UV Bulb Reflector Assembly Shutter Assembly UV Bulb Connector Filter Holder Bulb Retainer Clips ...

Страница 9: ...operly inserted into the system Bulb Reflector The system uses a proprietary high pressure short arc mercury vapor bulb designed for long life at a very high intensity The bulb is mounted integral to the reflector for optimum performance Light guide Receptacle The Light guide Receptacle is a precision mechanical assembly that aligns the bulb bulb reflector and light guide for optimal focal point l...

Страница 10: ... 250V 5mm Dimensions Housing Approximately 12 inch W x 9 inch D x 5 inch H Weight Approximately 7 pounds UV Output Characteristics Initial UV output up to 15 W sq cm typical Exact output measurement is dependent on the brand and calibration method of the meter used as well as the condition and straightness of the light guide 0 1000 2000 3000 4000 200 300 400 500 600 700 800 Intensity counts Wavele...

Страница 11: ...ee and four of the footswitch connector provides conformation that the curing lamp is on When the lamp is not on an open circuit exists across pins three and four Plug the power cord into the power module located at the bottom left of the rear panel Plug the cord into the electrical utility outlet Insert the light guide into the receptacle located on the left side of the front panel until it is fu...

Страница 12: ...as long as the pins 1 and 9 are connected Front Panel Controls The system hours and lamp hours can be viewed by pressing the ENTER button The system hours are a non reset able timer that tracks the age of the unit The lamp hour indicator is a reset able timer to aid in tracking the life of the bulb The resetting of the lamp hours can be done in a later function see Lamp Hour Reset To escape from t...

Страница 13: ...Shutter OFF Time Setting The next parameter that can be changed is the amount of time that the shutter is closed during a cycle The time can be increased or decreased using the or buttons The shutter close time can be set with the following limits Time Base Min Time Max Time 0 1 sec 1 sec 24 9 sec 1 0 sec 25 sec 250 sec The time base automatically changes at 25 seconds Once this parameter is set p...

Страница 14: ...hile making changes to the parameters if the user pauses for longer than 7 seconds the display will return to the System Ready screen and no changes will be saved 6 Inserting and Removing the Light Guides Caution Be sure to remove the plastic end caps before attempting to use the light guide Caution If the free end of the light guide is secured at a fixed location sharp bends should be avoided sin...

Страница 15: ... not over tighten 3 Set shutter timer to between 2 and 5 seconds 4 Insert the one of the pole ends of the light guide into a Loctite 7020 UV Spot Radiometer P N 1406024 5 Press the radiometer start switch and actuate foot switch to open shutter 6 Release the radiometer start switch while the shutter is still opened 7 Record the radiometer reading 8 Position the second light guide pole in the radio...

Страница 16: ...cause damaged to the part surface Notice Vapors from some products may gradually accumulate on the end of the light guide reducing the UV output It should be inspected regularly and cleaned as necessary using isopropyl alcohol and a soft clean cloth Caution Avoid placing sharp bends in the light guide This reduces the UV output and may permanently damage the light guide If the light guide is mount...

Страница 17: ...oto 2 7 Lift the bulb reflector assembly from nosepiece see photo 3 4 Photo 3 Photo 4 8 Replace the bulb reflector assembly by remounting retaining clips to the assembly 9 Plug the lamp into the power supply 10 Re attach cover and connect the power cord to the rear of the CL15 Wand System 11 Insert the light guide into the receptacle located on the left section of the front control panel of the CL...

Страница 18: ...y Check lamp power connections Shutter does not open Confirm footswitch is plugged in Verify PLC is wired correctly Verify that the shutter is mechanically free Verify that the light guide is properly seated so the safety interlock switch is engaged Low UV output Check hours of use on lamp Replace if necessary Check end of light guide for polymer build up Clean with isopropyl alcohol Verify that t...

Страница 19: ...cription 1664246 Replacement Lamp Module 983677 Single End Light Guide 5 mm x 1M 983684 2 Pole Light Guide 3 mm x 1M 951681 Single Light Guide 5 mm x 1 5M 98596 3 Pole Light Guide 3 mm x 1M 97210 UV Safety Glasses 97201 Foot Switch Assembly 1406024 Loctite 7020 UV Spot Radiometer ...

Страница 20: ...used or maintained In the event of unauthorized modification of the Products including where products parts or attachments for use in connection with the Products are available from Henkel the use of products parts or attachments which are not manufactured by Henkel no claim shall be allowed No Products shall be returned to Henkel for any reason without prior written approval from Henkel Products ...

Страница 21: ...de Morelos Edo de México Henkel Corporation Automotive Metals HQ 32100 Stephenson Hwy Madison Heights MI 48071 Henkel Ltda Rua Karl Huller 136 Jd Canhema 09941 410 Diadema SP Brazil www loctite com and designate trademarks of Henkel Corporation or its affiliates registered in the U S and elsewhere Henkel Corporation 2009 All rights reserved Data in this operation manual is subject to change withou...

Страница 22: ......

Отзывы: