Little Cottage Small Cape Cod Скачать руководство пользователя страница 1

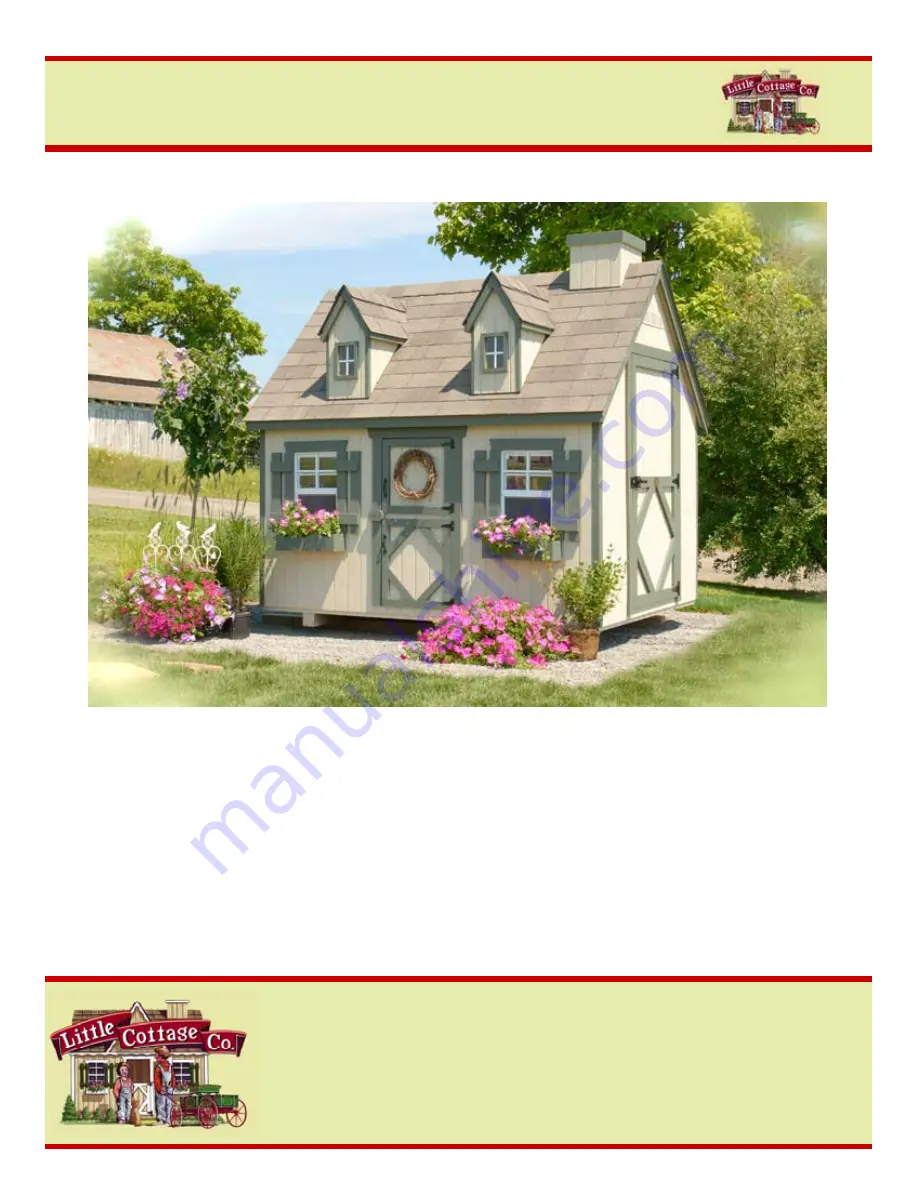
Small Cape Cod Manual


                                                        Little Cottage Co. 

                                                         PO Box 455 

                                                     Berlin, OH 44610 

                                                        330-893-4212 


                                              ©  2007– 2008 Little Cottage Co. 


Tools Needed:


-

Cordless Drill (12v or higher)


-#2 Square drive bit


-Hammer


-6’ Step Ladder


-Tape Measure


-Square utility knife with blade & hook blade


-Speed Square

Содержание Small Cape Cod

Страница 1: ...Cottage Co PO Box 455 Berlin OH 44610 330 893 4212 2007 2008 Little Cottage Co Tools Needed Cordless Drill 12v or higher 2 Square drive bit Hammer 6 Step Ladder Tape Measure Square utility knife with...

Страница 2: ...Make sure the plywood is even before fastening If it is not you will have an uneven floor Screw the sections together Put one screw towards the plywood and the other toward the top Put 4 screws on eac...

Страница 3: ...that the ground is level where the floor sets or you may have problems with the panels or the roof Install section A BE SURE to install the trim toward the center as shown This is the trim for the sma...

Страница 4: ...nto the header block as shown Be sure to measure from 2x3 to 2x3 that the opening is 20 Do not measure in between the door stop If it is not you may need to adjust it one way or the other Fasten the o...

Страница 5: ...shown Fasten all joints like this roughly every 8 10 with 2 1 2 screws Install panel F Again keep square and level Fasten corner like this Install panel G Fasten in corner and bot toms as shown before...

Страница 6: ...tened to allow for adjustments Install this assembled gable top Measure in 5 1 2 from the outside as shown Be sure to pull in against siding and fasten as shown Have someone press in from the outside...

Страница 7: ...anels L M together Note to keep the bottom edge even This will be the top of the door so it is very important Install this gable top Make sure that the edges by the door side are even Fasten once it i...

Страница 8: ...ides strength for joints Install 2x6 with trim match sets of three with numbers on the pieces For other size buildings refer to layout page for layout and number of pieces Keep even on the inside as s...

Страница 9: ...nd 6x8 sizes the trusses are the same angle On the larger sizes 8x8 8x10 and 8x12 the angles are different on one end Make sure the correct angles are matching You can check this with the gusset angle...

Страница 10: ...the edge of the 2x6 onto the trim Install first sheet of OSB orient strand board sheeting Fasten only on the bottom first Refer to layout diagram for your spe cific building Use black headed screws to...

Страница 11: ...he edge of building as shown Now you are ready to begin shingles Re fer to your shingle package for additional shingle instructions You will want to install shingles in a staggered fashion When you ha...

Страница 12: ...lding to edge of the treated dormer frame There is a cut angle right where the fingers and tape are in the picture Make sure this angle is turned up and not down toward the roof Measure from the botto...

Страница 13: ...crews poking through the roof You can also fasten the frame from the inside out This shows the dormer parts except for the Plexiglas window Frame is already installed at this point Slide the pieces to...

Страница 14: ...to trusses Install grid window Install pre drilled dormer grid window trim Install dormer to treated base Dormer shown does not have the trim or window in Use your speed square to make sure the dorme...

Страница 15: ...sheeting to the base Install a starter shingle strip Cut the excess past the dormer Be sure to use a hook blade so you do not cut into the other roof shingles Install the next row of shingles Once th...

Страница 16: ...90 Cut the caps for the dormer roof Start by installing a starter cap Continue installing the cap When you get to the back trim to conform to the roof line Install a siding piece below the child door...

Страница 17: ...to cen ter the door between the header block and the bottom door If both doors work well install the rest of the screws and remove spacer bar You will now begin to install 3 door pulls 2 on the out s...

Страница 18: ...screws in the hinges You can also make the adult door 1 piece by fastening them together if you prefer 1 solid door Install the shutters and flower box and window trim Install the corner trim with sma...

Страница 19: ...pe Cod Manual Construction Manual 2007 2008 Little Cottage Co Page 18 Thank You for purchasing from Little Cottage Co We wish you many years of enjoyment Pictured playhouses are shown with additional...

Отзывы: