TME-104P-CSR-LX800-R1V11.doc
Rev 1.11
10 (50)
2.4
Hardware Setup
Caution
Be sure to observe the EMC security measures. Make sure you are always at the
same potential as the module.
Caution
Never connect or disconnect peripherals like HDD's, PCI, and ISA boards while
the board's power supply is connected and switched on!
Use the cable set provided by LiPPERT to connect the Cool SpaceRunner-LX800 to a VGA monitor. Connect
either PS/2 or USB keyboard or mouse, respectively. Use the 44-wire cable to connect the hard disk. Make sure
that the pins match their counterparts correctly and are not twisted! If you plan to use additional other peripherals,
now is the time to connect them, too.
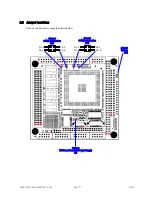
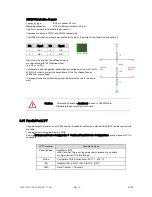
Set the “Jumper Battery” that it has contact with both pins. The location can be found on chapter 2.2.
Connect a 5 volt power supply to the power connector and switch the power on.
Note
In continuous mode there only about 1 amp necessary,
but at power on there are more than 6,5 A inrush current required.
The display shows the BIOS messages. If you want to change the standard BIOS settings, press the <F1> key to
enter the BIOS menu. See chapter 4.3 for setup details.
If you need to load the BIOS default values, they can be automatically loaded at boot time. See chapter "Trouble
Shooting BIOS Settings", about how to do it.
The Cool SpaceRunner-LX800 boots from CD drives, USB floppy, USB stick, or hard disk. Provided that any of
these is connected and contains a valid operating system image, the display then shows the boot screen of your
operating system.
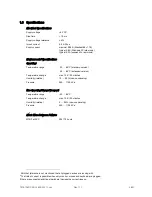
The Cool SpaceRunner-LX800 does not need any cooling measures, neither at standard environment
temperatures from –20 °C … +60 °C nor in the extended range of -40 °C ... +85 °C.

