


21
Chapter 5: Setting up the Wireless-G Access Point
Using the Setup Wizard
Wireless-G Access Point
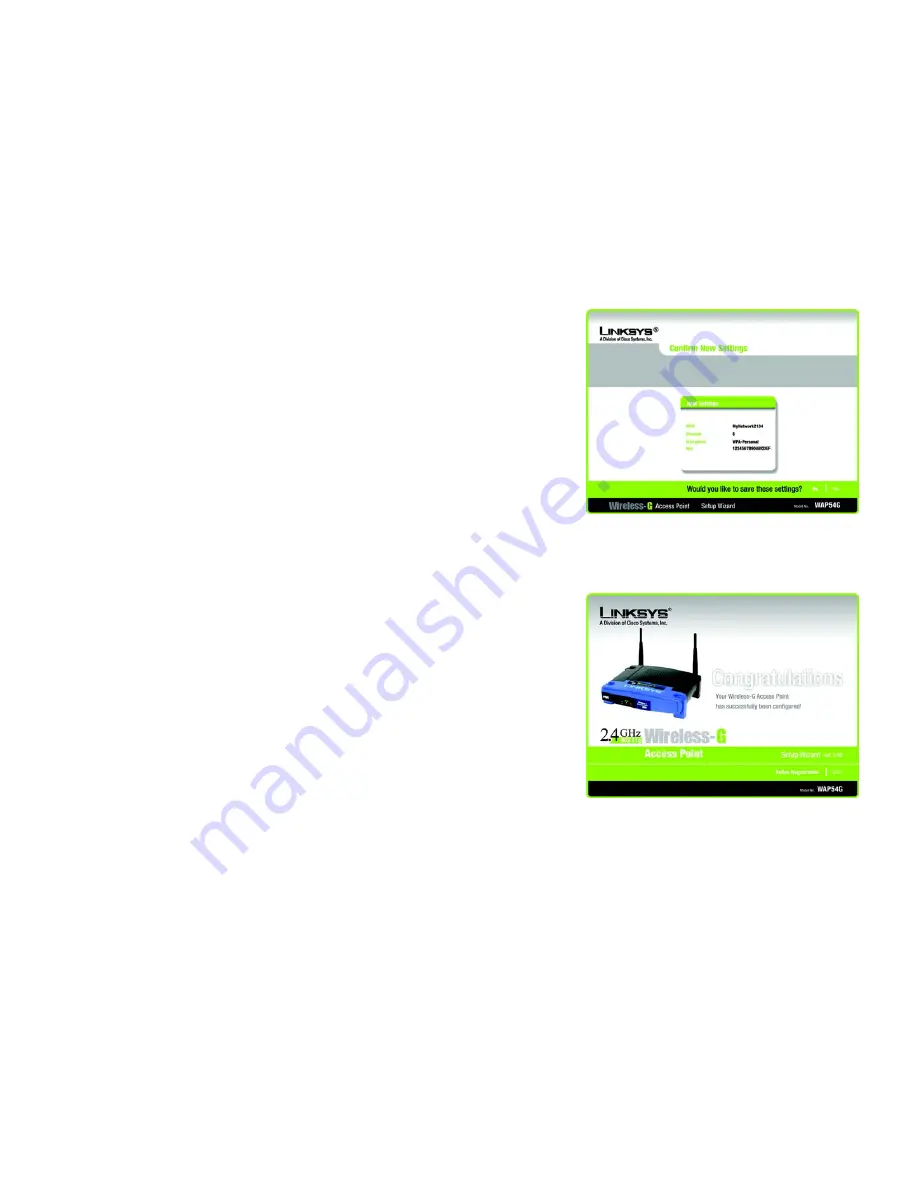
5. The Setup Wizard will ask you to review your settings before it saves them. Click the
Yes
button if you are
satisfied with your settings, or click the
No
button if you do not want to save your new settings.
6. The
Congratulations
screen will appear. Click the
Online Registration
button to register the Access Point, or
click the
Exit
button to exit the Setup Wizard.
Congratulations! The installation of the Wireless-G Access Point is complete.
If you want to make advanced configuration changes, proceed to “Chapter 7: Configuring the Wireless-G
Access Point.”
Figure 5-24: Confirm New Settings Screen
Figure 5-25: Congratulations Screen


