5
Product Overview
Business Internet Video Camera with Audio
Chapter 3
Ethernet
The Ethernet port supports network
speeds of either 10 Mbps or 100 Mbps, and can
operate in half and full-duplex mode.
Auto-sensing technology enables the port to
automatically detect the speed of the device
connected to it (10 Mbps or 100 Mbps), and
adjust its speed and duplex accordingly.
The Ethernet port supports automatic MDI/
MDI-X operation, so you can use straight-
through or crossover cables to connect to PCs,
servers, or switches.
NOTE FOR PVC2300 USERS:
The
PVC2300 Camera’s Ethernet port also
supports the IEEE 802.3af Power-over-
Ethernet (PoE) standard that enables
DC power to be supplied to the
Camera using wires in the connecting
twisted-pair cable. Any 802.3af-
compliant device attached to the
port can directly supply power to the
Camera over the twisted-pair cable
without requiring its own separate
power source. This capability gives
network administrators centralized
power control, which translates into
greater network availability.
To connect a device to the port, you will need
to use Category 5 (or better) network cable.
NOTE FOR WVC2300 USERS:
Attaching an Ethernet cable will
disable the wireless interface on the
WVC2300 Camera. Only one interface
can be active at any time.
NOTE FOR WVC2300 USERS:
On
the WVC2300 Camera, the Ethernet
cable should only be connected or
disconnected when the Camera is
powered OFF. Attaching or detaching
the Ethernet cable while the Camera
is powered on does NOT switch
the interface between wired and
wireless.
Activity LED
The Activity LED flashes when
activity is detected on the Ethernet port.
PVC2300 PoE LED
This LED only functions on
the PVC2300 Camera. The LED has the following
states:
On
PoE connection is detected.
Off
PoE connection is not detected.
Power
The Power port is where you will
connect the power adapter.
NOTE FOR PVC2300 USERS:
The
Power port is automatically turned of
if a PoE connection is detected on the
Ethernet port.
GPIO
This port is utilized for I/O connections.
Detailed specifications can be found in the
Specifications section of this User Guide.
10 9
8
7
6
5
4
3
2
1
Mic In
This jack is used to connect an external
microphone to the camera.
Spkr Out
This jack is used to connect powered
speakers to the Camera.
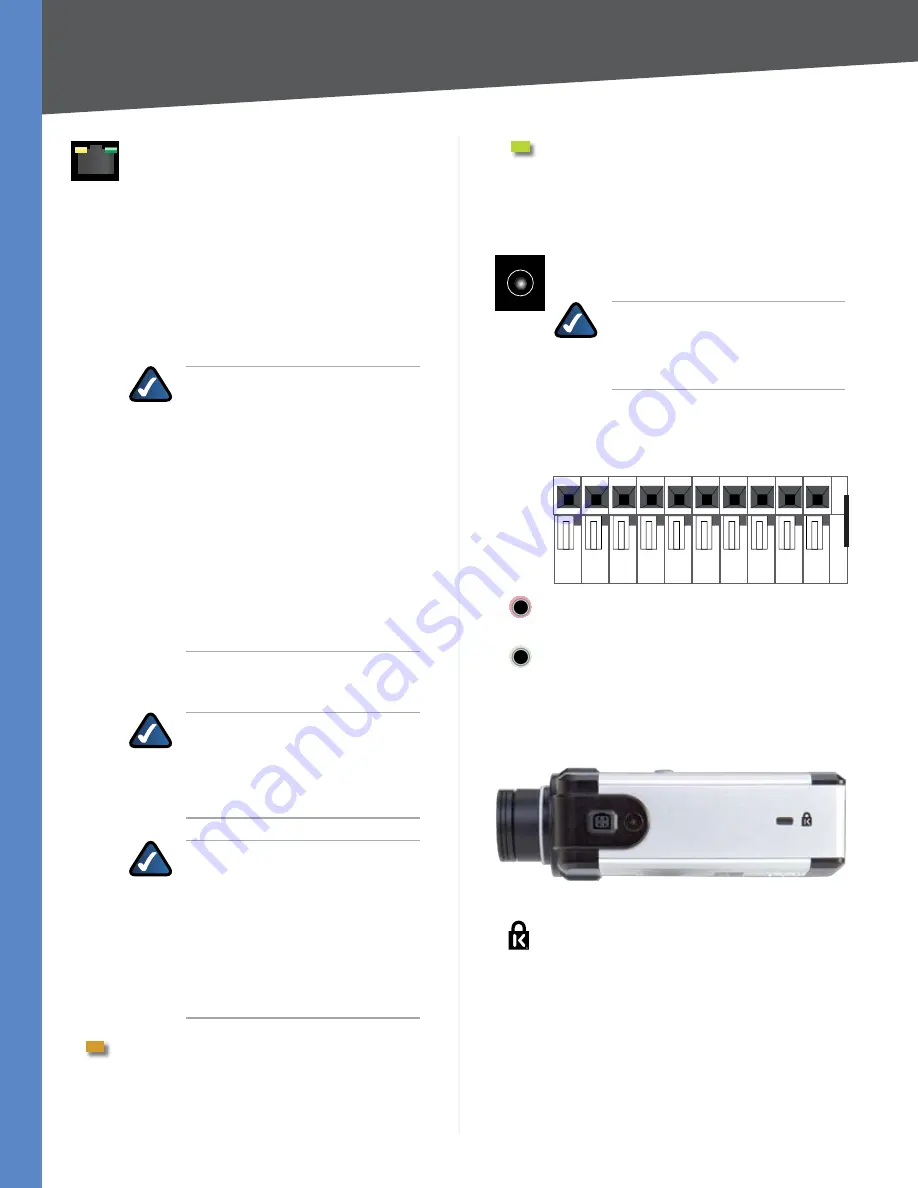
Side Panel
The security slot is located on a side panel of the Camera.
Side Panel
SECURITY SLOT
The security slot can be
utilized to attach a lock to the Camera.


