User Manual
English
Slide the top cover back onto the housing.
Finally connect the included power supply to the DC socket and the mains outlet.
If you want to clone SSD/HDDs, do not connect the Docking Station to the computer.
For Docking Station operation connect the Docking Station to your computer via the included USB cable.
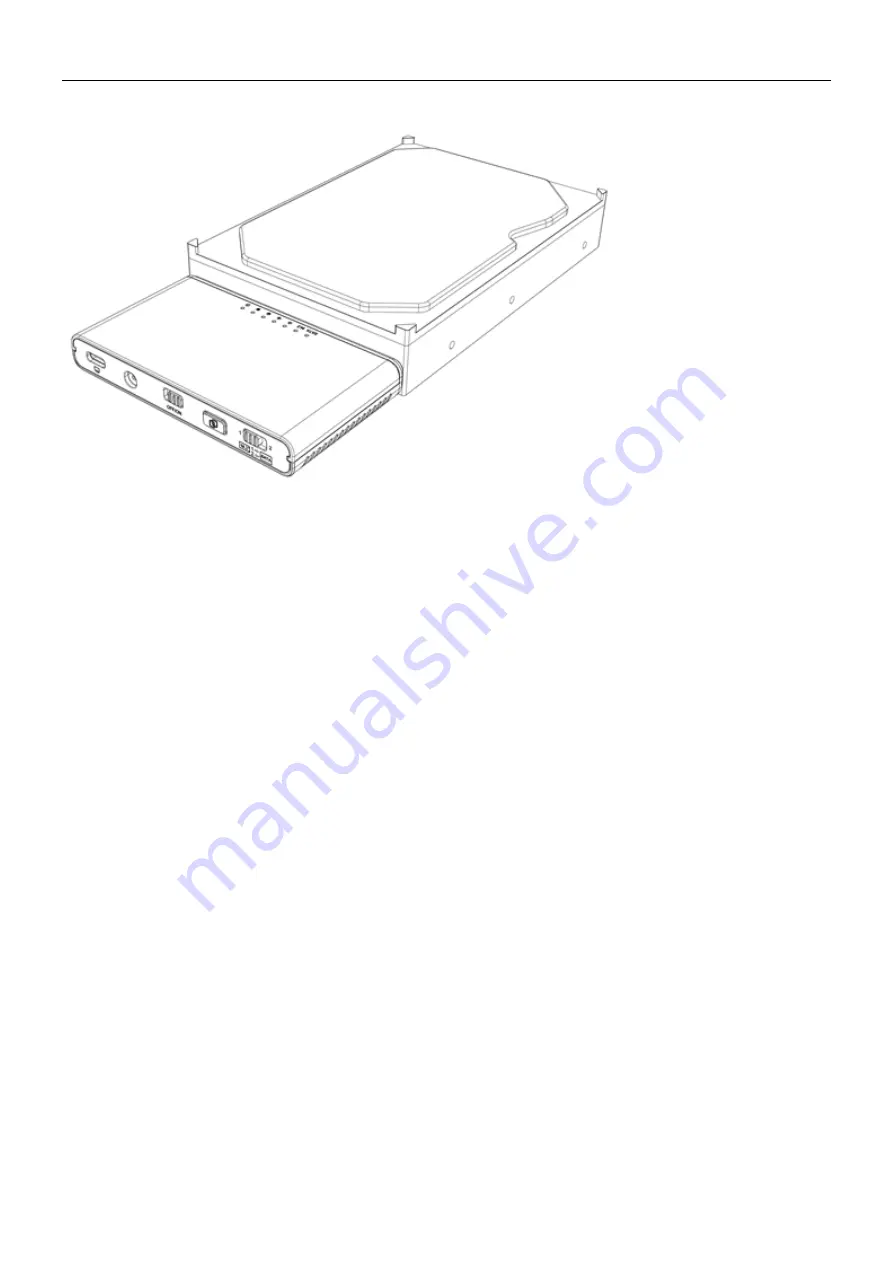
Insert the SSD/HDDs in to the docking station and press the power switch to turn on.
Wait until the drivers are loaded by the operating system – you should then see the drives in the file
manager program.
HDDs may need to be partitioned / formatted using your operating system disk management utility
before you can access them.
Before unplugging SSD/HDDs make sure data transfer processes are complete.
Clone Function
:
Install the source and target SSD/HDDs. The target SDD/HDD must be of equal or larger capacity than
the source SSD/HDD. Make sure that the target SSD/HDD is empty and not partitioned. When both
drives are connected, press and hold the clone button for 3 seconds until the 4 clone process LEDs are
all lit. Then the button must be immeditately pressed again to start the cloning.
All 4 LEDs light up once
the clone process has ended (status changes as clone progresses). Do not switch off or unplug the
HDDs during the cloning process!
LED light status:
1. Power (green): always on when powered
2. SATA/M.2 bay (yellow): SATA/M.2 bay working status, lights up when the hard disk is inserted,
flashes when reading and writing; sleep mode after 30 minutes without reading and writing
3. 4x Clone progress indicator (yellow): 25%-50%-75%-100% displayed in turn: All 4 LEDs light up when
the process is finished.


