User Manual
English
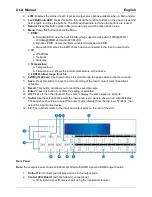
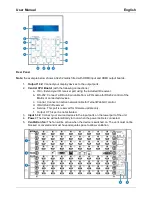
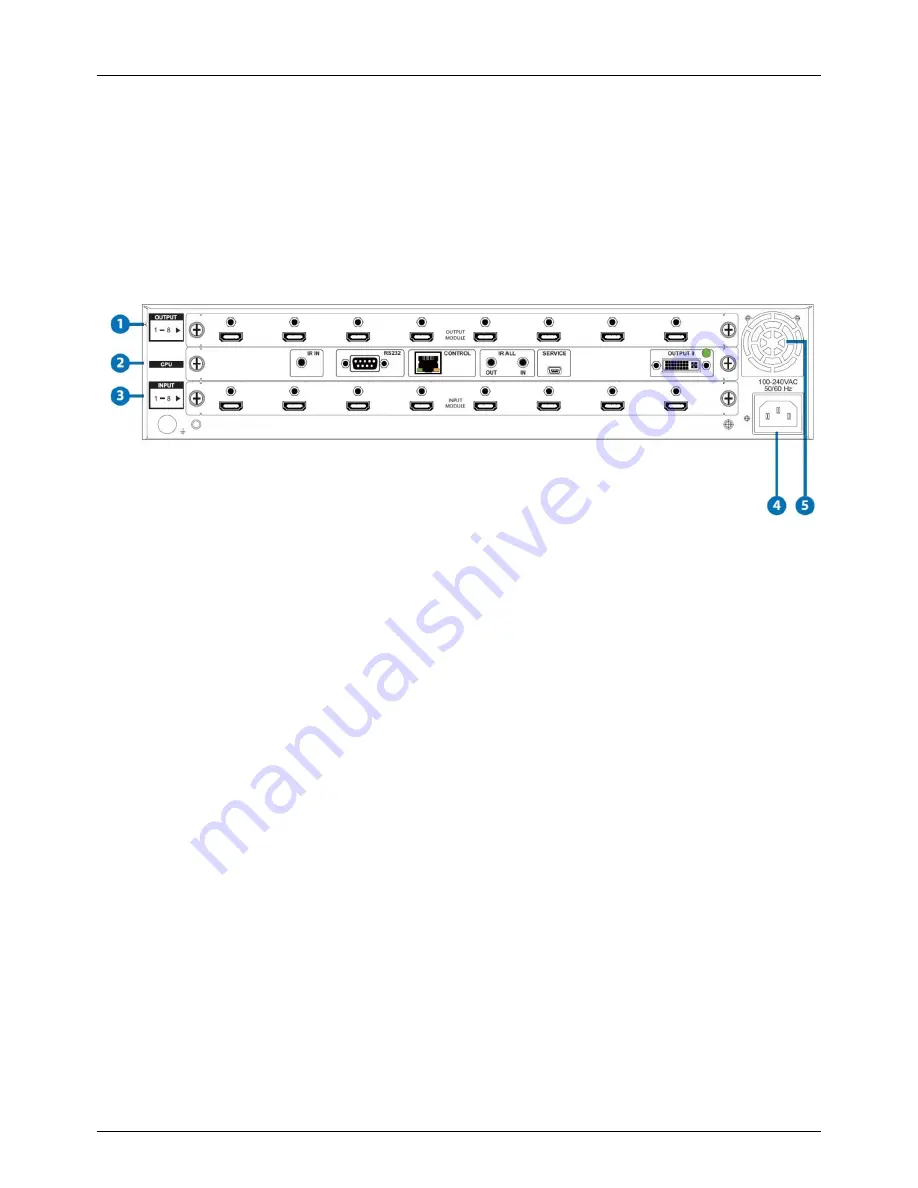
b. RS-232: Connect a D-Sub 9 pin cable from a PC/Laptop for RS232 control of the
Matrix or connected devices.
c. Control: Connect an active network cable for Telnet/Web GUI control.
d. IR All Out/In: Reserved.
e. Service: This port is reserved for firmware update only.
f. Output 0: This port is not activated.
3.
Input 1-8:
Connect your source devices to the input ports on the lower part of the unit.
4.
Power:
The device will automatically turn on when the power cable is connected.
5.
Ventilation fan:
The fan will be active when the device is switched on. The vent must not be
blocked or covered and must have adequate space to allow ventilation.
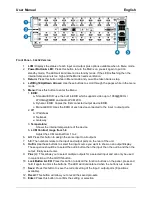
Front Panel
– 16x16 Version
1.
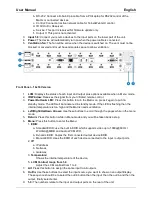
LCM:
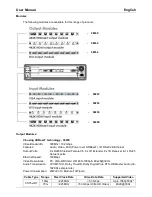
Displays the status of each input and output plus options available when in Menu mode.
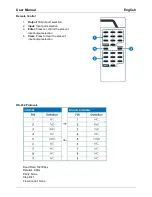
2.
IR Window:
Receives the signal from your infrared remote control
3.
Power Button & LED:
Press this button to turn the Matrix on, press it again to put it in
standby mode. The LED will illuminate red in standby mode. If the LED is flashing then the
internal temperature is too high and the Matrix needs ventilation.
4.
Left/Right/Up/Down Arrows:
Use these buttons to scroll through the pages while in the menu
mode.
5.
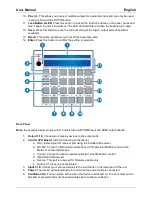
Return:
Press this button while in Menu mode and you will be taken back a step.
6.
Menu:
Press this button to enter the Menu:
1.
EDID:
a. Standard EDID: use the built in EDID which supports video up to 1080p@60Hz /
WUXGA@60RB and Audio LPCM 2CH.
b. Dynamic EDID: Copies the first connected output device EDID.
c. Manual EDID: Uses the EDID of each device connected to the input / output ports.
2.
IP:
a. IP address
b. Netmask
c. Gateway
3.
Temperature:
Shows the internal temperature of the device.
5.
LCM Contrast range from 1-4
Adjust the LCM contrast from 1 to 4
7.
All:
Press this button to assign the same input to all outputs
8.
Out/In:
Use these buttons to select the input source you want to show on an output/display.
The sequence should be to select the out/in button then the input, then the out/in and then the
output, finally select enter.
9.
1-9:
The numbers relate to the input and output ports on the rear of the unit.
Содержание 38258
Страница 2: ......
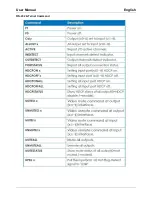
Страница 10: ...User Manual English RS 232 Telnet Command...
Страница 11: ...User Manual English...
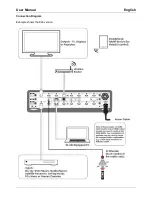
Страница 15: ...User Manual English Connection Diagram Example shows the 8x8 version...


