Netlink Installation and Operation Manual
8
9
Installation and Operation
2 .2 Configuring the Netlink board
2.2.1 Logging into the Netlink for the first time
From the factory, the
Netlink
is preset with the following settings:
• IP Address:
192 .168 .1 .9
• Username: admin
• Password: admin
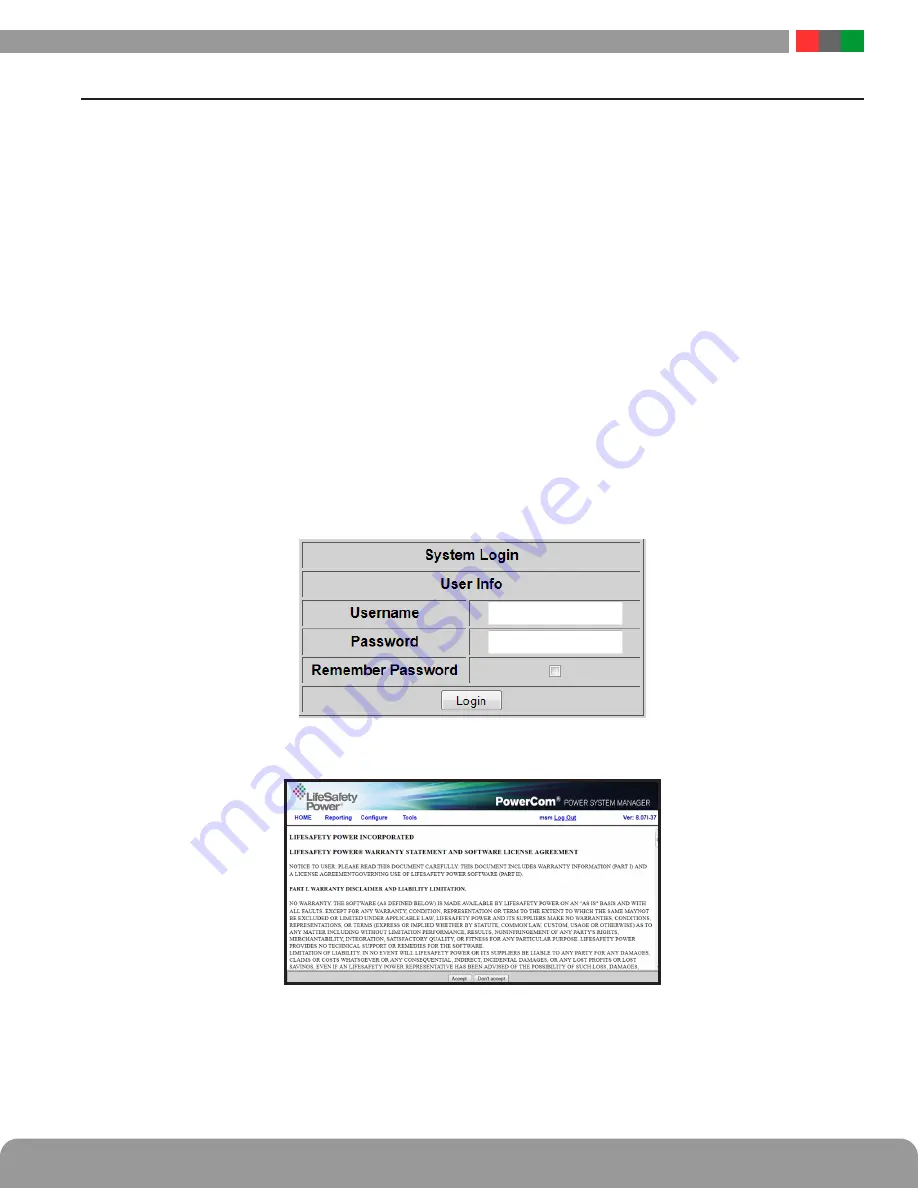
Open a browser on the computer and enter the IP address into the address bar . When propted, enter the user name and password . Note
that BOTH are case sensitive (See Figure 2 .2) . The
Netlink
License Agreement and one or more Cybersecurity windows will also ap-
pear . Read these and click OK (Figure 2 .3) . The home page for the
Netlink
should appear in the browser window (See Figure 2 .4) .
i
If the wrong password is entered three consecutive times, the user will be locked out of the device for the programmed lockout
time (24 Hours by default) . Enter the password carefully to avoid lockout . This time period may be changed on the configure page .
2.2.1.1 Resetting the Netlink
To reset the
Netlink
to factory default user name and password press and hold the reset button for 10 seconds .
To reset the
Netlink
to factory default user name, password, IP address, certificate, and Cipher Suite settings, press and hold the reset
button for 30 seconds .
After releasing the button, the
Netlink
will reset and reboot .
Depending on the firmware revision, the Netlink may default to DHCP after reboot . If a DHCP server is found, an IP address will be
assigned . The LifeSafety Power scan software, or a third party software must then be used to find the IP address of the
Netlink
.
Figure 2.2 The Netlink Login Window (May appear different, depending on browser)
Figure 2.3 The Netlink License Agreement Window
Содержание FlexPower Netlink NL2
Страница 14: ...Netlink Installation and Operation Manual 10 Figure 2 4 Typical Netlink Home Page ...
Страница 24: ...Netlink Installation and Operation Manual 20 Figure 2 11 Typical Reporting Page ...
Страница 31: ...27 Installation and Operation Figure 3 5 Battery Test in Progress Figure 3 6 Battery Test Results ...
Страница 33: ...29 Installation and Operation Figure 3 7 Typical Power Supply Page bottom portion ...


