Getting Started,
Continued
Optimization
Window
Perform optimization of electroporation parameters using the preprogrammed
24-well optimization protocol.
These protocols are locked and cannot be
edited.
1.
Press the power switch (located on the rear side of the unit, page vii) to
turn
ON
the Neon
™
device. The unit checks to ensure that the Neon
™
Pipette Station is connected to the device and then the start up screen is
displayed.
2.
Press
Optimization
button to start the optimization window. To scroll
through the protocols, use the right/left scroll buttons near the
Optimization button.
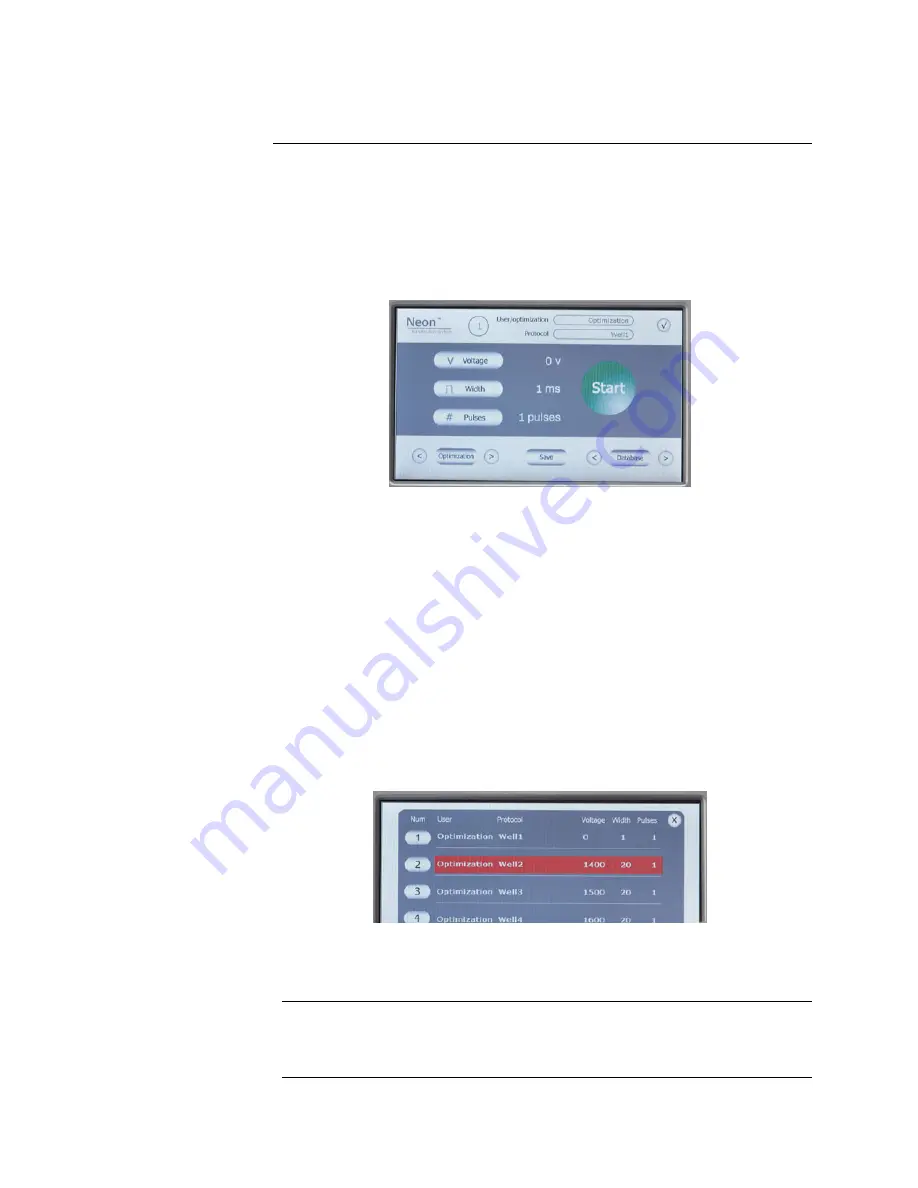
The Optimization window shows:
Number
button: Indicates protocol number
User and Protocol
: Displays the optimization and well number
Parameters (
Voltage, Width, Pulse
): Displays the electroporation
parameter for each protocol
Load
Function buttons: Used to load a protocol. The Load button is
activated only after a protocol is selected.
Page
scroll: To scroll to next or previous page
3.
Press the desired protocol number button. The selected protocol is
highlighted. Press
Load
to load the protocol. To exit the screen without
loading the protocol, press
X
.
4.
The electroporation parameters are displayed on the start up screen.
5.
Proceed to preparing cells (pages 16–17) and DNA, and setting up the
Neon
™
Pipette Station for electroporation (page 14).
Upgrading the
Firmware
Upgrades for the Neon
™
device firmware are available. To download Neon
™
device firmware upgrades, go to www.invitrogen.com/neon. Follow
instructions on the page to download the upgrades.
11


