22
EVOS
®
FL and EVOS
®
FL Color User Guide
Saving Time Lapse
Files
1.
Click the
Browse
button to select the destination.
2.
Highlight the desired folder in the Browse popup and click
OK
.
Note:
If there is no USB flash drive or network connection in place, a
warning message will appear. Insert a USB flash drive, and then click the
Cancel
button to clear the message.
3.
Click the Base Filename text field to enter a name under File, and then choose
a file type (.png or .tif) from the File Type drop-down menu.
Note:
This will save the files using the following naming convention:
Base File Name Selected_Number of file.tif
(the number of the first file
saved starts at “0001”).
Launching Time
Lapse Session
Note:
If there is not enough space available on the external storage device,
an error message will popup. If this message appears, replace the storage
device and/or change the parameters selected.
Click the
Start
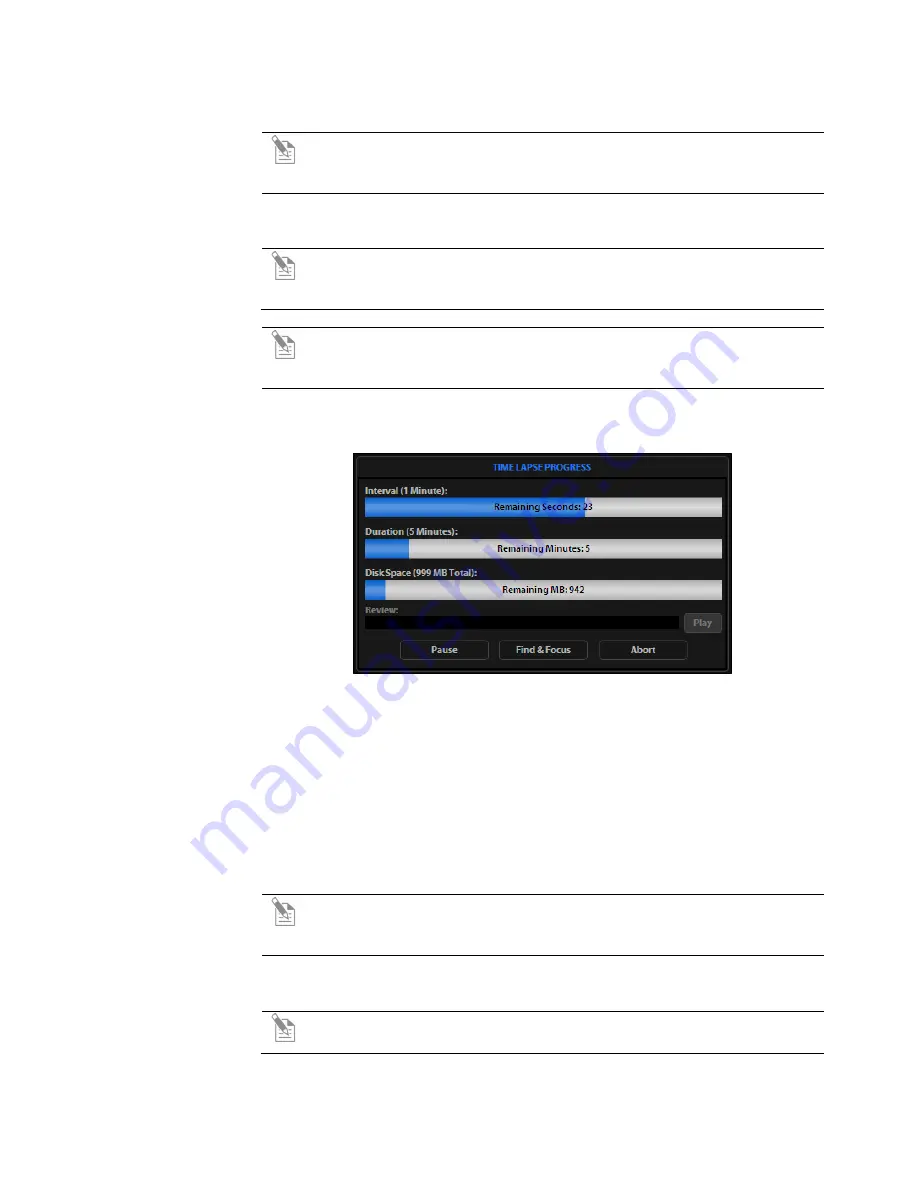
button to begin the time lapse session. The Time Lapse Progress
popup will display as long as the session is active (Figure 12)
Figure 12
Time Lapse Progress Popup
Time Lapse
Progress Screen
Key
•
Interval:
Time remaining before next image is captured
•
Duration:
Time remaining before session is complete
•
Disk Space:
Available disk space remaining
•
Review:
Use to review the images already captured during the current session
•
Play:
Shows all images captured in the current session
•
Pause:
Suspends the time lapse session
•
Find & Focus:
Pauses the actual session to allow adjustments to the focus &
illumination
Note:
Click the
Start
button after adjustments have been made to resume
the time lapse capture sequence or uncheck the
Resume
radio button and
start a new time lapse session.
•
Abort:
Stops the current session – if selected in error, click cancel to resume
the time lapse session
Note:
A dialog box will pop up, giving you the option to delete or keep the
files already saved.


