13
Auto setup - more you can do
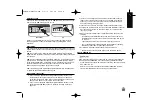
Adjust the programmed channels
Press HOME, then use
b
b B
B
to select [Easy Menu] option. Press ENTER while
[SETUP] is selected. The SETUP menu appears on the screen. Select the
[Program Edit] on the second level options then press
B
B
to move to the third
level. Press ENTER while [Edit] option is selected. The channel editing screen
appears on the screen.
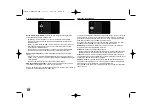
Select which channel you would like to edit and press ENTER. An option menu
on the left side of the screen will be highlighted.
[Delete]: Delete the selected channel from programmed channel list.
[Move]: Change the order of the channels and which numerical button they
correspond to.
[Station Rename]: change the name of the selected channel.
[Program Edit]: Change the settings of a channel manually.
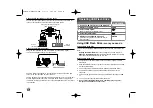
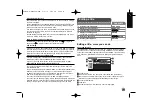
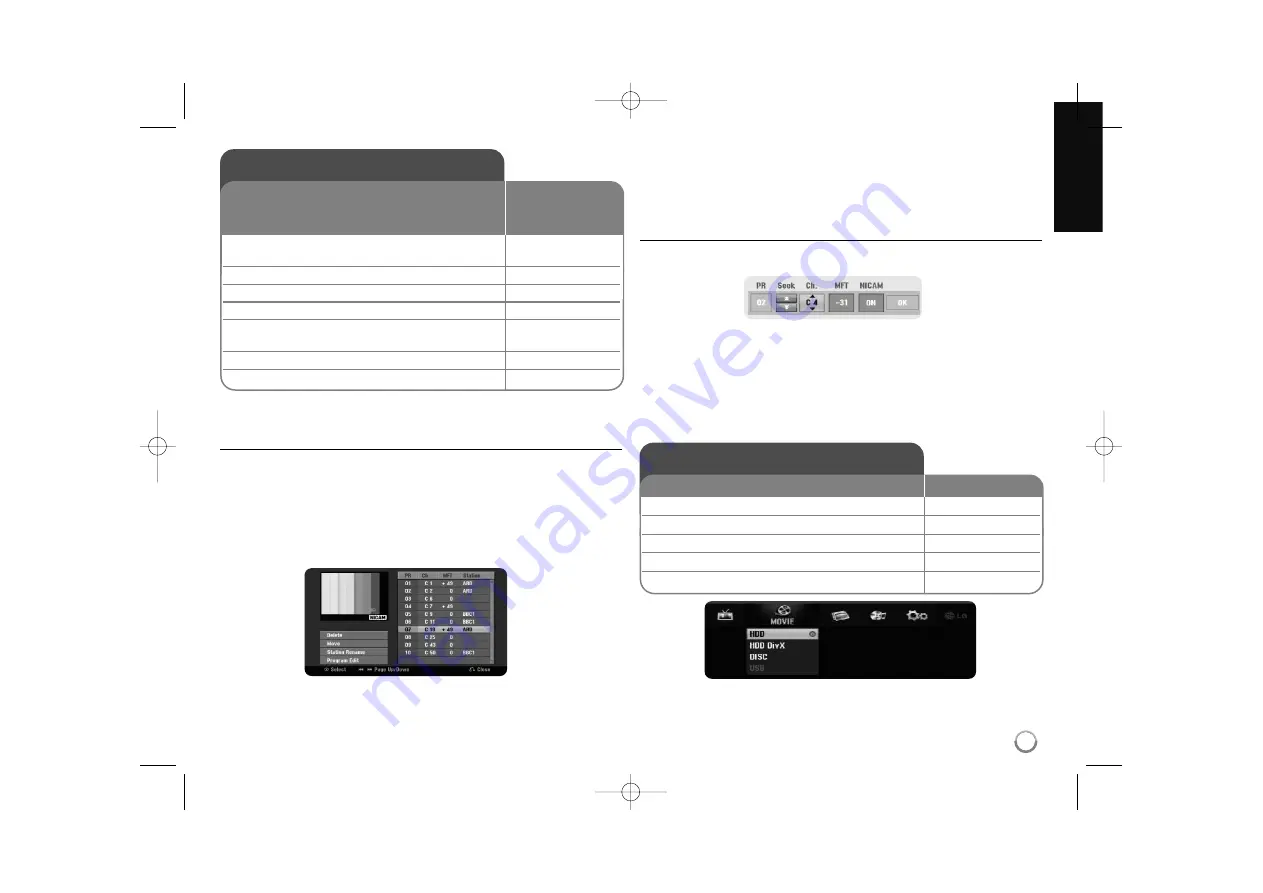
Editing a channel
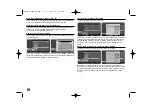
You can change the settings of programmed channel by selecting [Program
Edit] option on the left side of the channel editing screen.
[PR]: Indicates the selected channel position.
[Seek]: Searches for a channel automatically. Searching stops when the unit
tunes in a channel.
[Ch.] Changes the channel number.
[MFT] Fine tunes the channel to obtain a clearer picture.
[NICAM]: Sets the channels for the NICAM broadcast.
[OK]: Confirm the settings and return to the channel list menu.
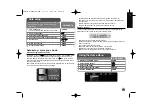
Using the Home Menu
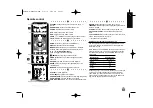
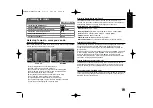
1 Displays the HOME menu:
HOME
2 Select a main option:
b
b B
B
3 Select a sub option:
v
v V
V
4 Execute the selected option:
ENTER
5 Exit the HOME menu:
HOME
ON REMOTE
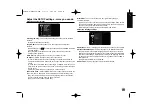
Auto setup
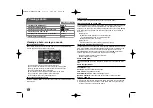
1 Turn on the unit:
POWER
The initial setup wizard appears on the screen.
2 Choose a language:
v
v V
V
3 Select the chosen language:
ENTER
4 Check the antenna and go to the next step:
ENTER
5 Set the clock:
v
v V
V b
b B
B
,
ENTER
6 Starts channel scan:
ENTER
7 Close the initial setup:
ENTER
ON REMOTE
When the first time to turn on the unit, the initial setup
wizard sets the language, clock and channels
automatically.
RH38AH-W-BSGPLLK-ENG 4/2/12 4:29 PM Page 13


