7
ENGLISH
r
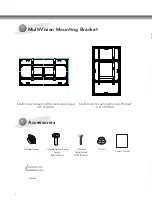
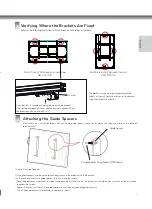
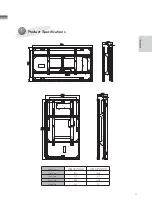
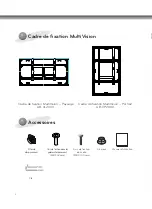
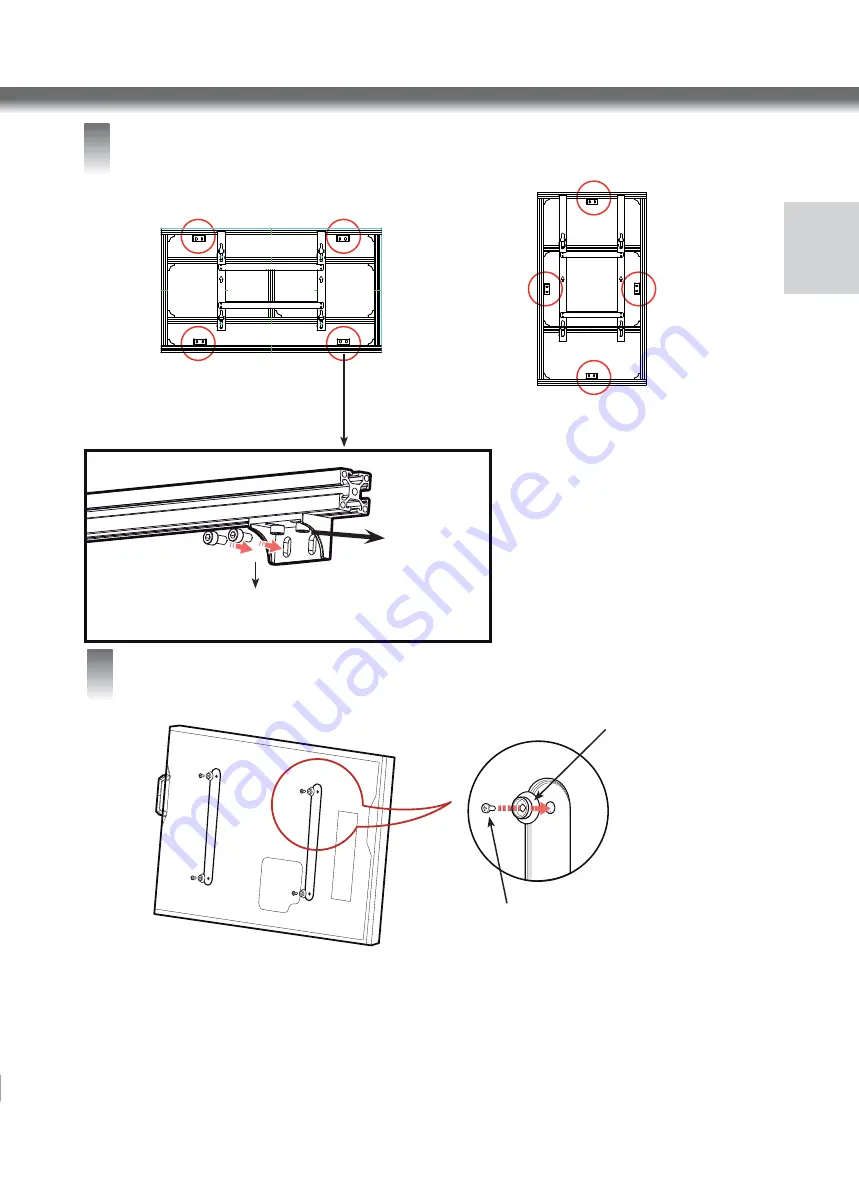
MultiVision Wall Bracket-Landscape
AB-VL200X
MultiVision Wall Bracket-Portrait
AB-VP200X
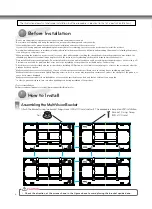
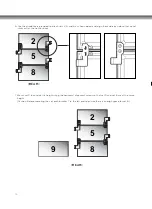
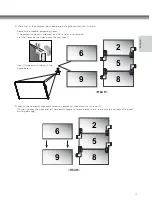
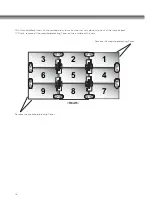
Refer to the following illustration to fix the brackets according to the type.
2
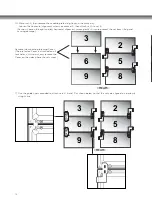
Verifying Where the Brackets Are Fixed
A bolt
The bracket may be distorted, depending on the
flatness of the wall. Adjust the flatness of the bracket
using the A bolts attached to it.
SCALE 0.100
Use a bolt that is capable of holding the weight of the product.
(The combined weight of the set and the bracket is approx. 50 kg.
We recommend using an bolt & Nut.)
3
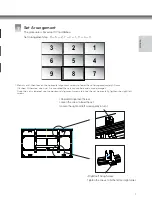
Attaching the Guide Spacers
If the screws are not fully tightened when you fix the guide spacers, check the length of the screws and refer to the technical
service manual.
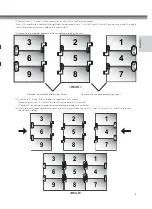
<How to Fix Guide Spacers>
Fix the guide spacers and the guide spacer fixing screws in the order shown in the picture.
Lay the set down and fix the guide spacers to the set using the screws.
- Place the product on a table with its screen facing downward. Make sure that you place it on soft clothing or a cushion on the flat surface
to protect the screen.
- Tighten the screw until the set, the guide spacer and the screw are joined together securely.
- Use a Philips driver (manual or electric) to tighten the screws.
Guide Spacer
4 Guide Spacer Fixing Screws (M8X32mm)

