background image

Operating

8

Operating

3

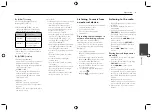
Operation

Basic operations

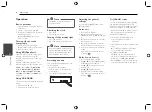
1.  Turn the unit on by pressing any key 

on the unit.

2.  Select a source by pressing SRC.
3.  Rotate the volume knob to adjust the 

volume on the unit.
Or press VOLUME 

W

 / 

S

 on the 

remote control.

Turning off the sound 
temporarily

1.  Press MUTE to mute your unit. 

Or press MUTE on the remote control.

2.  Press it again to cancel

Using EQ (Equalizer)

EQ is to increase or decrease the signal 
strength of audio frequencies. The 
function helps you to enjoy sound more 
plentifully. 
Press EQ on the unit repeatedly.  The 
indicator lights up in the following order.

B-BOOST (BASS BOOSTER) 

/

 POP 

/


CLASSIC 

/

 ROCK 

/

 JAZZ 

/

 VOCAL 

/

 SALSA 

/

 SAMBA 

/

 REGGAE 

/


RUSSY 

/

 USER1 

/

 USER2 

/

 Off  (Not 

displayed)

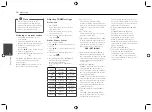
Using 3D SOUND

This mode delivers outstanding surround 
sound.

1.  Press and hold EQ • 3D.
2.  Press and hold it again to cancel.

3D SOUND is only available when 
you use the USB. 


,

Note

Checking the clock

1.  Press DISP.
2.  Press it again to cancel.

Turning off the display light

1.  Press and hold DISP.
2.  Press and hold it again to turn it on.

Under the light-off  condition, press 
any key, the light is turned on and 
then off  automatically if you don't 
press it within a few seconds.


,

Note

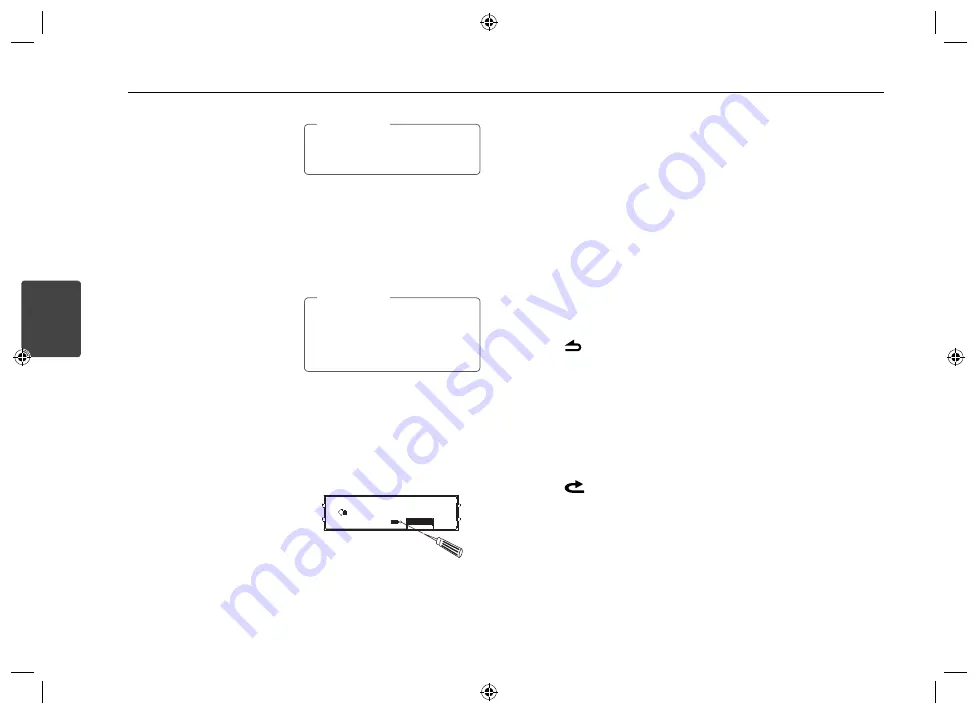
Resetting the unit

You can reset the unit when it does not 
operate properly.

1.  Detach the control panel.

Refer to page 6 for detaching the 
control panel.

2.  Press the RESET hole with a sharp 

object.

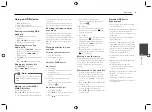
Adjusting the general 
settings

You can adjust [SOUND], [LIGHT] and 
[OTHER] settings.

On the unit

1.  Press and hold • MENU.
2.  Rotate the volume knob to select 

[SOUND], [LIGHT], or [OTHER] and press 
it.

3.  Rotate the volume knob to select the 

item and press it.

4.  Rotate the volume knob clockwise or 

counterclockwise to adjust the level.

5.  Press the volume knob to confirm the 

setting.


If you want to return to the previous 

step, press 

.

On the Remote Control 

1.  Press and hold FUNC / • MENU.
2. Press 

w

 / 

s

 to select [SOUND], [LIGHT], 

or [OTHER] and press ENTER.

3. Press 

w

 / 

s

 to select the mode and 

press ENTER.

4. Press 

w

 / 

s

 to adjust the level.

5.  Press ENTER to confirm the setting.
 

If you want to return to the previous 

step, press 

 .

For [SOUND] setting

You can adjust sound quality by adjusting 
the level BAL (left/right speaker), FAD 
(front/rear speaker), SW (Subwoofer), SW-F 
(Subwoofer frequency), A-EQ (Auto EQ).

- When you set the EQ to USER 1/2 mode. 
: You can adjust the level of BAS (bass), 
MID (middle), TRB(treble).


SW (Subwoofer, MAX221UB only) 
You can adjust the volume of 
subwoofer.


SW-F (Subwoofer frequency, MAX221UB 
only) 
OFF/ SW 55 Hz/ SW 85 Hz/ SW 120 Hz
You can enable the subwoofer.


A-EQ (Auto EQ) OFF/ ON
AUTO EQ operates only in the music 
fi le supported with genre in the device. 
When you set AUTO EQ to ON, POP, 
CLASSIC, ROCK, or JAZZ is automatically 
selected according to the music genre.

Содержание MAX220UB

Страница 1: ...OWNER S MANUAL DIGITAL MEDIA RECEIVER MAX220UB MAX221UB Please read this manual carefully before operating your set and retain it for future reference ENGLISH ...

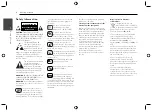
Страница 2: ...olume at a proper level Do not drop it and avoid heavy impacts at anytime This unit is for vehicles with a 12 volt battery and negative grounding Before installing it in a recreational vehicle lorry or bus check the battery voltage To avoid shorts in the electrical system be sure to disconnect the E battery cable before beginning the installation This device is equipped with a portable battery or ...

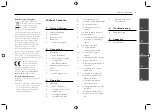
Страница 3: ...to another drive 11 Quick search of a desired file 11 Playable USB device Requirement 4 Troubleshooting 12 Troubleshooting 5 Appendix 13 Specifications Disposal of your old appliance 1 When this crossed out wheeled bin symbol is attached to a product it means the product is covered by the European Directive 2002 96 EC 2 All electrical and electronic products shall be disposed of separately from th...

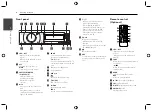
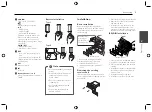
Страница 4: ...tes setting menu FUNC In each mode sets playback items l W S Moves to the previous or next preset station in TUNER Moves 10 MP3 WMA files backward or forward if there is no folder or one folder on an USB Moves to the previous or next folder if there are more than 2 folders on an USB m EQ 3D Improves sound quality When pressed selects the EQ function When pressed and held selects the 3D SOUND funct...

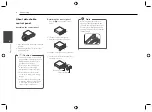
Страница 5: ...nstallation Basic Installation Before installing make sure that the ignition switch is set to OFF and remove the terminal of the car battery to avoid short circuiting Bend the claws according to the thickness of the dashboard Control panel 1 Remove the existing receiver unit 2 Make the necessary connections 3 Install the installation sleeve 4 Install the unit into the installation sleeve Removing ...

Страница 6: ...or otherwise subject it to strong impact Do not allow such volatile agents as benzine thinner or insecticides to come into contact with the surface of the control panel Caution Detaching the control panel 1 Press the 6 to open the control panel 2 Lift the control panel slightly 3 Push the control panel to right 6 5 4 Pull the control panel out of the unit 5 Put the detached control panel into the ...

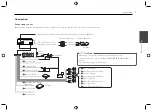
Страница 7: ...Green Rear Left A h Green Black Stripe Rear Left Power Antenna Control Relay Amplifier Rear Left Sub woofer Left Front Left Rear Right Sub woofer Right Front Right Amplifier B f Power Antenna Blue B g Not connected B c To Ignition Red B h Ground Black B d To Battery Yellow B b Not connected Ignition Switch Wired remote input Black Hard wired control adapter can be connected Optional B e Remote On ...

Страница 8: ...ly 1 Detach the control panel Refer to page 6 for detaching the control panel 2 Press the RESET hole with a sharp object Adjusting the general settings You can adjust SOUND LIGHT and OTHER settings On the unit 1 Press and hold MENU 2 Rotate the volume knob to select SOUND LIGHT or OTHER and press it 3 Rotate the volume knob to select the item and press it 4 Rotate the volume knob clockwise or coun...

Страница 9: ... clock is displayed according to the RDS CT information When RDS is not supported set the clock according to 3 to 7 steps Listening to music from an external device 1 Connect an external device to the AUX jack with line input cable 2 Select a source to AUX 3 Play the connected Auxiliary Equipment Preventing radical changes in volume as switching sources Only when you set AUX to ON as switching sou...

Страница 10: ...der of their signal strength To cancel press the volume knob P S Preset scan Each preset station appears To cancel press the volume knob SENS Tuner sensitivity MID HI LOW In an area in which signal reception is weak it helps the tuner to search more stations The weaker the reception is the lower option you should set to RDS OPTIONAL AF Alternative Frequency ON OFF When the reception quality drops ...

Страница 11: ...NTER to set the option If you want to return to the previous step press RPT Repeat The current selected file 1 RPT or files in the current selected folder RPT is played repeatedly SHF Shuffle All files SHF or each files in the current selected folder SHF are played randomly During random playback even if you press Y you won t go back to the previous file INT Intro Scan The first 10 seconds of all ...

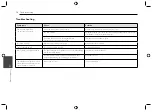
Страница 12: ...o operate incorrectly Turn the unit off and then on again No sound is heard Cables are not connected correctly Connect the cables correctly There s audio skipping This unit is not firmly secured Secure this unit firmly Radio stations cannot be tuned in The signal strength of the stations is too weak When tuning in with automatic tuning Tuned in the stations manually No station has been preset or p...

Страница 13: ...0 to 1720 kHz or 522 to 1620 kHz S N Ratio 50 dB Distortion 1 0 Usable Sensitivity 28 dBμV AUX Frequency Response 20 Hz to 20 kHz S N Ratio 80 dB Distortion 0 1 Channel Separation 1 kHz 45 dB Max Input Level 1 kHz 1 1 V USB Version USB 1 1 or USB 2 0 Full Speed Bus Power Supply USB DC 5 V 1 5 A Max capacity 32 GB FAT32 standard Line OUT Optional Frequency Response 20 Hz to 20 kHz Output Voltage 2 ...

Страница 14: ......

Страница 15: ......

Страница 16: ......

Отзывы: