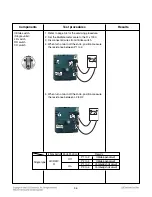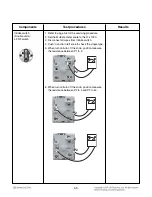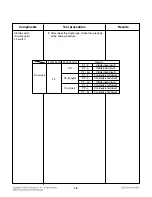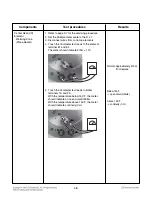
3-16
COMPONENT ACCESS
REMOVING & REPLACING THE LIT
REMOVING & REPLACING THE LIT
-OFF OVEN DOOR
-OFF OVEN DOOR
AND DRA
AND DRA
WER
WER
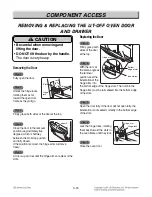
Step. 4
Pull the drawer away from the range.
Replacing the Door
Step. 1
Pull the bearing glides to the front of the chassis glide.
Step. 2
Align the glide on each side of the drawer with the glide
slots on the range.
Step. 3
Push the drawer into the range until levers click
(approximately 2 inch).
Step. 4
Pull the drawer open again to seat bearing glides into
position.
Step. 5
Replace the two screws.
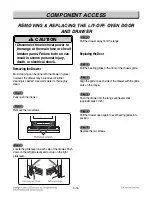
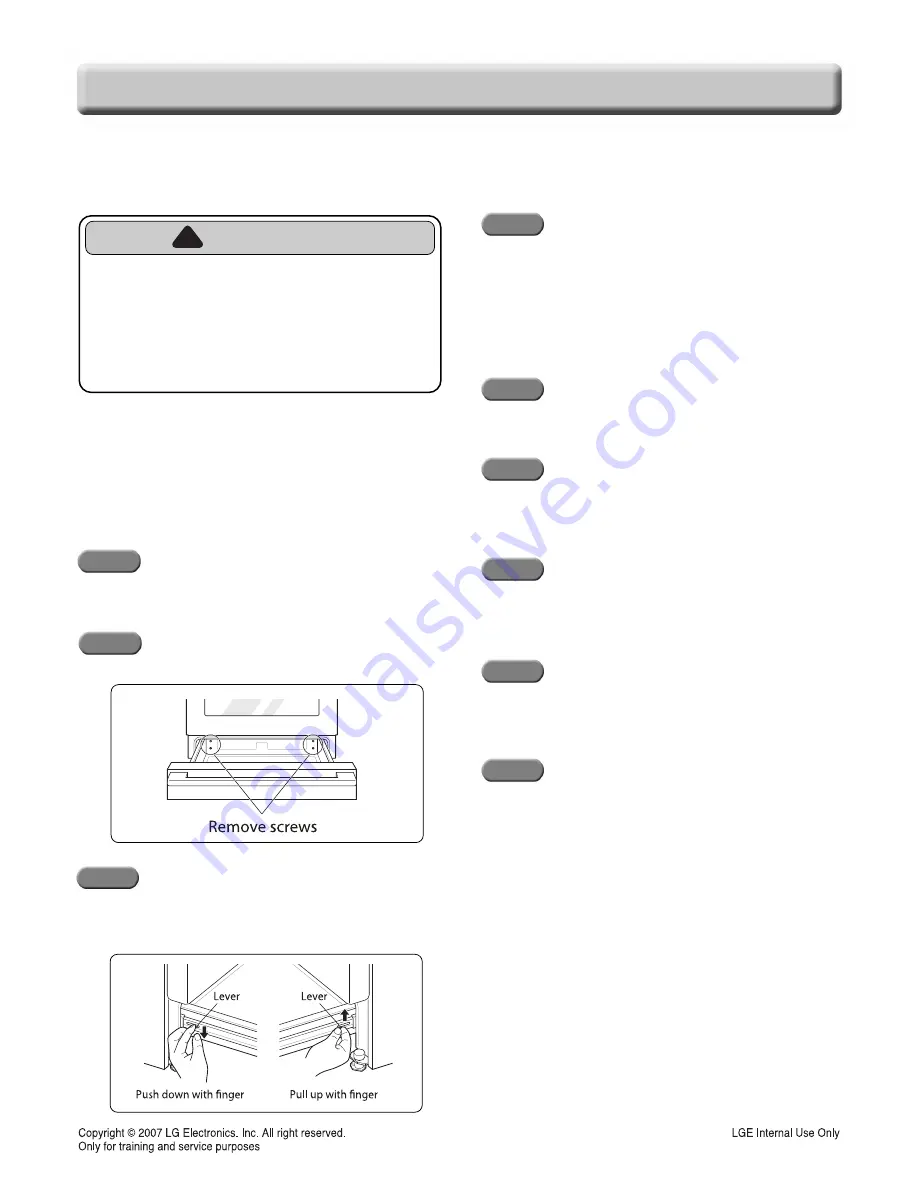
Removing the Drawer
Most cleaning can be done with the drawer in place;
however, the drawer may be removed if further
cleaning is needed. Use warm water to thoroughly
clean.
Step. 1
Fully open the drawer.
Step. 2
Remove the two screws.
Step. 3
Locate the glide lever on each side of the drawer. Push
down on the left glide lever and pull up on the right
glide lever.
CAUTION
• Disconnect the electrical power to
the range at the main fuse or circuit
breaker panel. Failure to do so can
result in severe personal injury,
death, or electrical shock.
!
Содержание LSE4613BD
Страница 49: ...5 3 OVEN LIGHT CR COOK TOP ELEMENT For Model LSE4613ST LSE4613BD LR RR COOK TOP ELEMENT ...
Страница 50: ...5 4 RF COOK TOP ELEMENT LF COOK TOP ELEMENT For Model LSE4613ST LSE4613BD ...
Страница 51: ...5 5 WARM PROOF EASY CLEAN BROIL ...
Страница 82: ...EXPLODED VIEW EV INTRODUCTION 9504 9501 9506 Customer Model Product Code SVC Model MODEL ...
Страница 85: ... EV COOKTOP PARTS 3056 3215 3006 3016 330M 330H 3205 3022 3204 330S 330S 301C ...
Страница 86: ...DRAWER PARTS 8523 8507 8501 8514 8517 8524 8602 8520 8512 5505 5505 8504 6008 8508 8513 1009 8708 8708 W230 EV ...
Страница 88: ......

