20
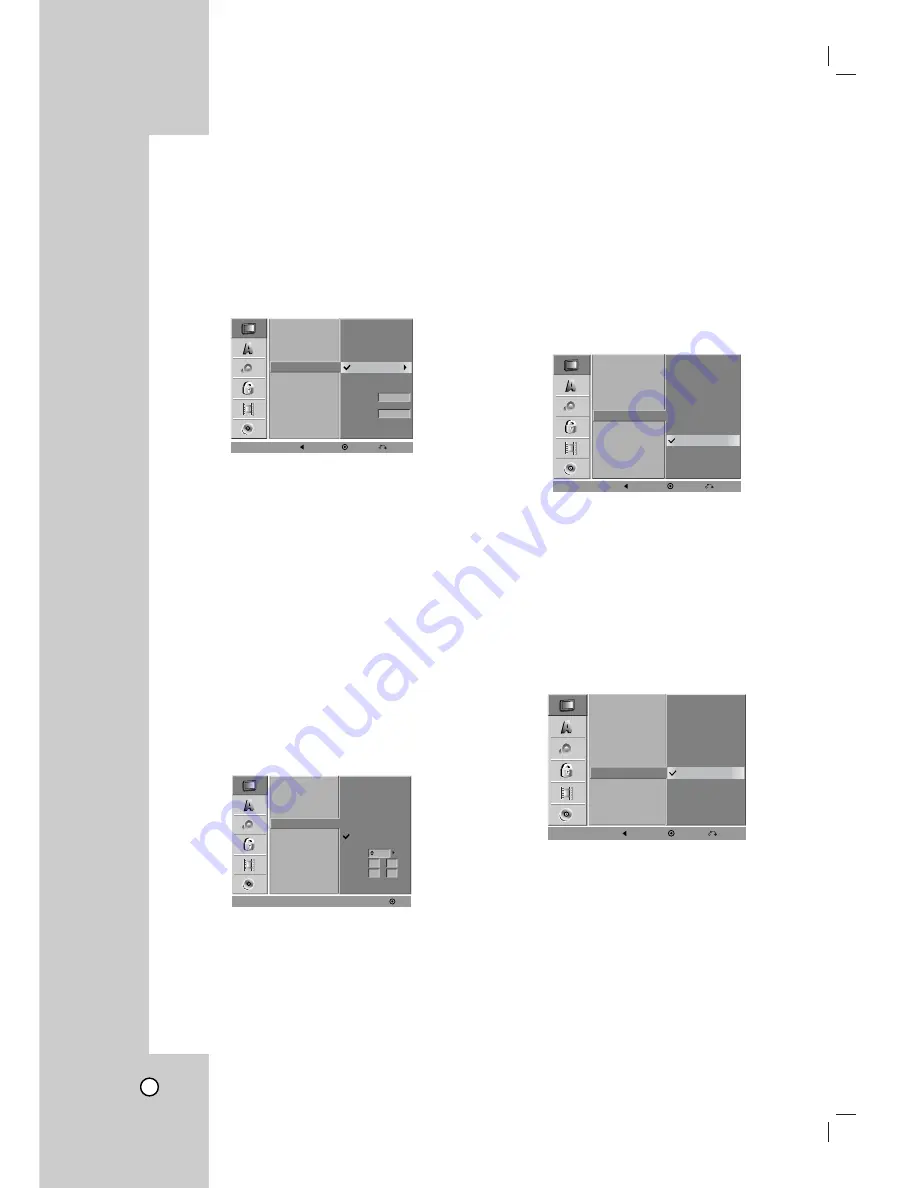
Clock Set
1
Select the “Clock Set” option.
2
Press
B
to move to the third level.
Auto
The Auto option is set at the factory. In the Auto
option, the VCR/DVD Recorder looks for a chan-
nel carrying XDS (Extended Data Services) infor-
mation. XDS updates the clock using the
Coordinated Universal Time.
1.
Use
v / V
to choose your Time Zone manually.
When Timezone is set to Auto, the VCR/DVD
Recorder will use XDS information to determine the
proper setting.
2. Use
B
to choose the “Daylight Savings” option.
Use
v / V
to choose Auto, On, or Off.
When it is set to Auto, the VCR/DVD Recorder will
use XDS information to determine the proper set-
ting.
3. Press ENTER to confirm your setting.
Note :
The Auto Clock Feature enables the VCR/DVD
Recorder to set up the clock when the VCR/DVD
Recorder is turned off.
Manual
If your local TV station does not send date and
time information, or sends incorrect information,
you can set the clock manually.
1. Enter the necessary information for date and time.
b / B
(left/right): Moves the cursor to the previous
or next column.
v / V
(up/down): Changes the setting at the current
cursor position.
2. Press ENTER to confirm your setting.
3
Press SETUP to exit the Setup menu.
TV Aspect
4:3 Letter Box:
Select when a standard 4:3 TV is connected.
Displays theatrical images with masking bars
above and below the picture.
4:3 Pan Scan:
Select when a standard 4:3 TV is connected.
Displays pictures cropped to fill your TV screen.
Both sides of the picture are cut off.
16:9 Wide:
Select when a 16:9 wide TV is connected.
Progressive Scan
Progressive Scan Video provides the highest quality
pictures with less flickering.
ON
:
Using the COMPONENT/PROGRESSIVE
SCAN VIDEO OUT jacks for connection to
a TV or monitor that is compatible with a
progressive scan signal.
OFF
: Using the COMPONENT/PROGRESSIVE
SCAN VIDEO OUT jacks, but are connect-
ing the VCR/DVD Recorder to a standard
(analog) television.
Once the setting for Progressive Scan output is
entered, an image will only be visible on a
Progressive Scan compatible TV or monitor. If you
set Progressive Scan to ON in error, you must reset
the VCR/DVD Recorder. First, remove the disc in the
VCR/DVD Recorder. Next, press STOP (
x
) and hold
it for five seconds before releasing it. The video out-
put will be restored to the standard setting, and a pic-
ture will once again be visible on a conventional ana-
log TV or monitor.
Tuning Band
Auto Channel Set
CH. Add/Del
Clock Set
TV Aspect
Progressive Scan
Time Zone
Manual
Auto
Auto
Daylight
Savings
Auto
Prev.
Select
Close
Power Save Mode
Factory Setting
Tuning Band
Auto Channel Set
CH. Add/Del
Clock Set
TV Aspect
Progressive Scan
AM
Manual
Auto
Year
Date
Time 12
2005
00
1
1
/
:
OK
Power Save Mode
Factory Setting
Tuning Band
Auto Channel Set
CH. Add/Del
Clock Set
TV Aspect
Progressive Scan
ON
OFF
Prev.
Select
Close
Power Save Mode
Factory Setting
Tuning Band
Auto Channel Set
CH. Add/Del
Clock Set
TV Aspect
Progressive Scan
4:3 Letter Box
4:3 Pan Scan
16:9 Wide
Prev.
Select
Close
Power Save Mode
Factory Setting
Содержание LRY-517
Страница 26: ...26 ...


