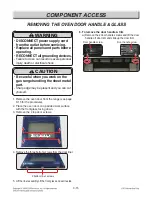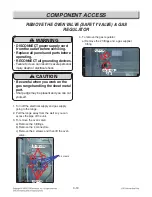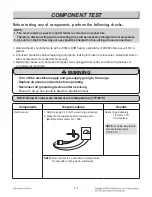
WARNING
• Turn off the electrical supply and
gas supply going to the range.
• Replace all panels and parts before
operating.
• RECONNECT all grounding devices.
- Failure to do so can result in severe personal
injury, death or electrical shock.
CAUTION
• Be careful when you work on the
gas range handling the sheet metal
part.
- Sharp edge may be present and you can cut
yourself.
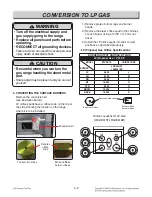
4) To prevent leakage, make sure the orifice
spuds are securely screwed into the gas
supply tubes.
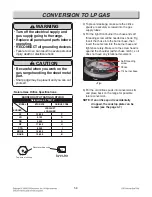
5) For the right front burner the choke and self
threading screw will be needed as shown Fig
Insert the choke into the burner base, then
insert the set screw into the burner base and
tighten securely. Make sure the screw head is
against the shoulder (within choke notch), so it
does not have any rotational movement.
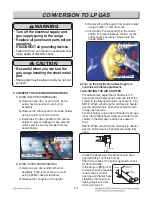
6) Put the old orifice spuds into conversion kits
and place back on the range for possible
future conversion.
NOTE: If an orifice spud is accidentally
dropped, the cooktop plate can be
raised (see the page 3-7)
Self threading
screw
Choke
17k burner base
<Fig>
M
M
L
P
Q
Denotes orifice code
Top burner orifices
Broil and Bake
burner orifices
5-3
CONVERSION TO LP GAS
• Natural Gas Orifice Specifications
BURNER OUTPUT RATINGS; BTU/HR
Natural Gas, 5”W.C.P
BTU RATE
ORIFICE CODE
LRG3061ST
LRG3061BD
LF
12,000
C
LR
9,100
D
RR
5,000
G
RF
17,000
H
CTR
8,000
I
BROIL
15,500
K
BAKE
19,000
B
BURNER
MODEL


