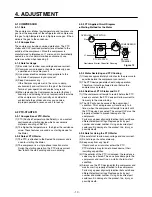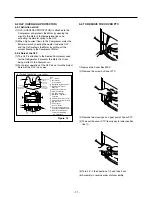
3-1 DOOR
●
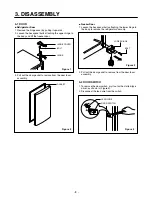
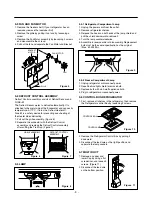
Refrigerator Door
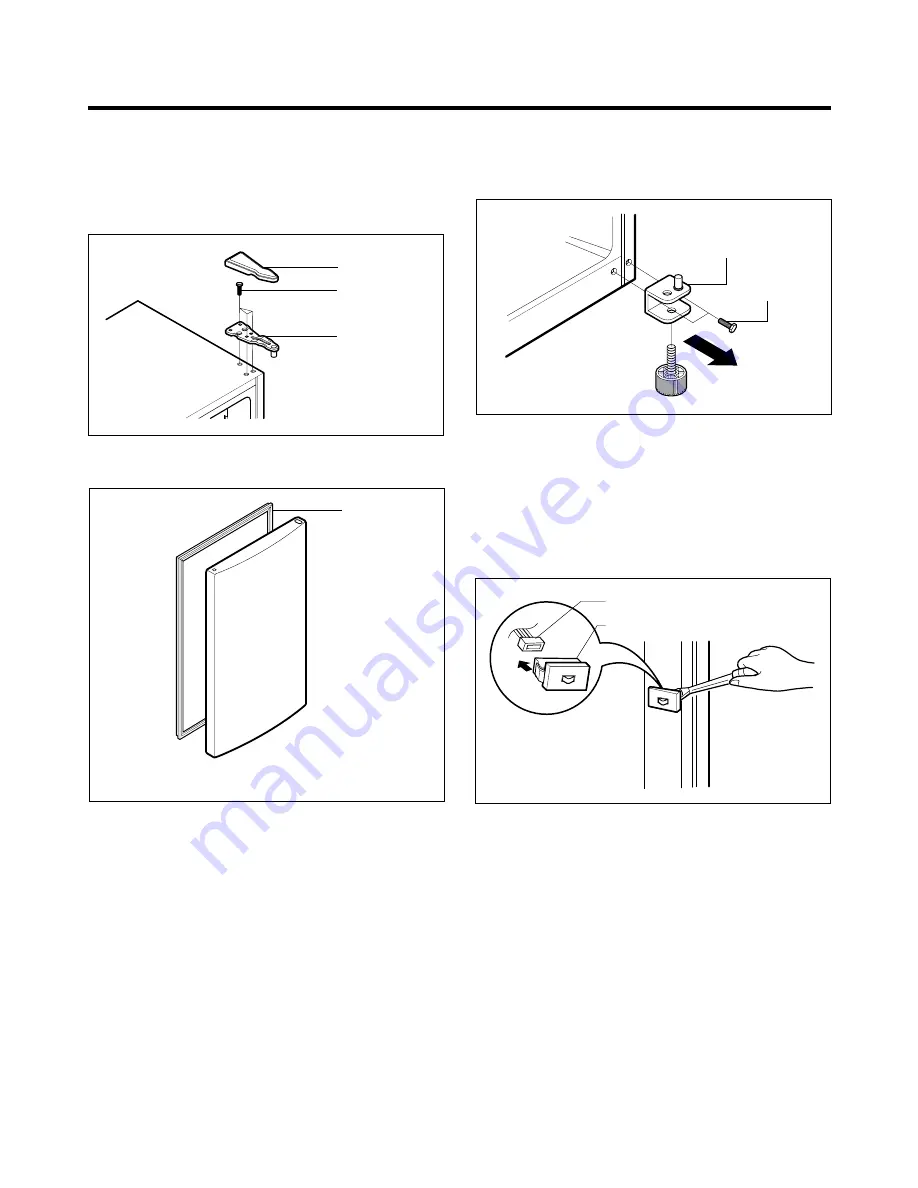
1. Remove the hinge cover by pulling it upwards.
2. Loosen the hexagonal bolts attaching the upper hinge to
the body and lift the freezer door.
3. Pull out the door gasket to remove from the door foam
assembly.
●
Freezer Door
1. Loosen the hexagonal bolts attaching the lower hinge to
the body to remove the refrigerator door only.
2. Pull out the door gasket to remove from the door foam
assembly.
3-2 DOOR SWITCH
1. To remove the door switch, pry it out with a slotted-type
driver, as shown in (Figure 4).
2. Disconnect the lead wire from the switch.
3. DISASSEMBLY
-
8
-
BOLT
HINGE
HINGE COVER
Figure 1
GASKET
Figure 2
LOWER HINGE
BOLT
Figure 3
DOOR SWITCH
LEAD WIRE
Figure 4
Содержание LRBC22522
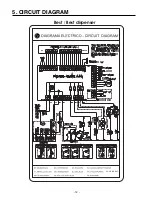
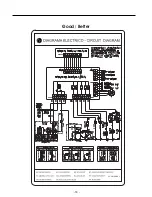
Страница 12: ...GY GRIS GRAY Best Best dispenser 5 CIRCUIT DIAGRAM 12 ...
Страница 13: ...GY GRIS GRAY Good Better 13 ...
Страница 40: ...8 5 MAIN PWB ASSEMBLY AND PARTS LIST 8 5 1 Main PWB Assembly 40 ...
Страница 41: ...8 5 2 Replacement Parts List 41 ...
Страница 42: ...8 5 3 PWB Assembly Display And Parts List 42 SW106 Dispenser Model Best Model ...
Страница 44: ... 44 FREEZER SENSOR FREEZER DOOR SWITCH REFRIGERATOR DOOR SWITCH REFRIGERATOR SENSOR DEFROST SENSOR 220 1 2W ...
Страница 60: ...9 5 MAIN PWB ASSEMBLY AND PARTS LIST 9 5 1 Main PWB Assembly 60 ...
Страница 61: ...9 5 2 Replacement Parts List 61 ...
Страница 62: ...9 5 3 PWB Assembly Display And Parts List 62 ...
Страница 63: ...9 6 PWB DIAGRAM 9 6 1 PWB Main Assembly 63 G5S 1A RY5 ...
Страница 64: ... 64 ...
Страница 70: ...June 2009 ...

