27
Adjust the Channel setup settings - more you
can do
Adjust the general settings
Auto Programming –
This option automatically scans and sets the avail-
able channels. Password is needed to access this option, if [Lock System]
option is set to [On]. (page 29)
[All, Digital or Analog]: Select a broadcasting type which you want to
scan automatically.
[Start]: Start the channel scanning.
Program Edit–
This option allows you to add channels and edit preset
channels. Password is needed to access this option, if [Lock System]
option is set to [On]. (page 29)
[Add Channel]: Select the broadcasting type between [Digital] and
[Analog] and then press
v
v V
V
to select the channel and press OK (
) to
add the selected channel.
[Edit]: Displays the screen which show preset channel list and channel
editing options. (page 25)
Clock Set–
The clock must be set in order to use [Timer record].
[Auto]: Set the channel that broadcasts a clock signal and the clock will
be set automatically. If the clock that has automatically set is different
with your local clock, you can add more time using [Time Offset] option.
(For example, when summer time is started in local area.) Press
B
to
select [Time Offset] option. Press
v V
to select a value then press OK
(
) (0, 30, 60, 90, 120). Select “0” if the clock that has automatically
set is identified with your local clock.
[Manual]: If there is no channel that broadcasts a clock signal in your
area, you can set the time and date manually.
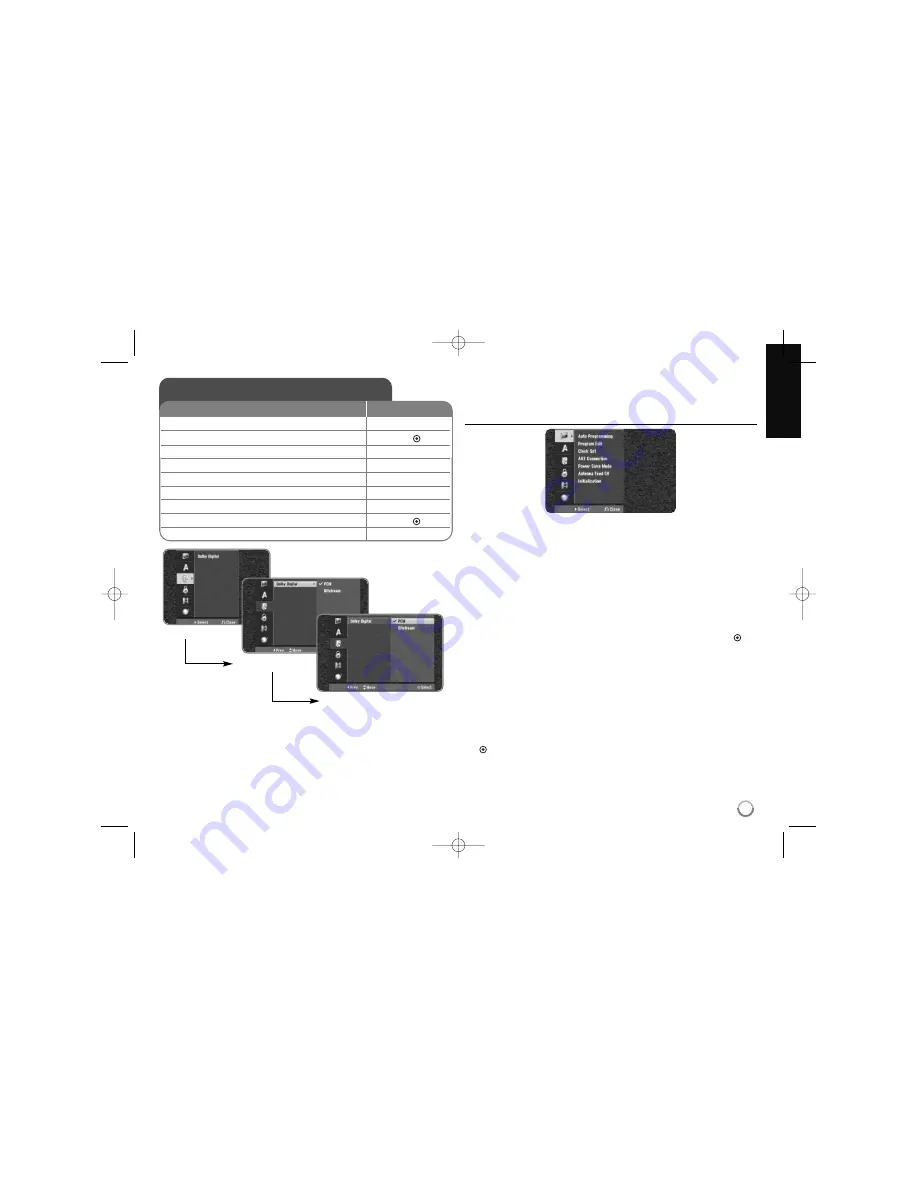
Adjust the Channel setup settings
1 Displays the HOME menu:
HOME
2 Selects the [Channel Setup] option:
b
b B
B
, OK (
)
3 Selects the setup option:
B
B
4 Selects a desired option on the first level:
v
v V
V
5 Move to second level:
B
B
6 Selects a desired option on the second level:
v
v V
V
7 Move to third level:
B
B
8 Adjust or confirm the setting:
v
v V
V
, OK (
)
9 Go back to the previous level:
b
b
ON REMOTE
First level
Second level
Third level
HR407M-P_BGBRLLK_ENG 8/9/04 4:49 AM Page 27


